Template Tutorial
2 minute read
Read this page and follow the guide to build your own templates in Authproject.
Tutorial
The first step is to select the template to edit. In our case, we are going to be customizing the Login page to have custom colors.
Step 1: Select a template
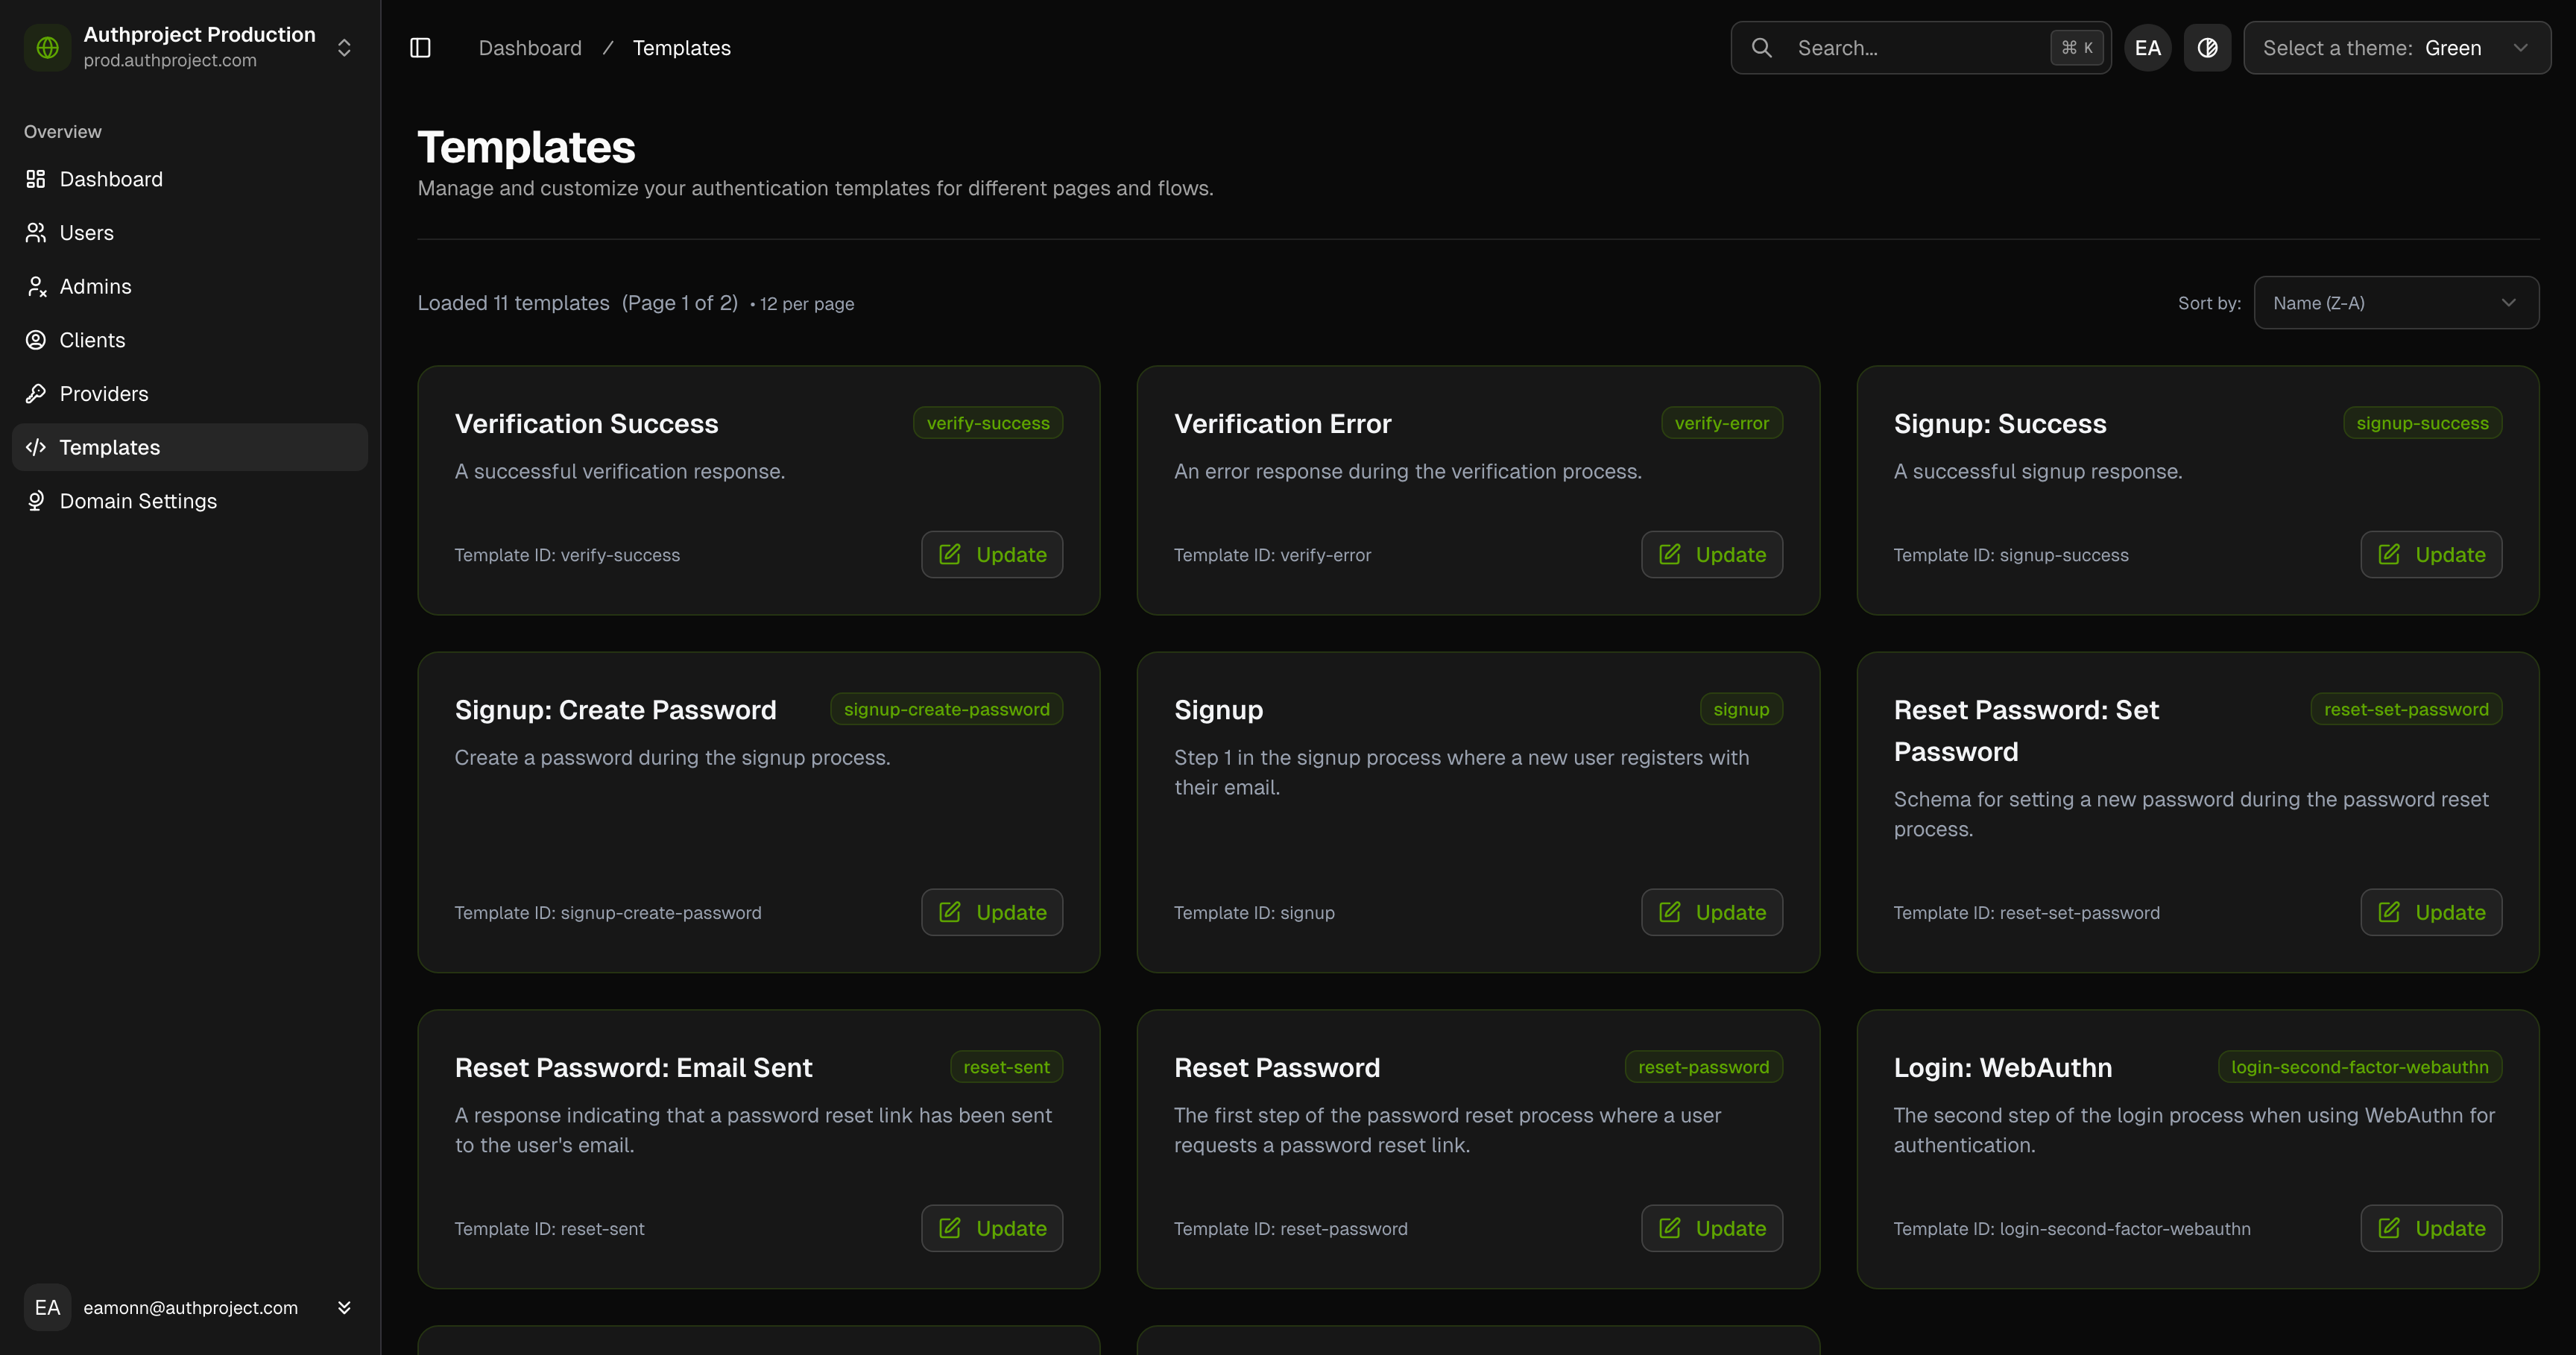
Click on the “Update” button underneath a template to begin editing.
Step 2: Modify CSS and/or HTML of the template
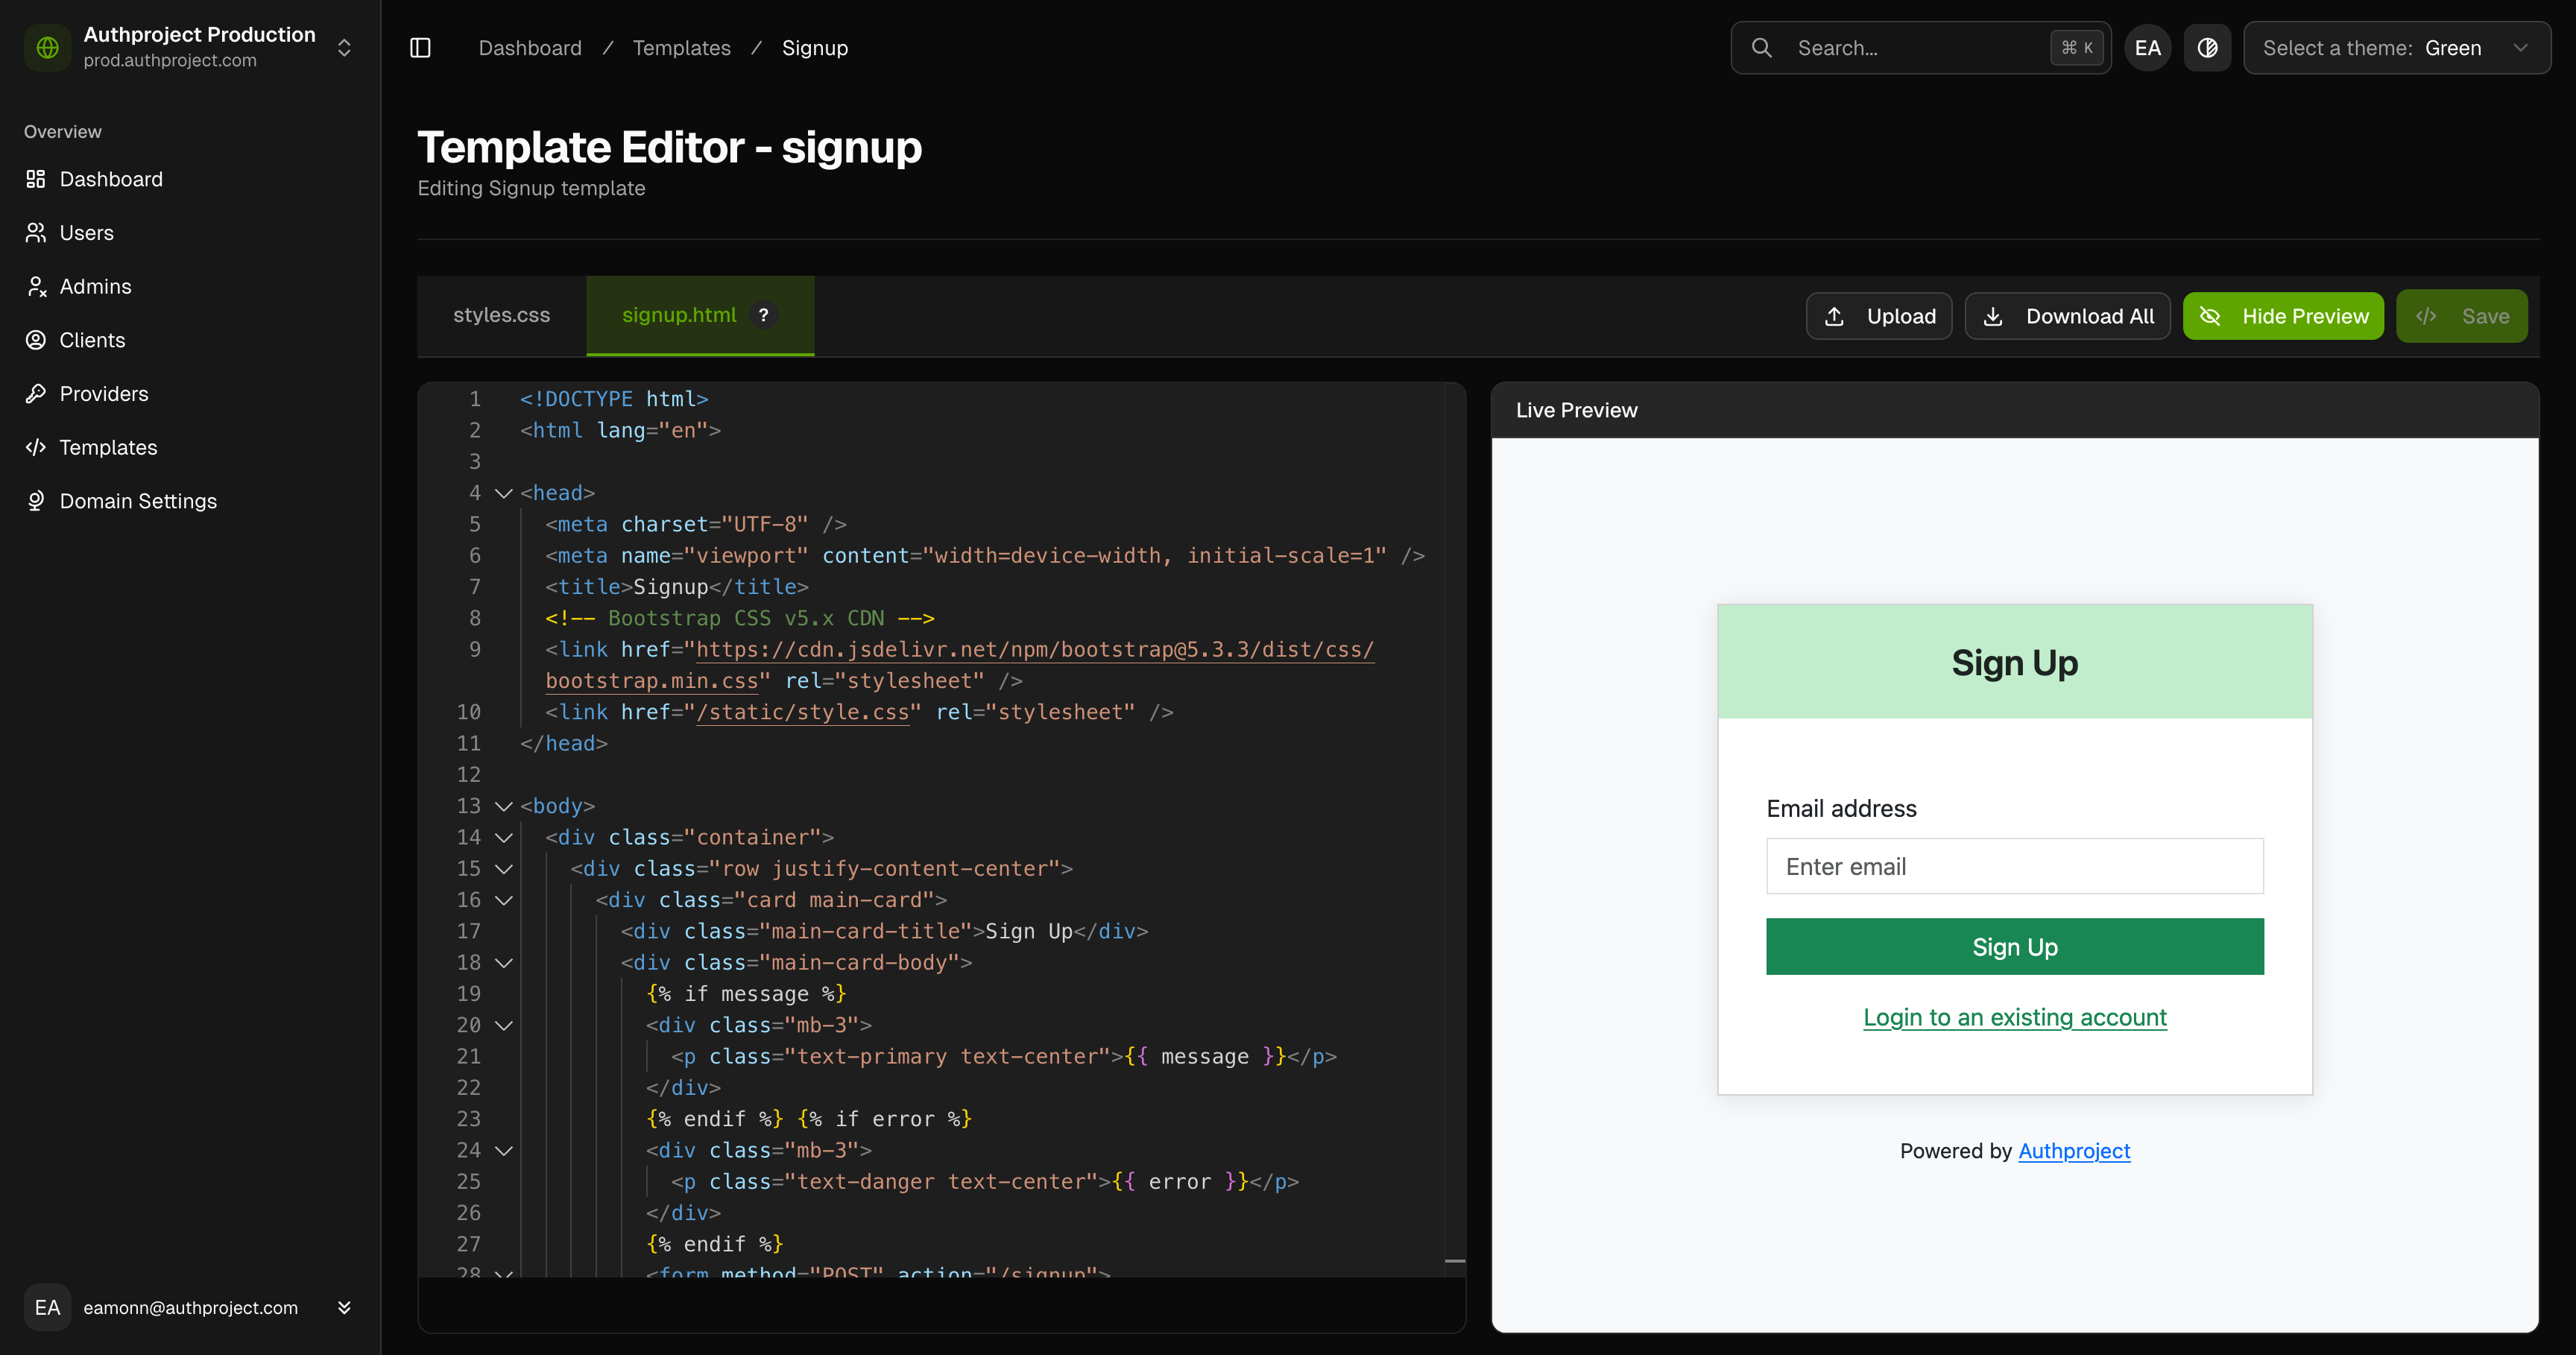
On the left panel, make any changes to the HTML or CSS that you would like. This
includes a global styles.css file, or the
Jinja-style HTML file specific
to the page.
For example, you can change the card title color by editing the global CSS file.
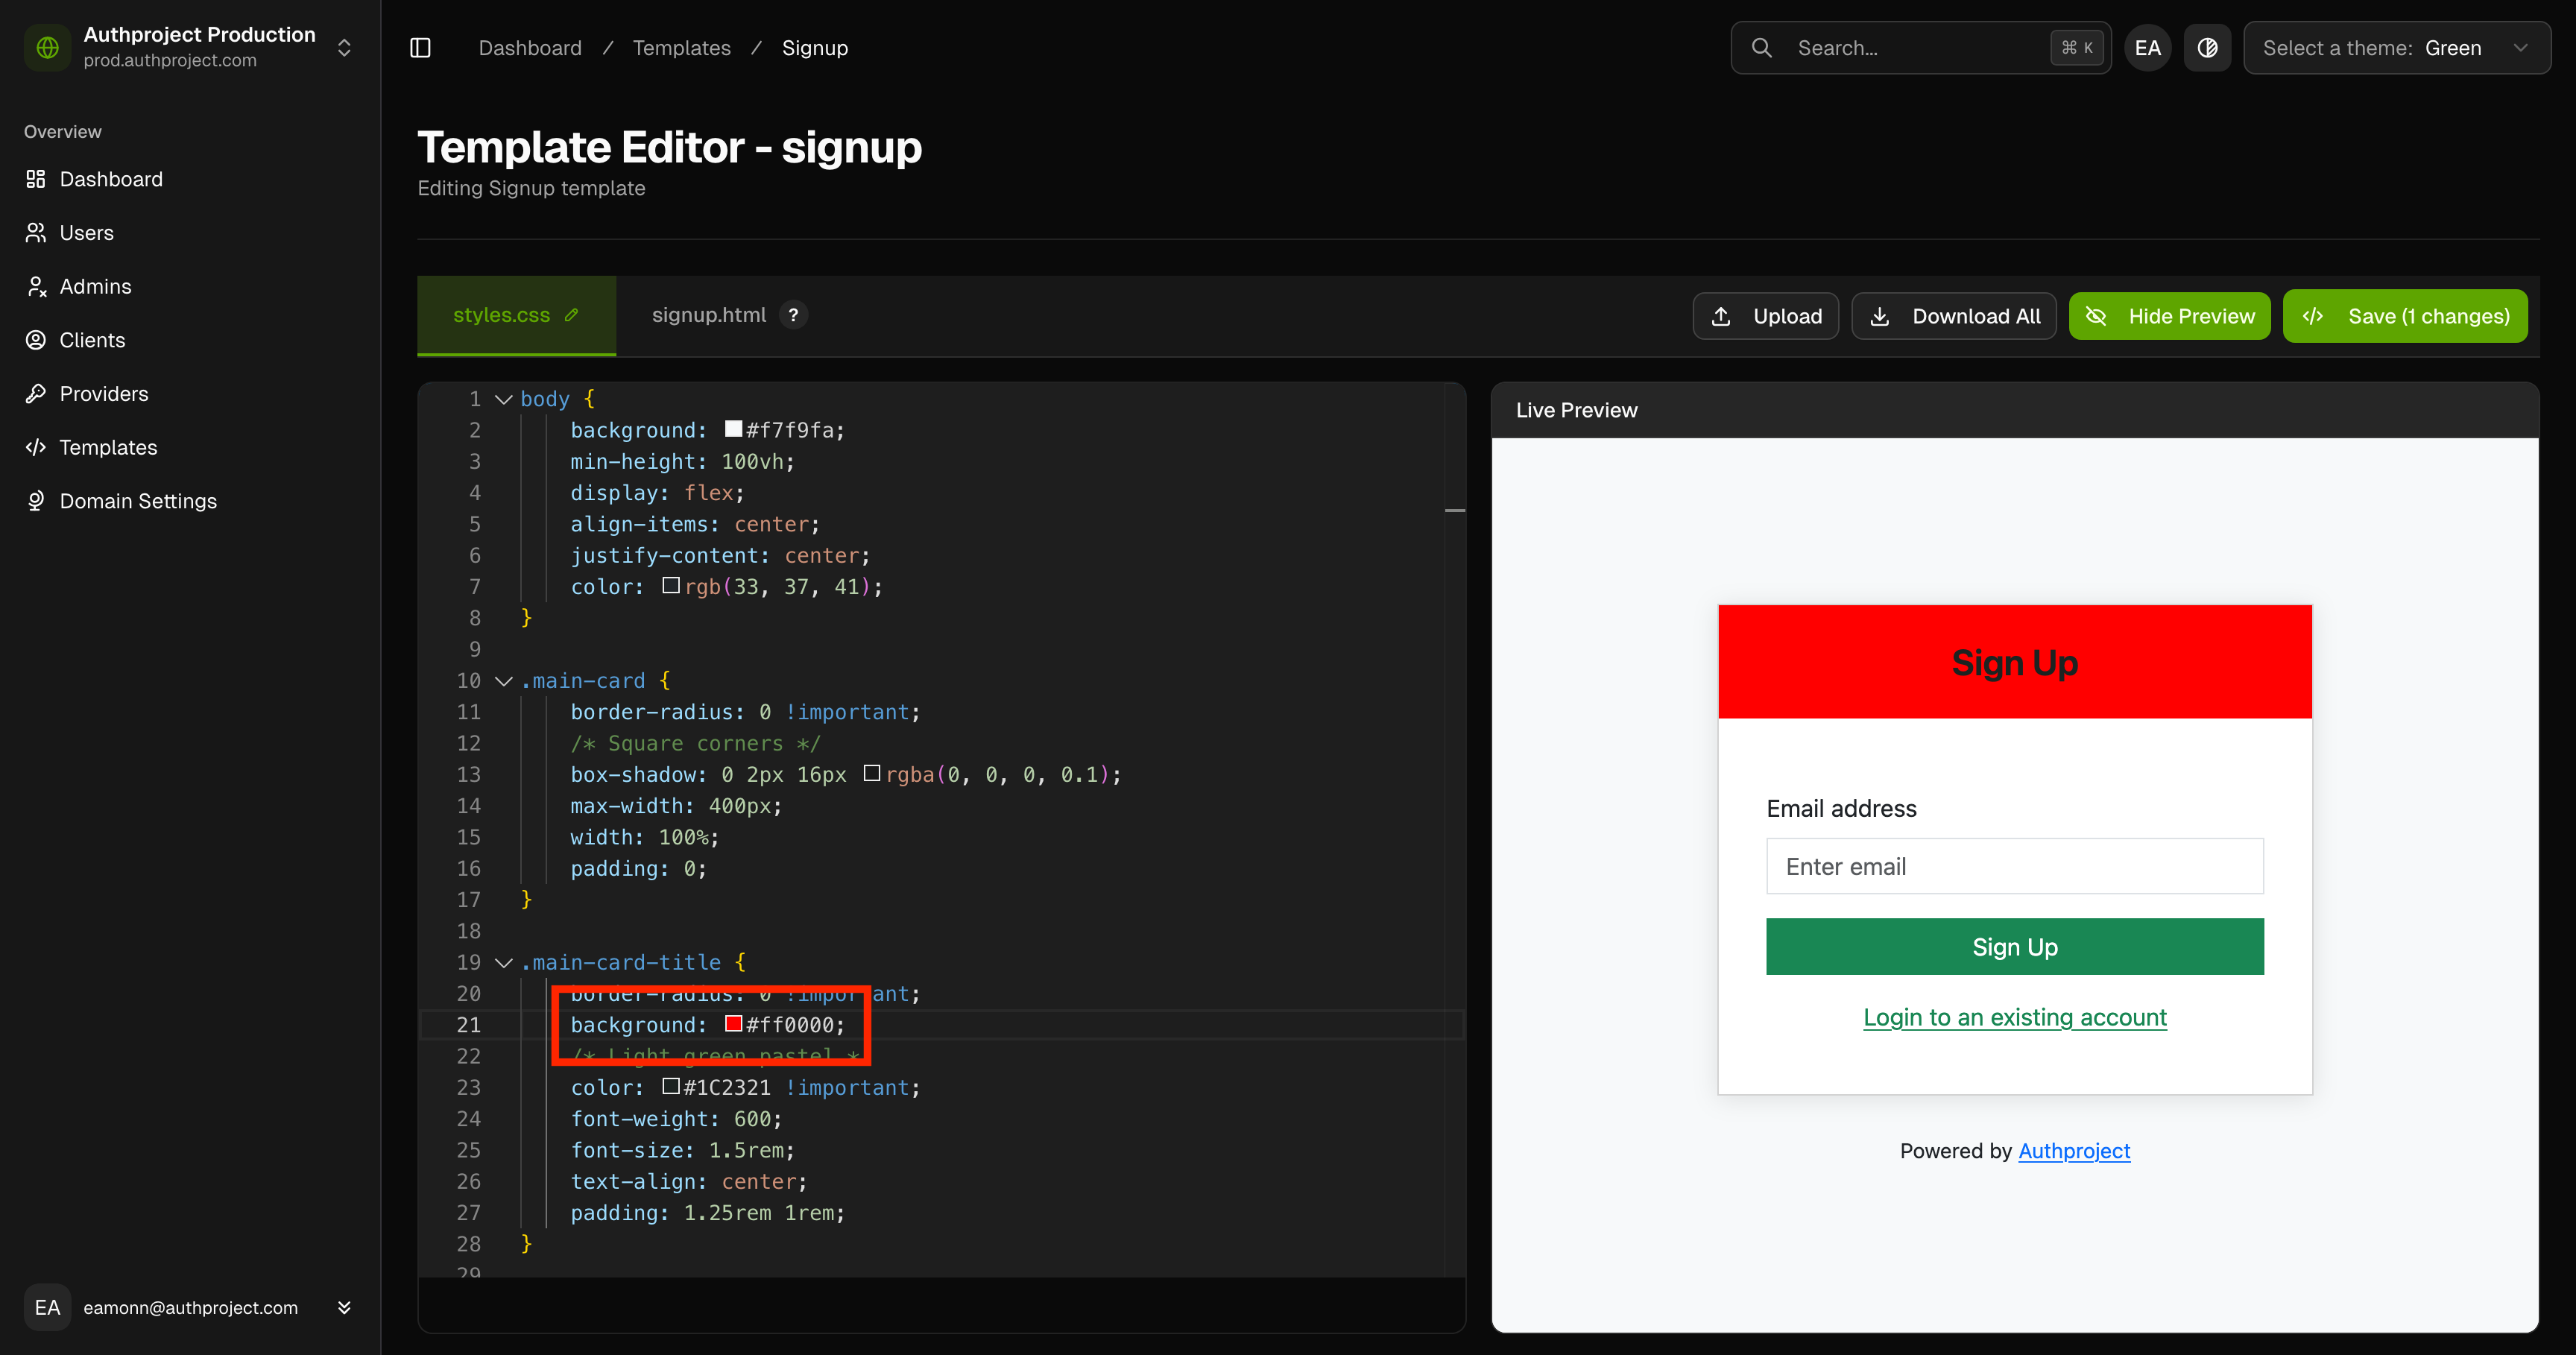
Step 3: Save Changes
Click the “Save” button in the top right to save any changes to the template.

Jinja syntax
Each template is given a series of variables that can be accessed by the templating language. For example, the “Signup” page is provided the two values below.
messageerror
These variables can be included in their raw form with the following syntax.
{% if message %}
<div class="mb-3">
  <p class="text-primary text-center">{{ message }}</p>
</div>
{% endif %}
The {% if message %} and {% endif %} form an if-statement checking if the
variable message has any contents. If it does, it will output the HTML between
the two statements. Then, using {{ message }}, it will output the contents of
the variable message onto the page.
Reference docs for the “Signup” page (and any other page) can be found in Authproject’s documentation.