Login with Google
3 minute read
Learn how to use Google as a third-party OAuth provider, creating a “Login with Google” button after a user enters their email.
Creating the resources in Google
The first part is to create the OAuth client in the Google Cloud Platform console. This can be done by performing the following steps.
Create a Project (optional, but recommended)
If you have already created a project in GCP, and want to use it for Authproject, you can skip this section.
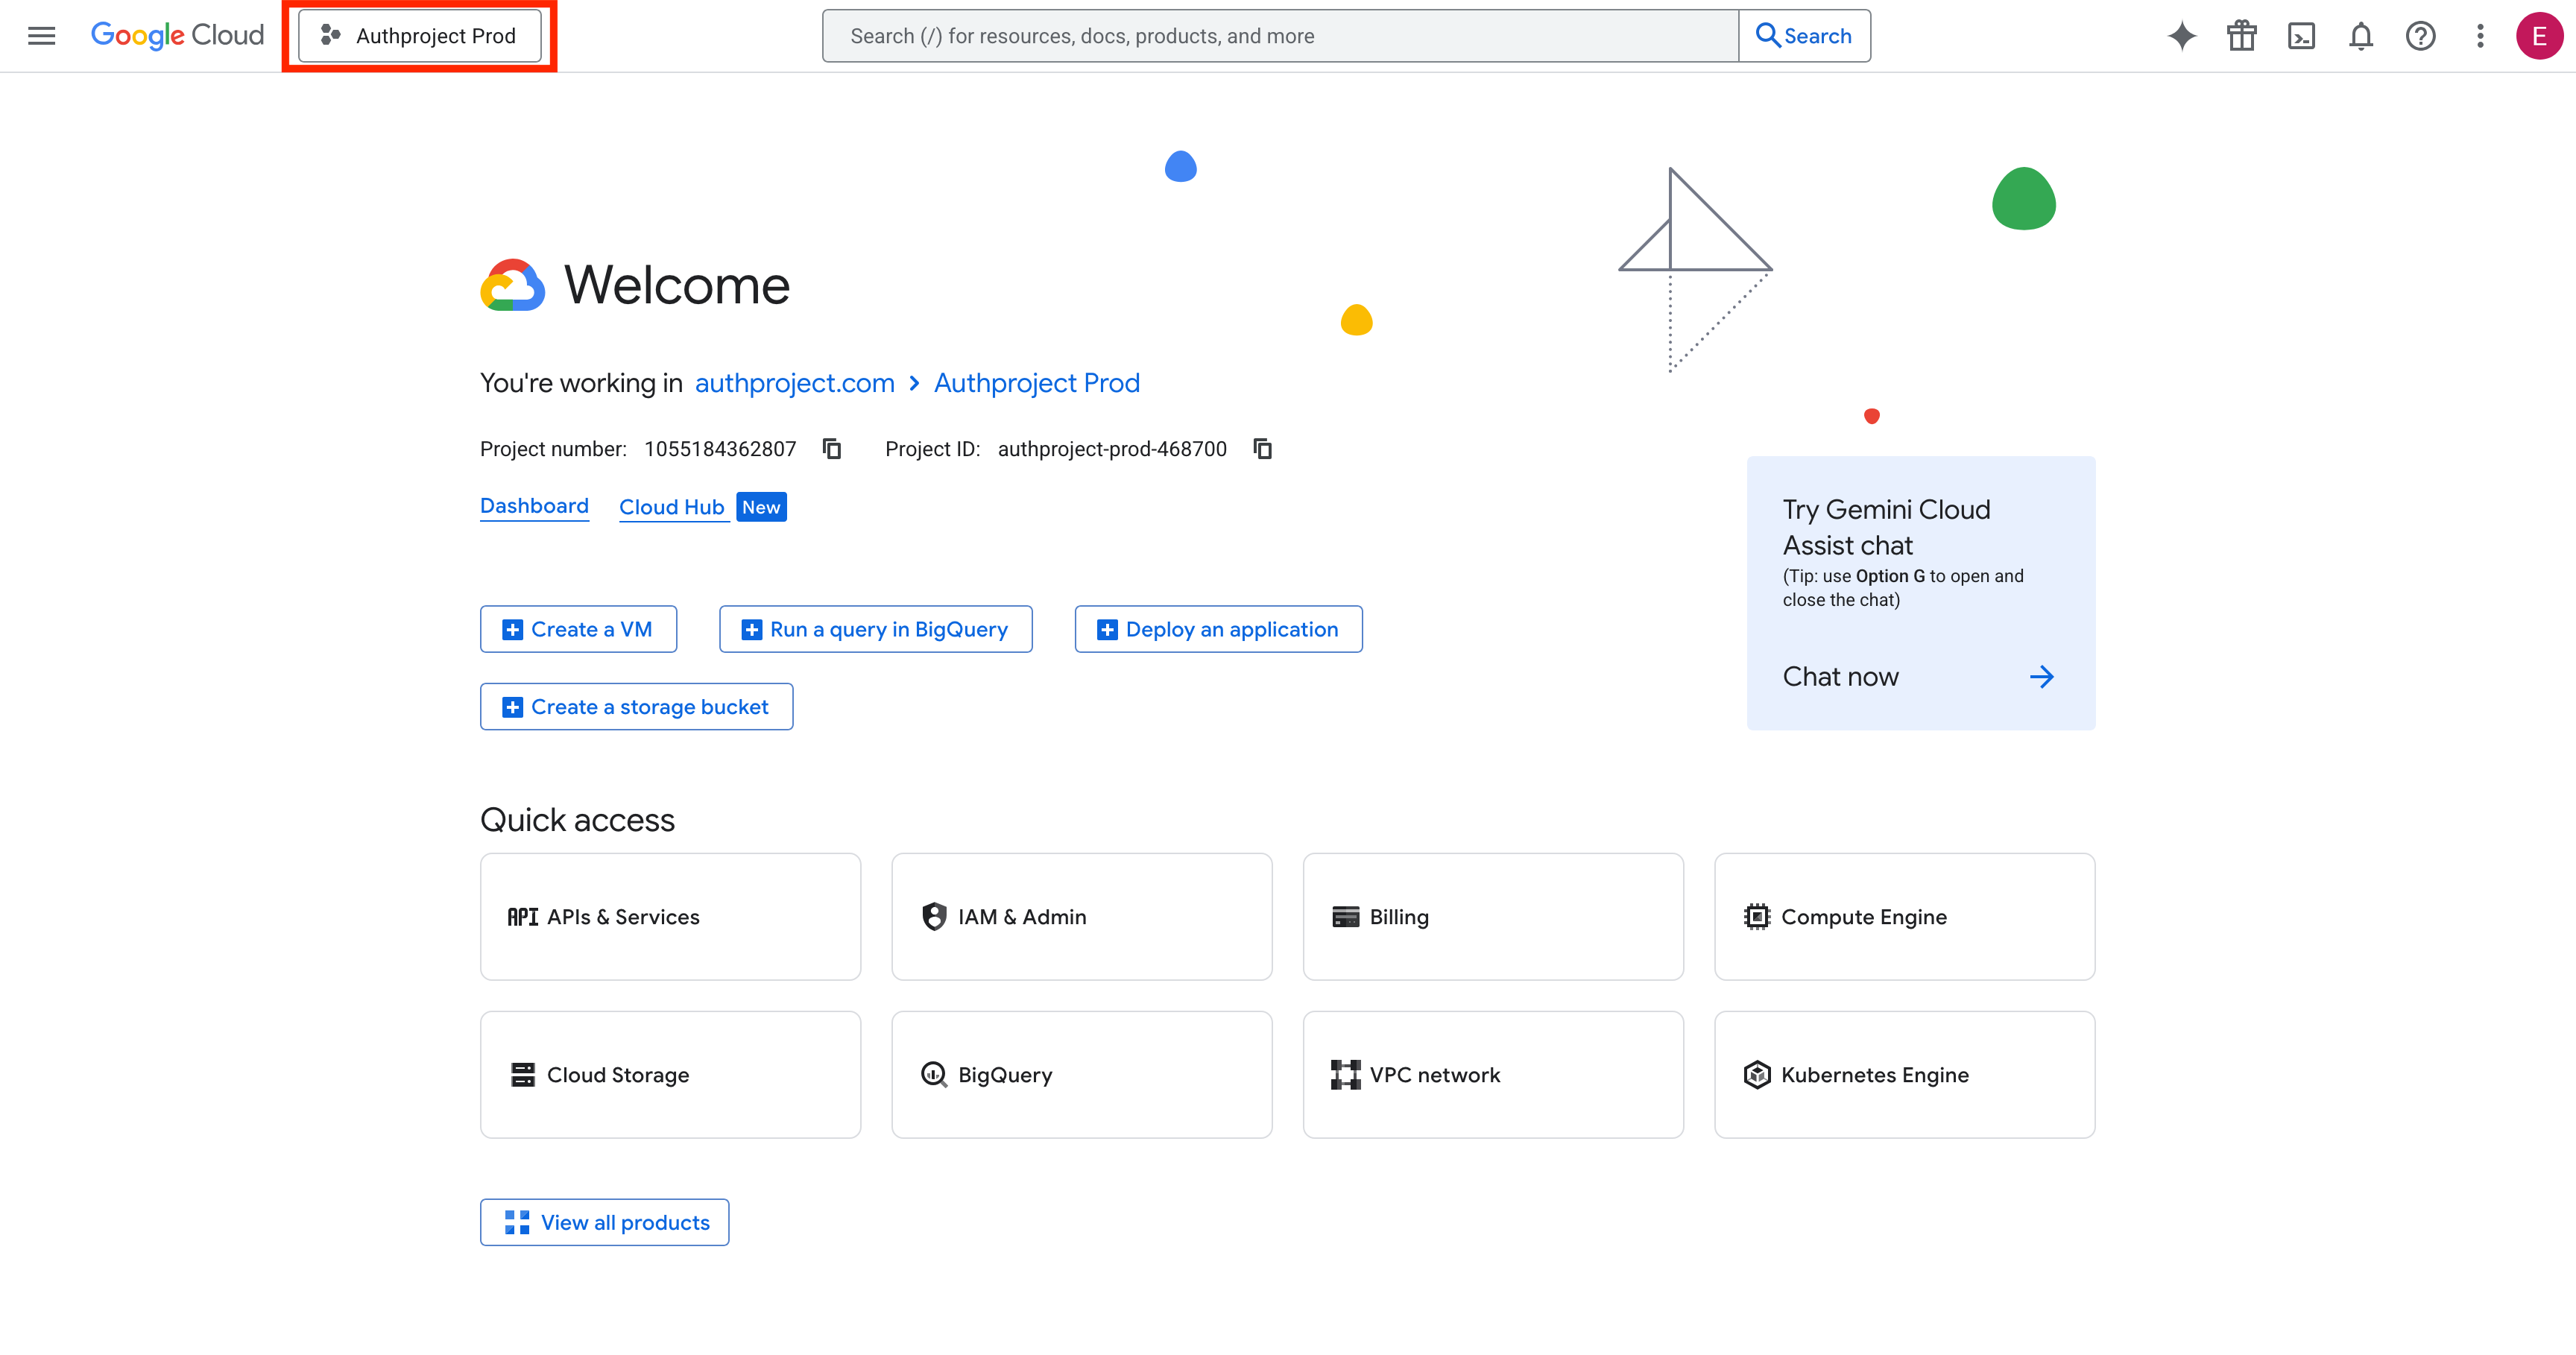
Click the Project button in the top left.
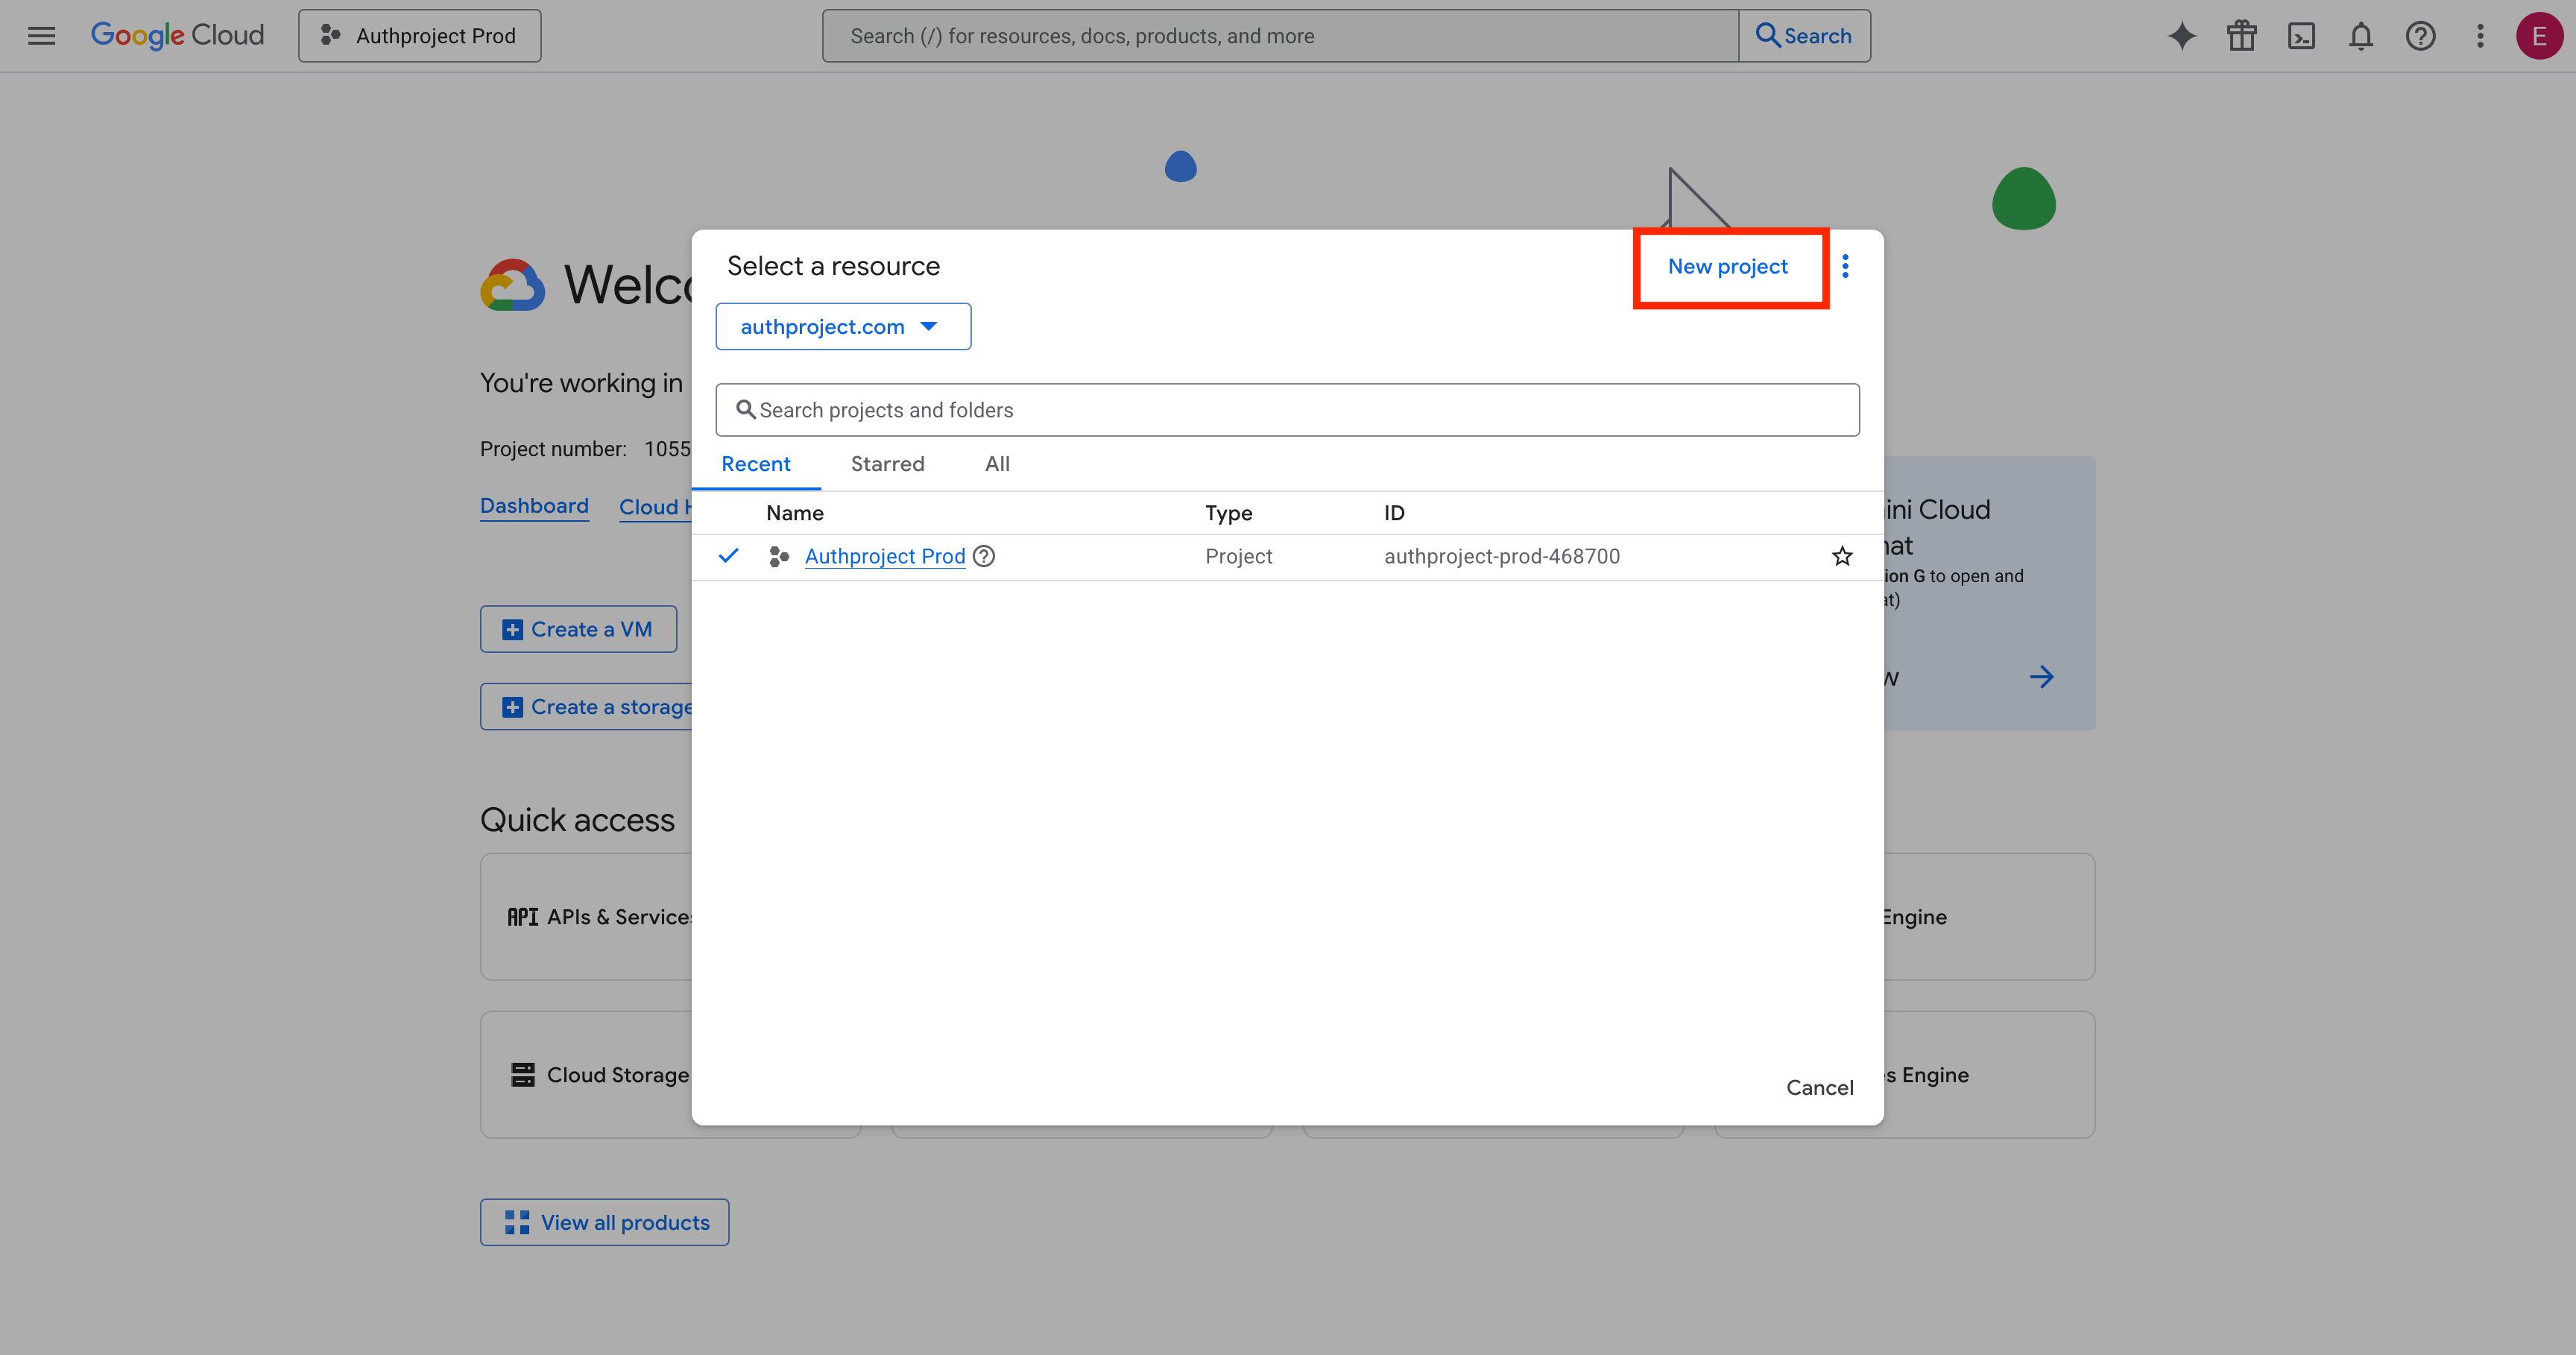
Click on “New Project” in the top right.
Enter the details for your new project. If you are not planning on utilizing the Google Cloud Platform, call it something like “Authproject OAuth2.”
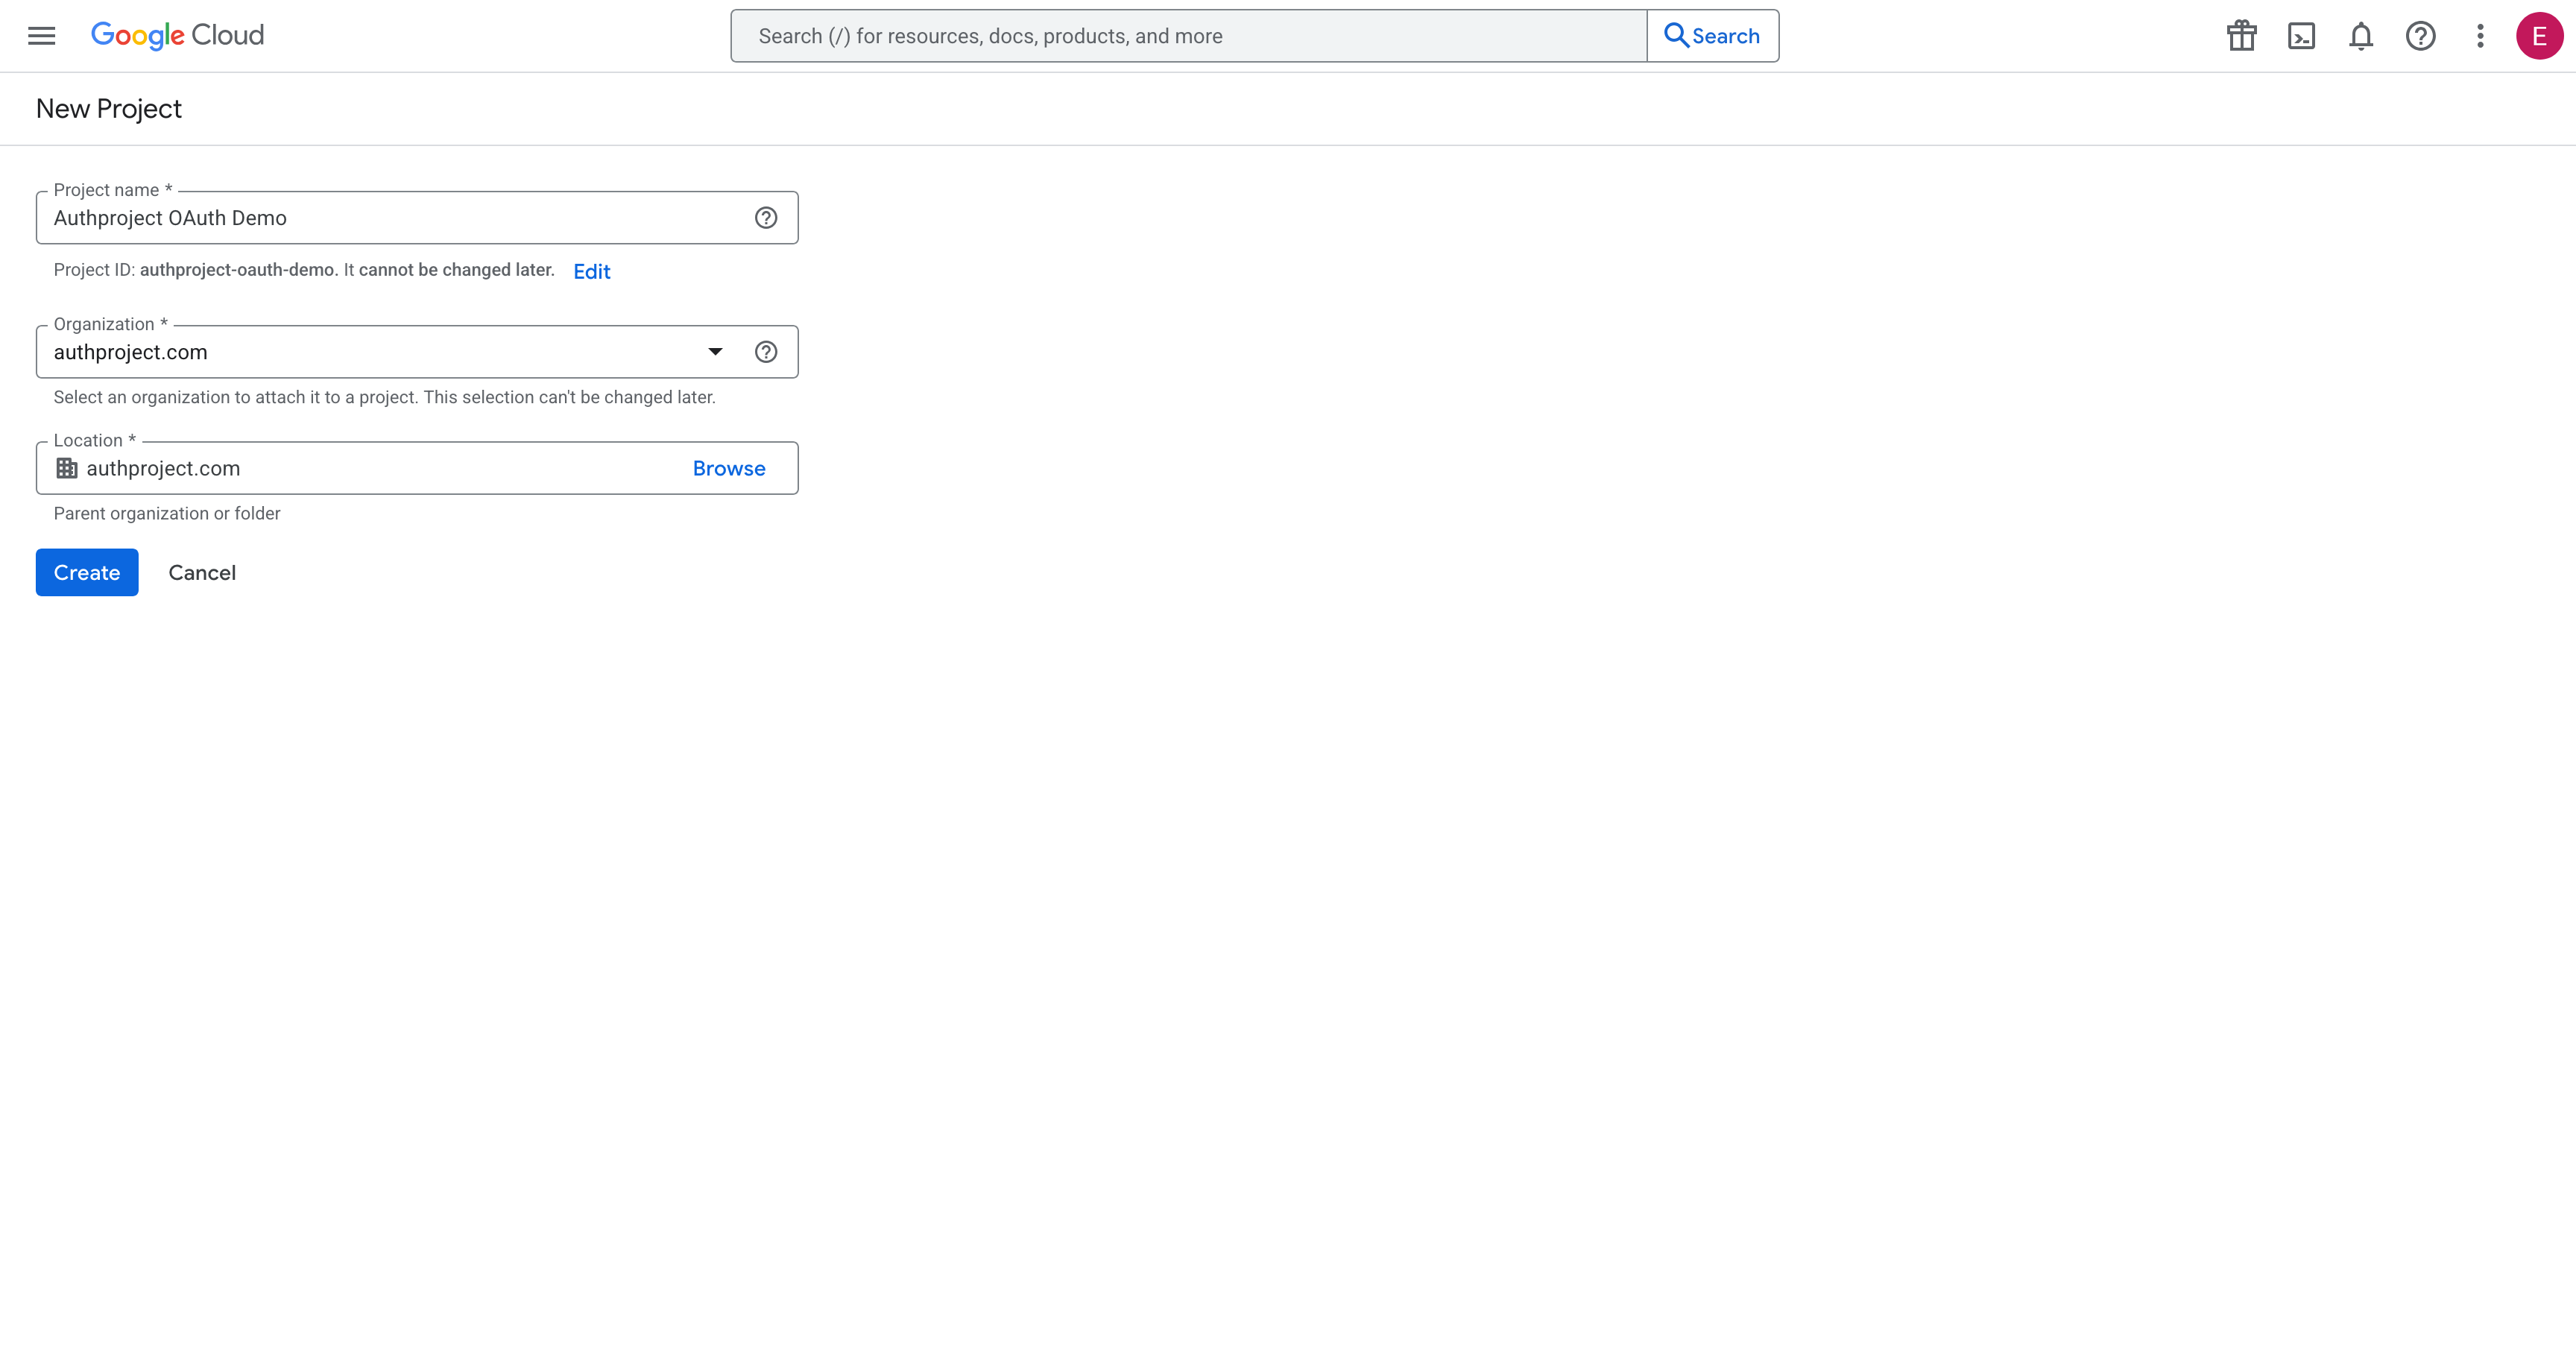
Select the newly created project.

Complete OAuth Consent Screen
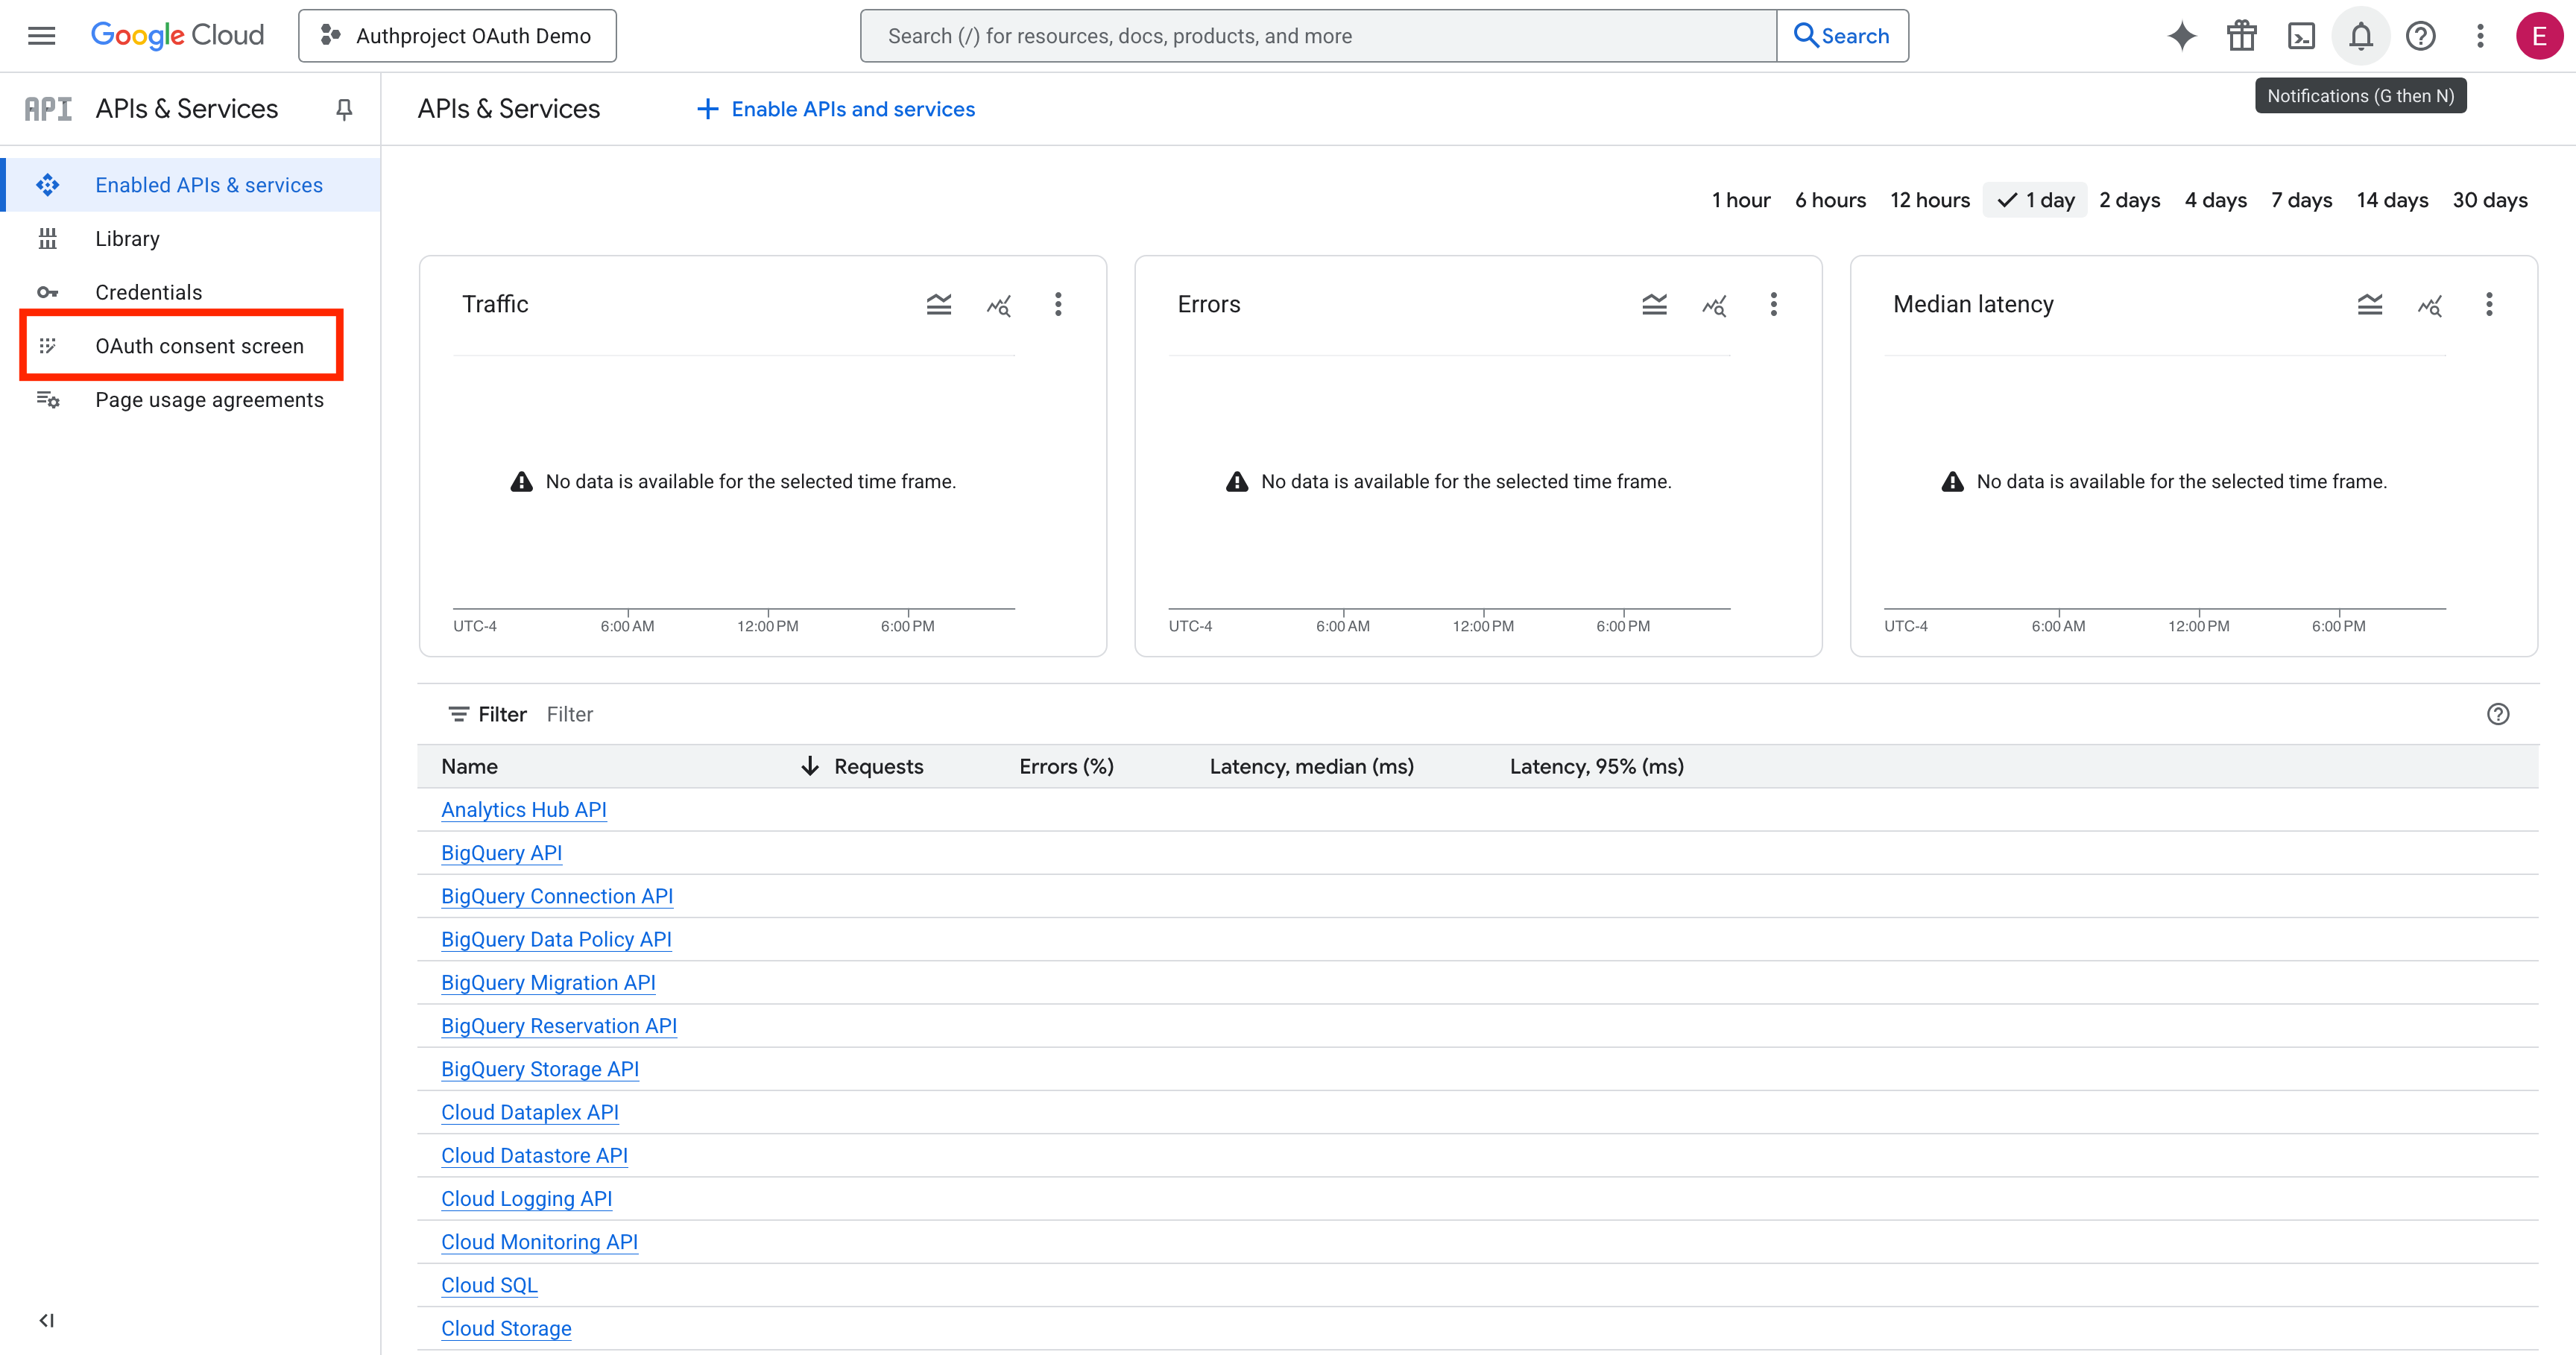
Once the project has been created and has been selected, click on the menu button in the top left, then select “APIs & Services.”

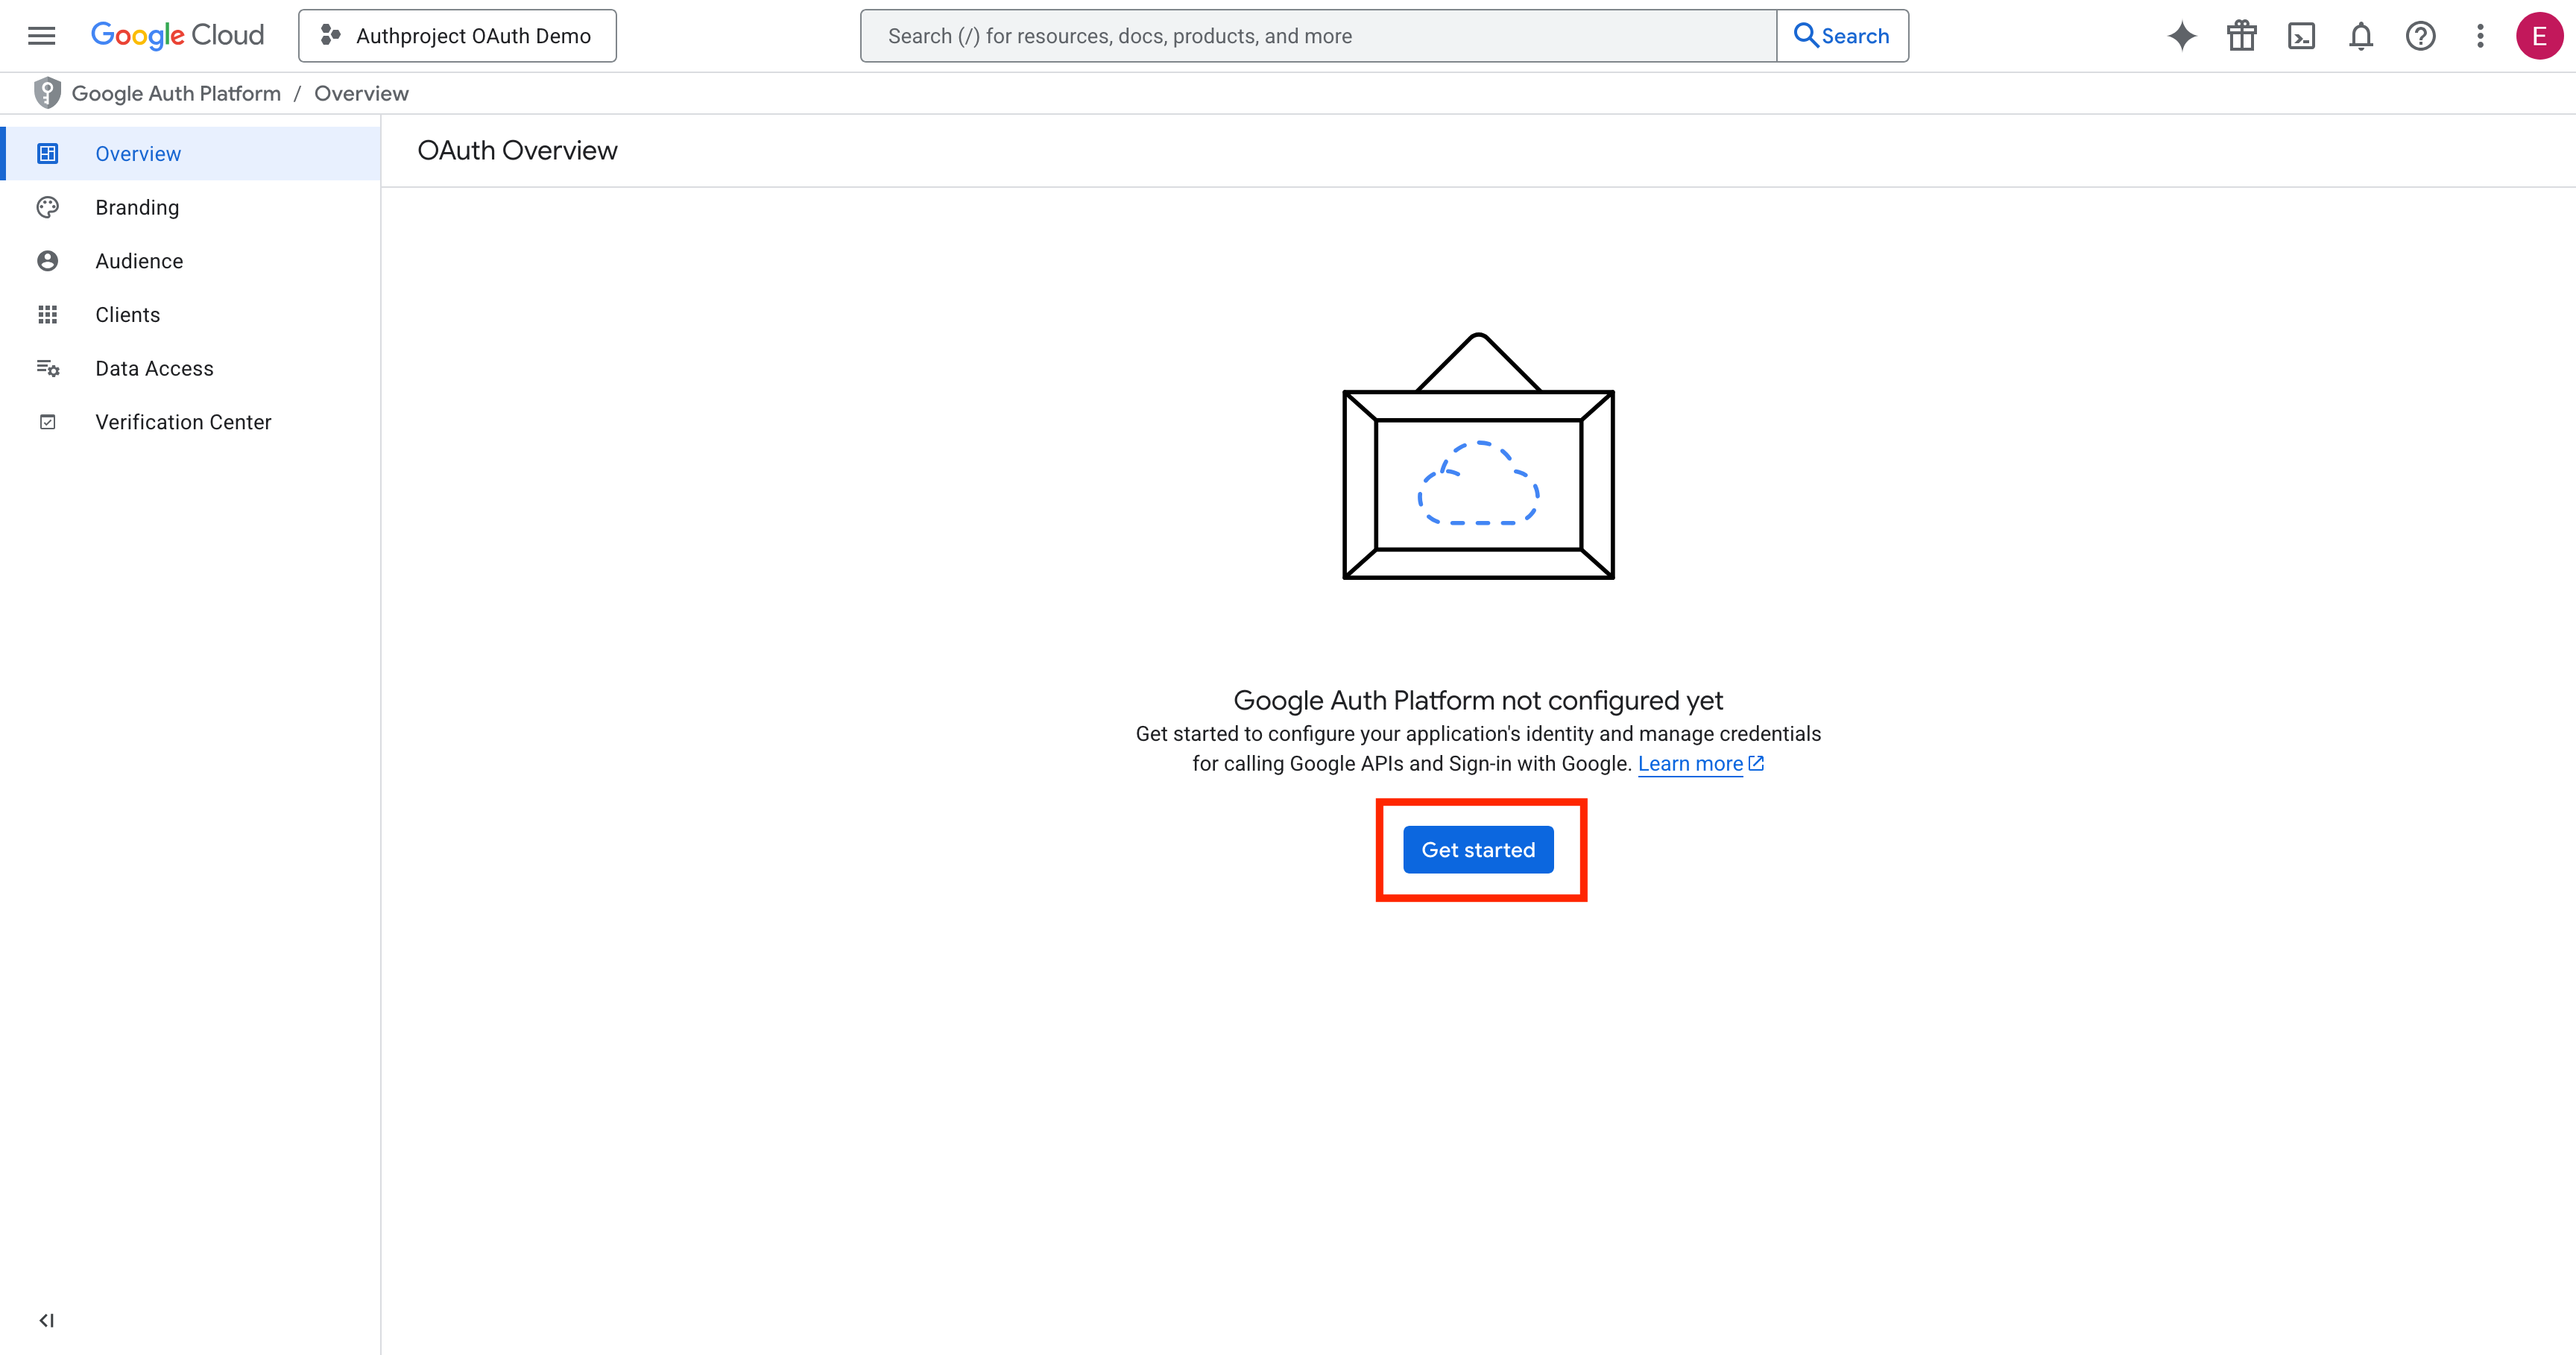
Then, select “OAuth Consent Screen” in the left menu.
Click on “Get Started.”
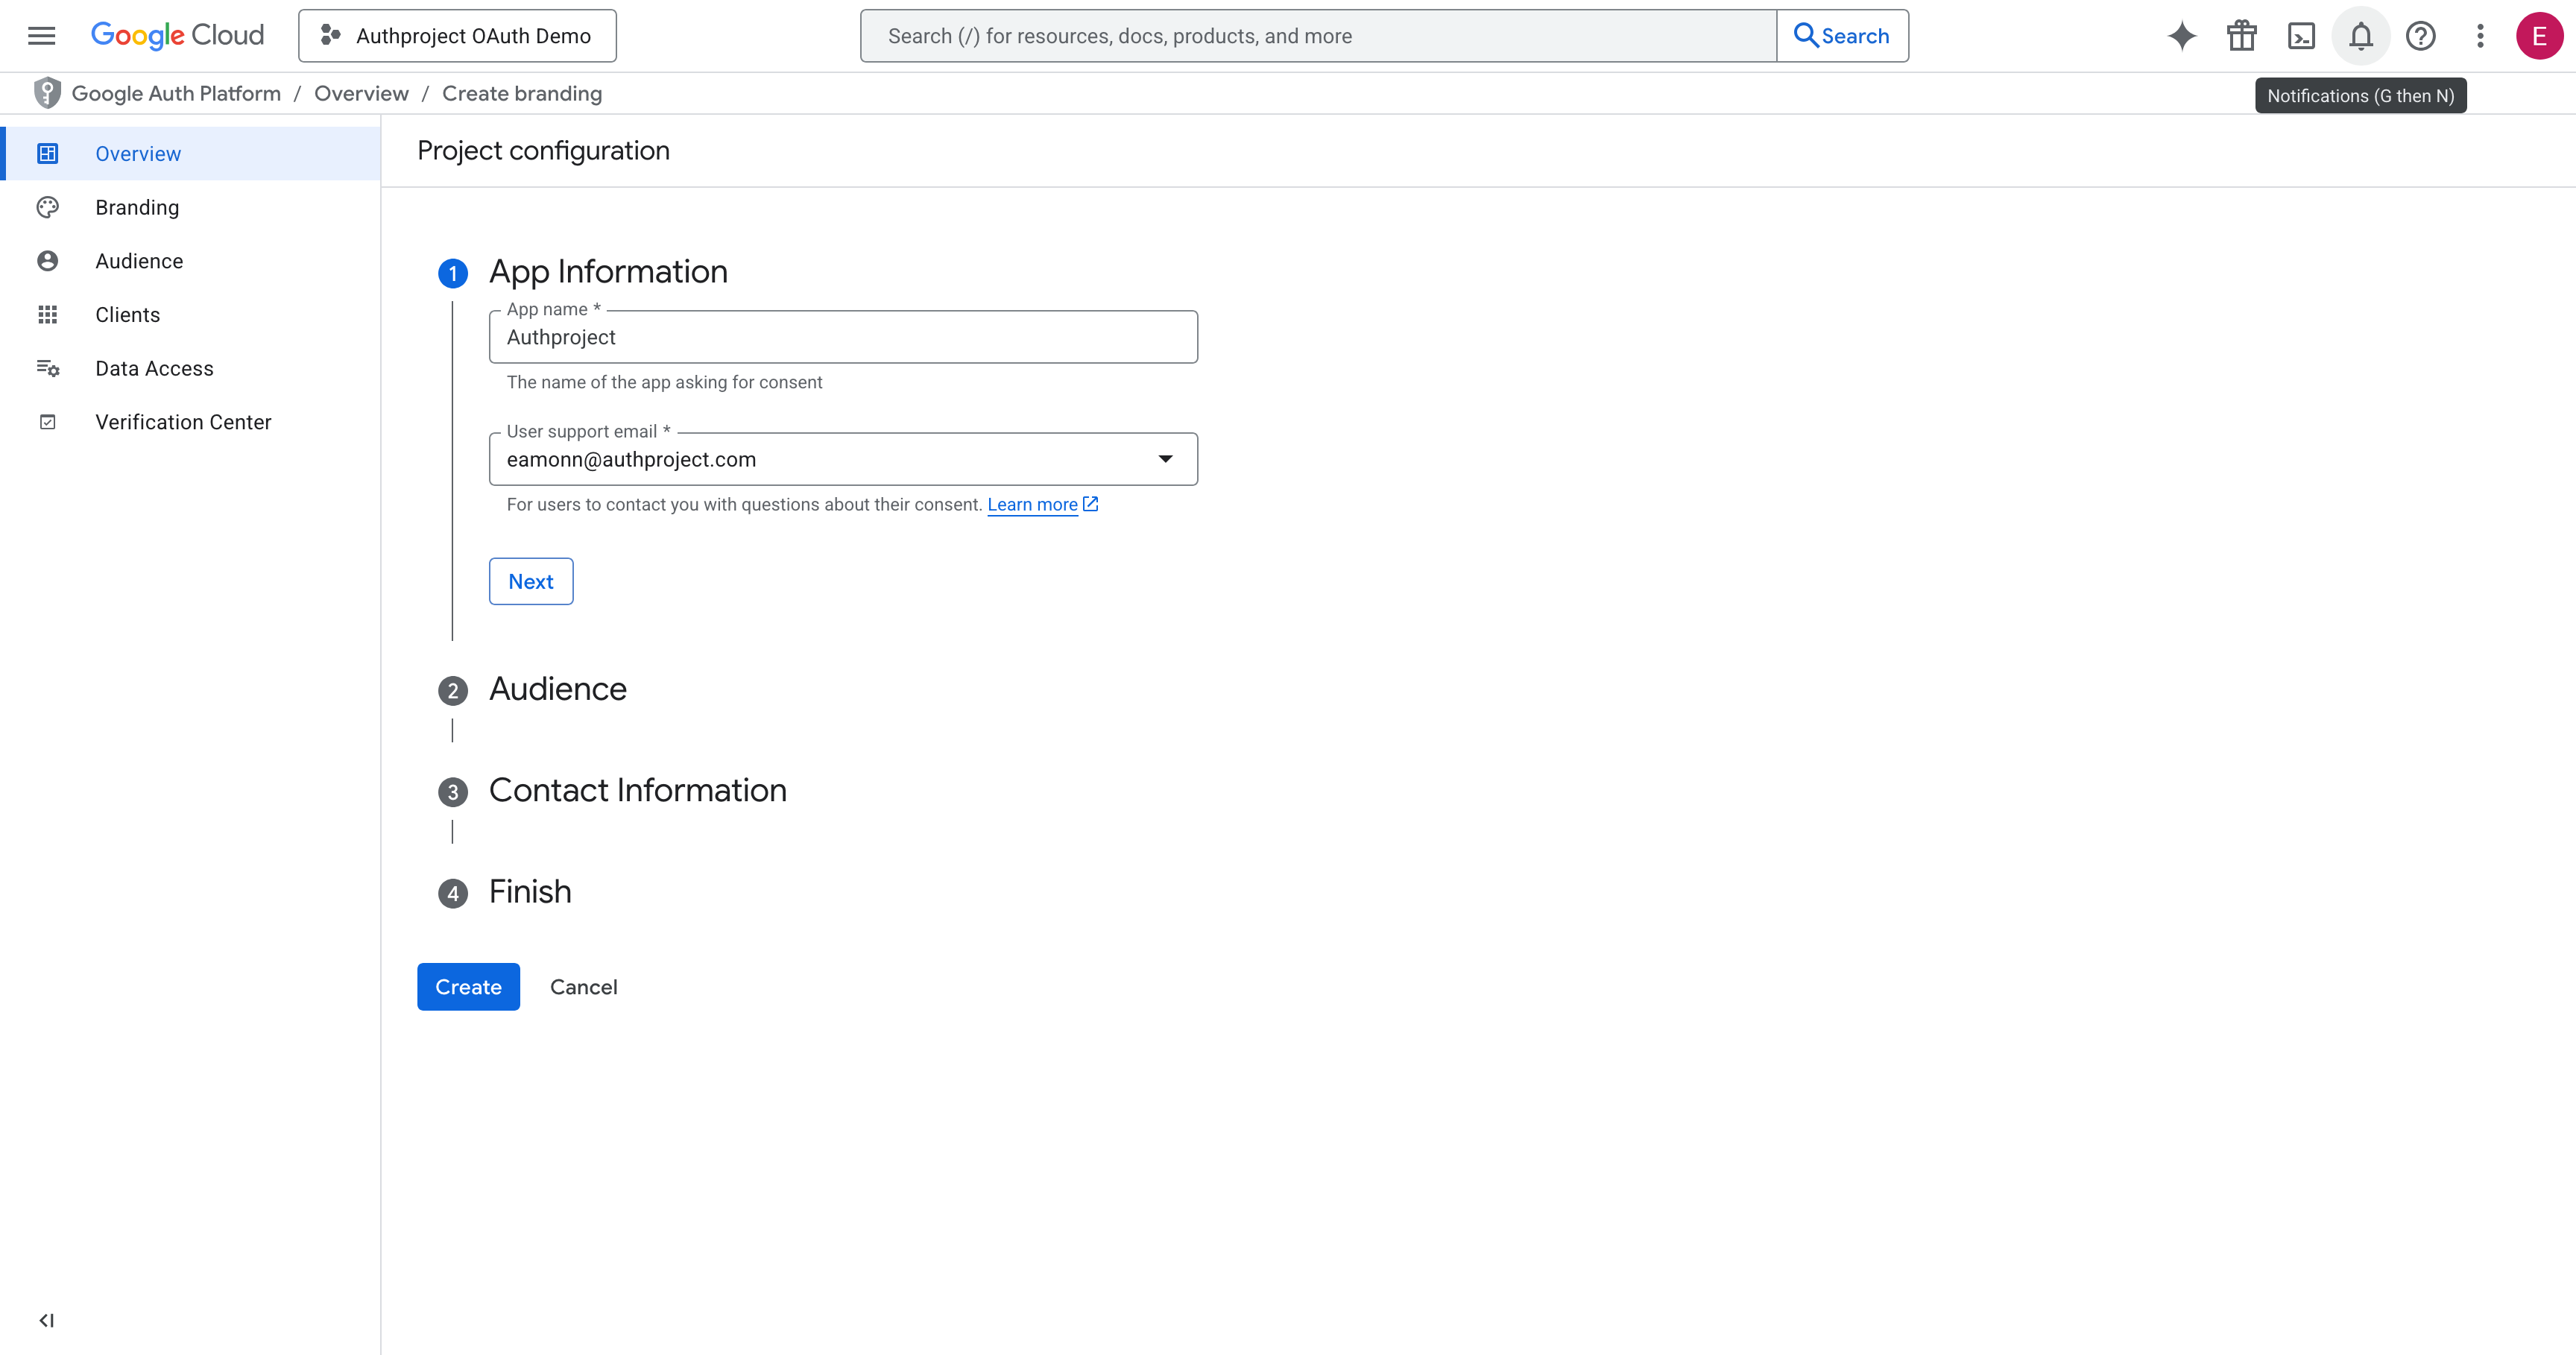
Fill out the relevant fields. The information entered should be specific to your authentication domain. Replace “Authproject” with the name of your application or company, and enter your support email in the box.
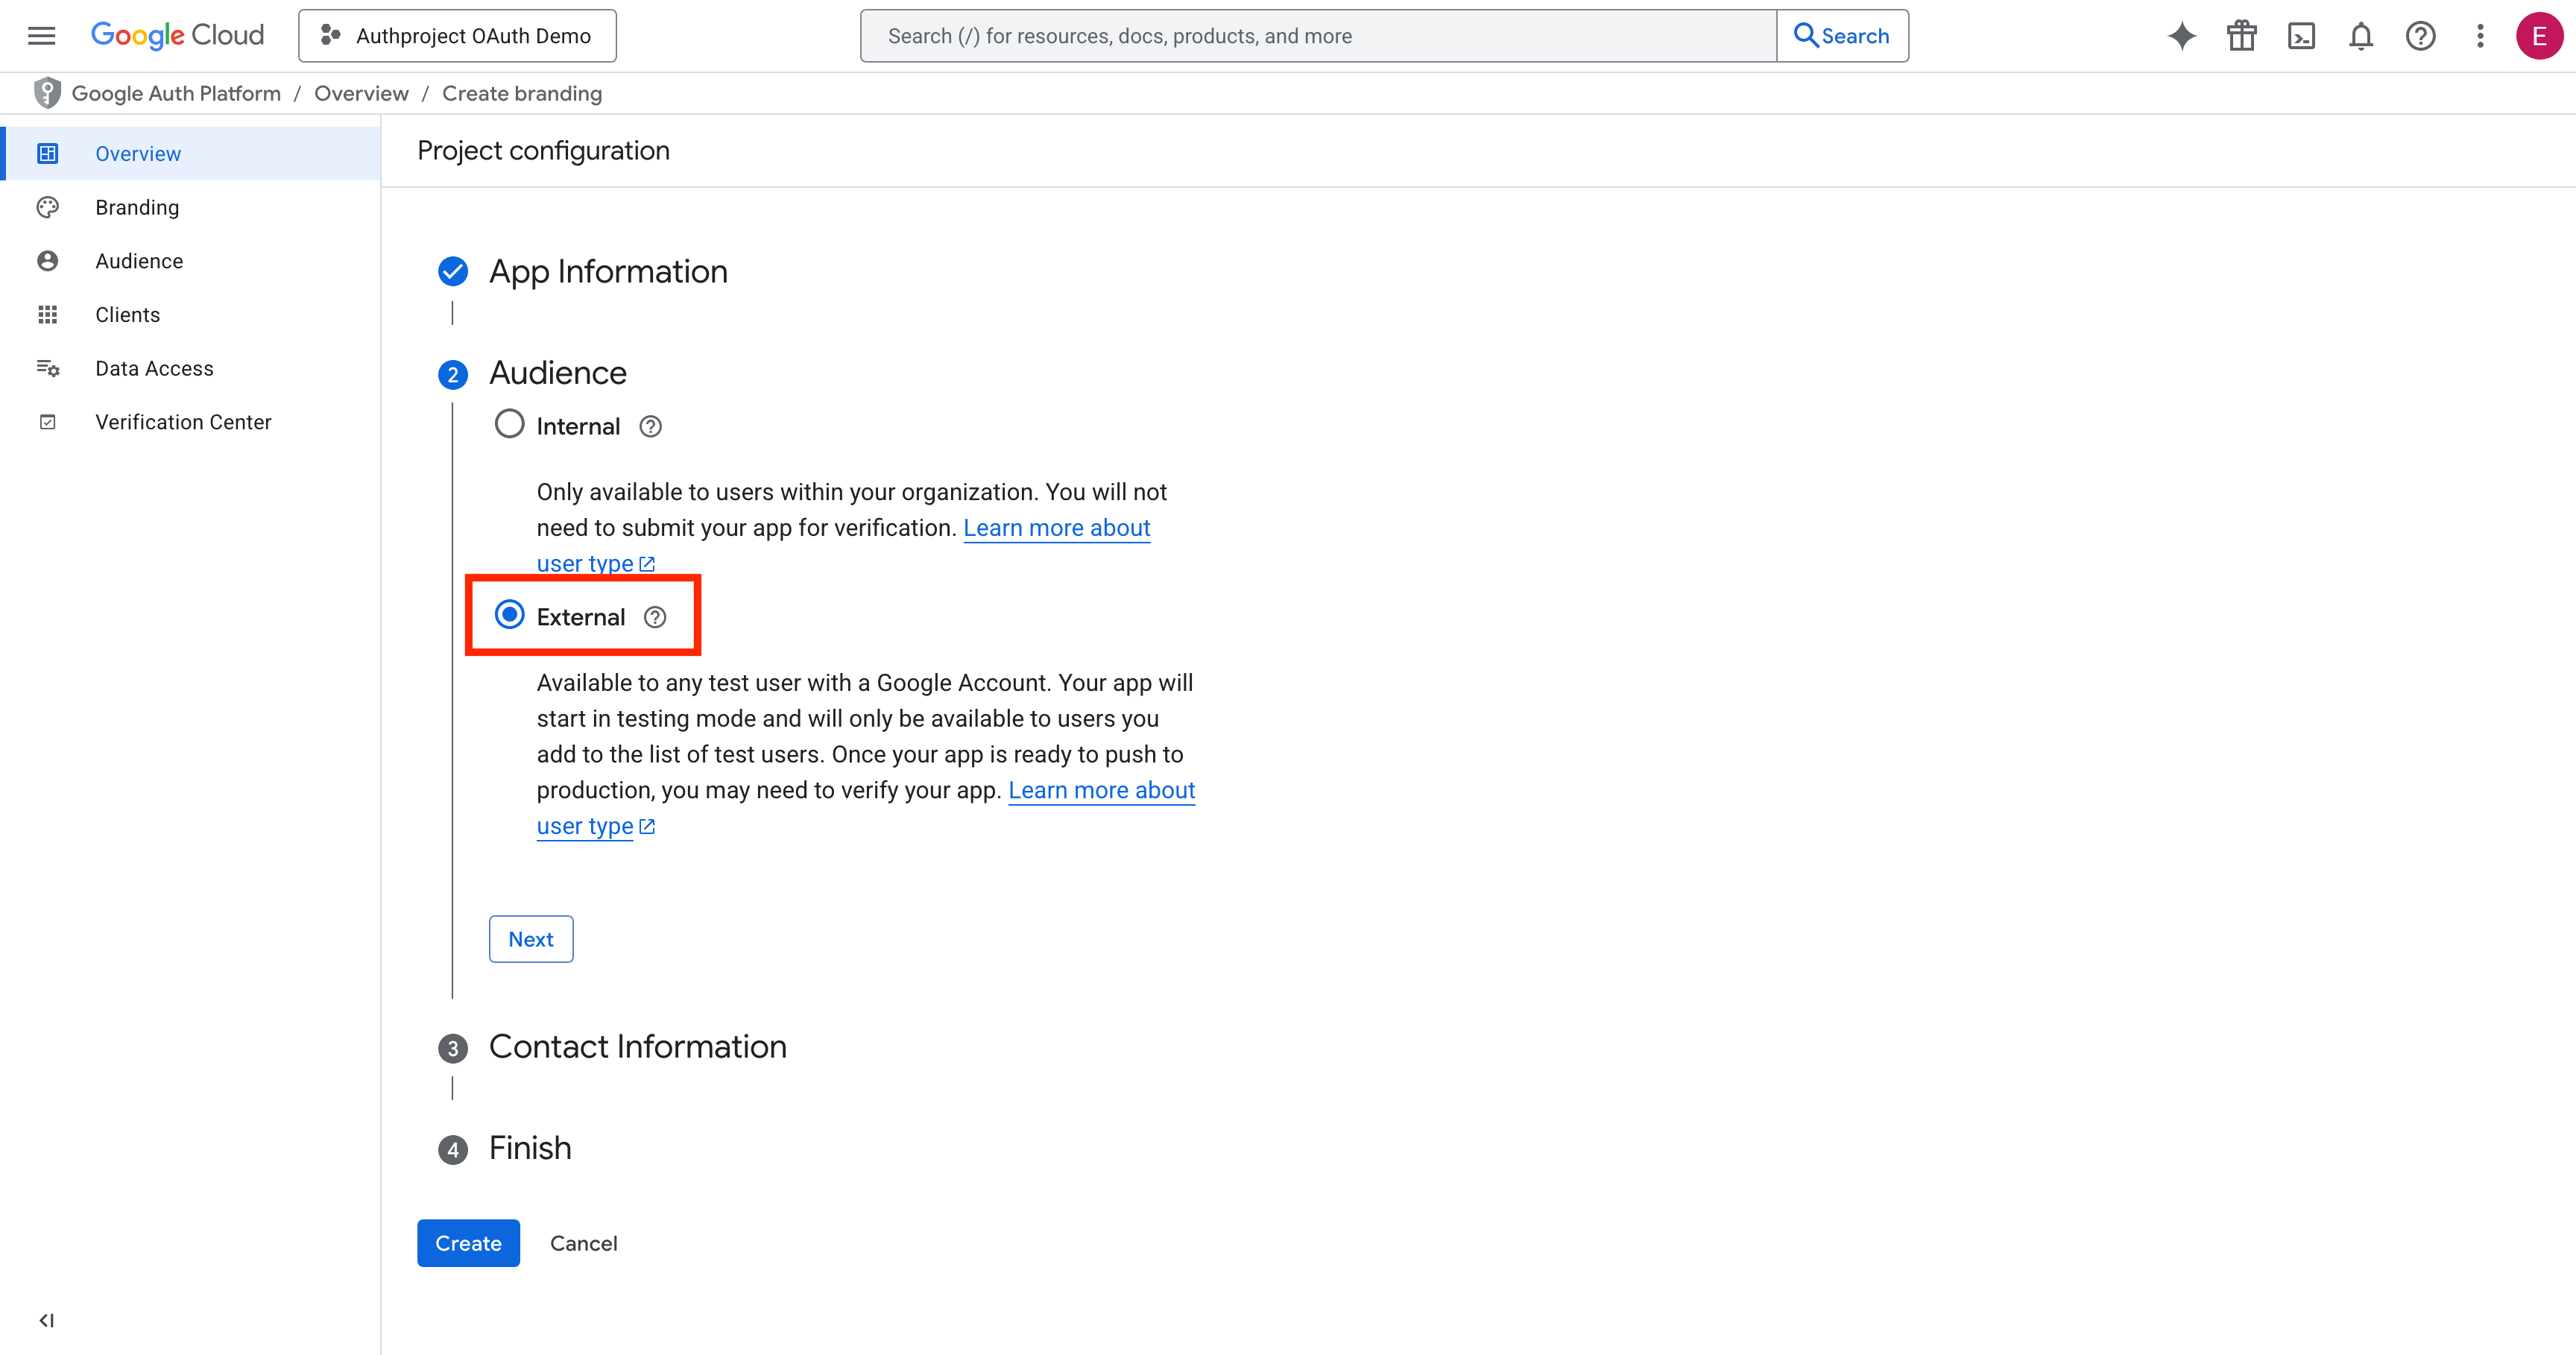
Select “External.”
Enter the email address to which you would like updates delivered, for when Google sends notifications about this OAuth consent screen.
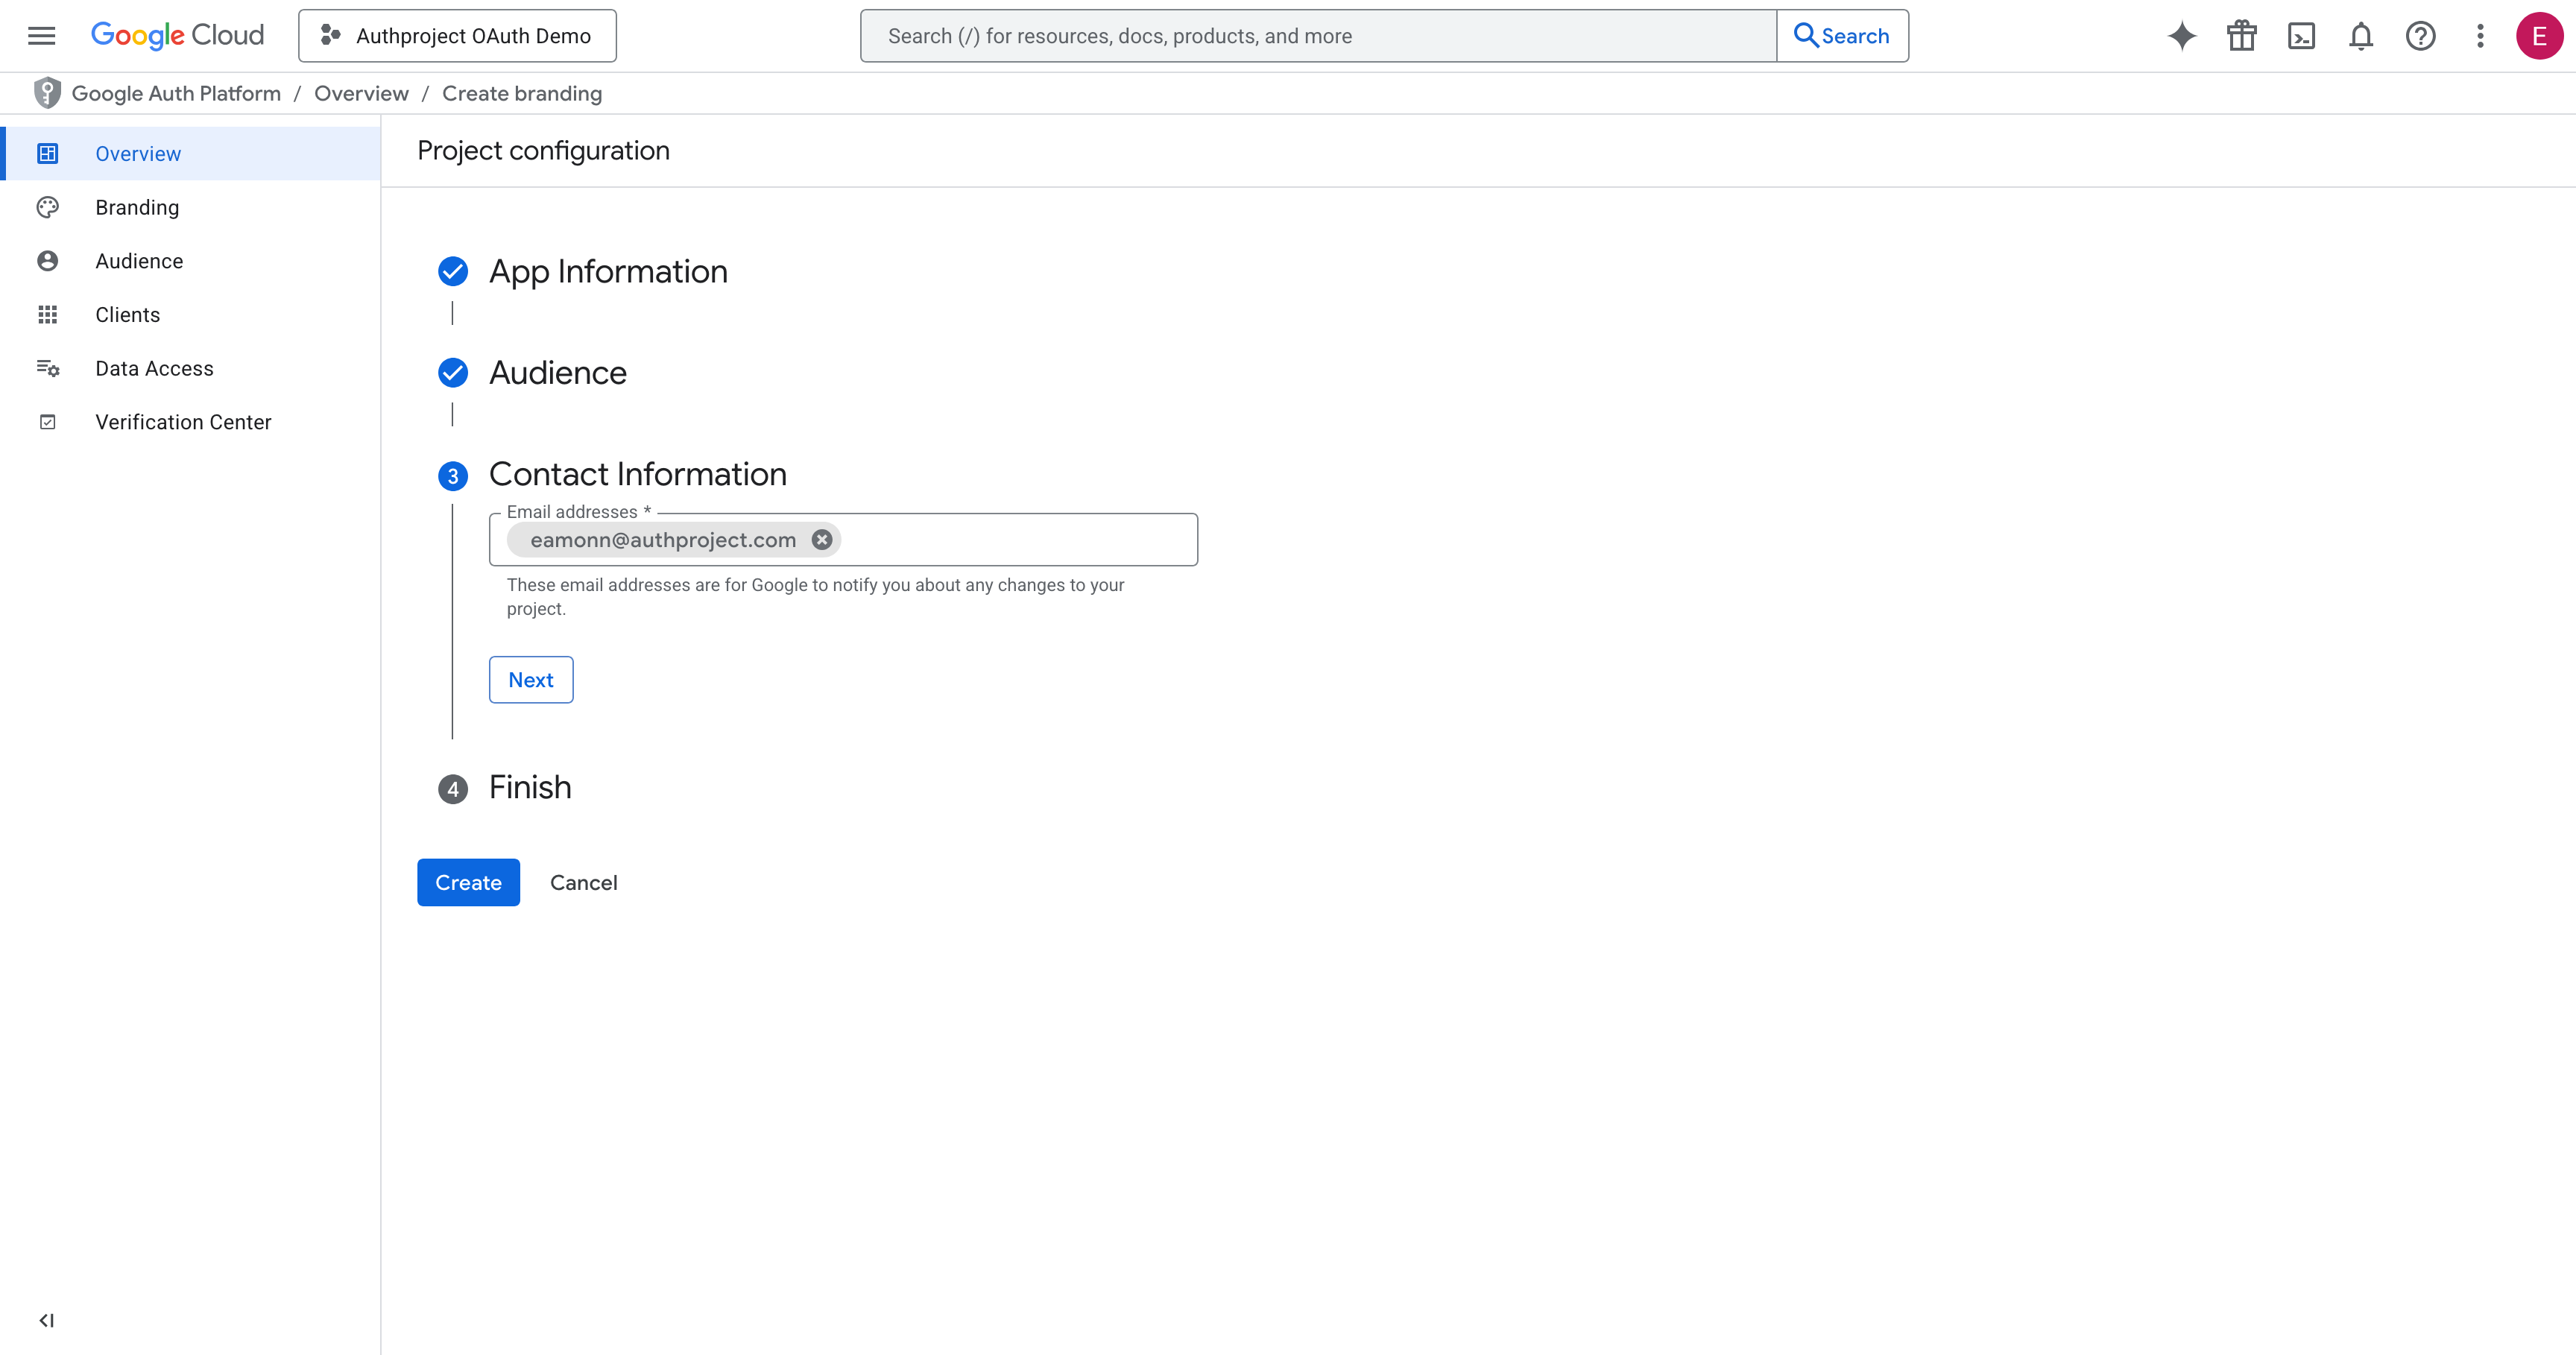
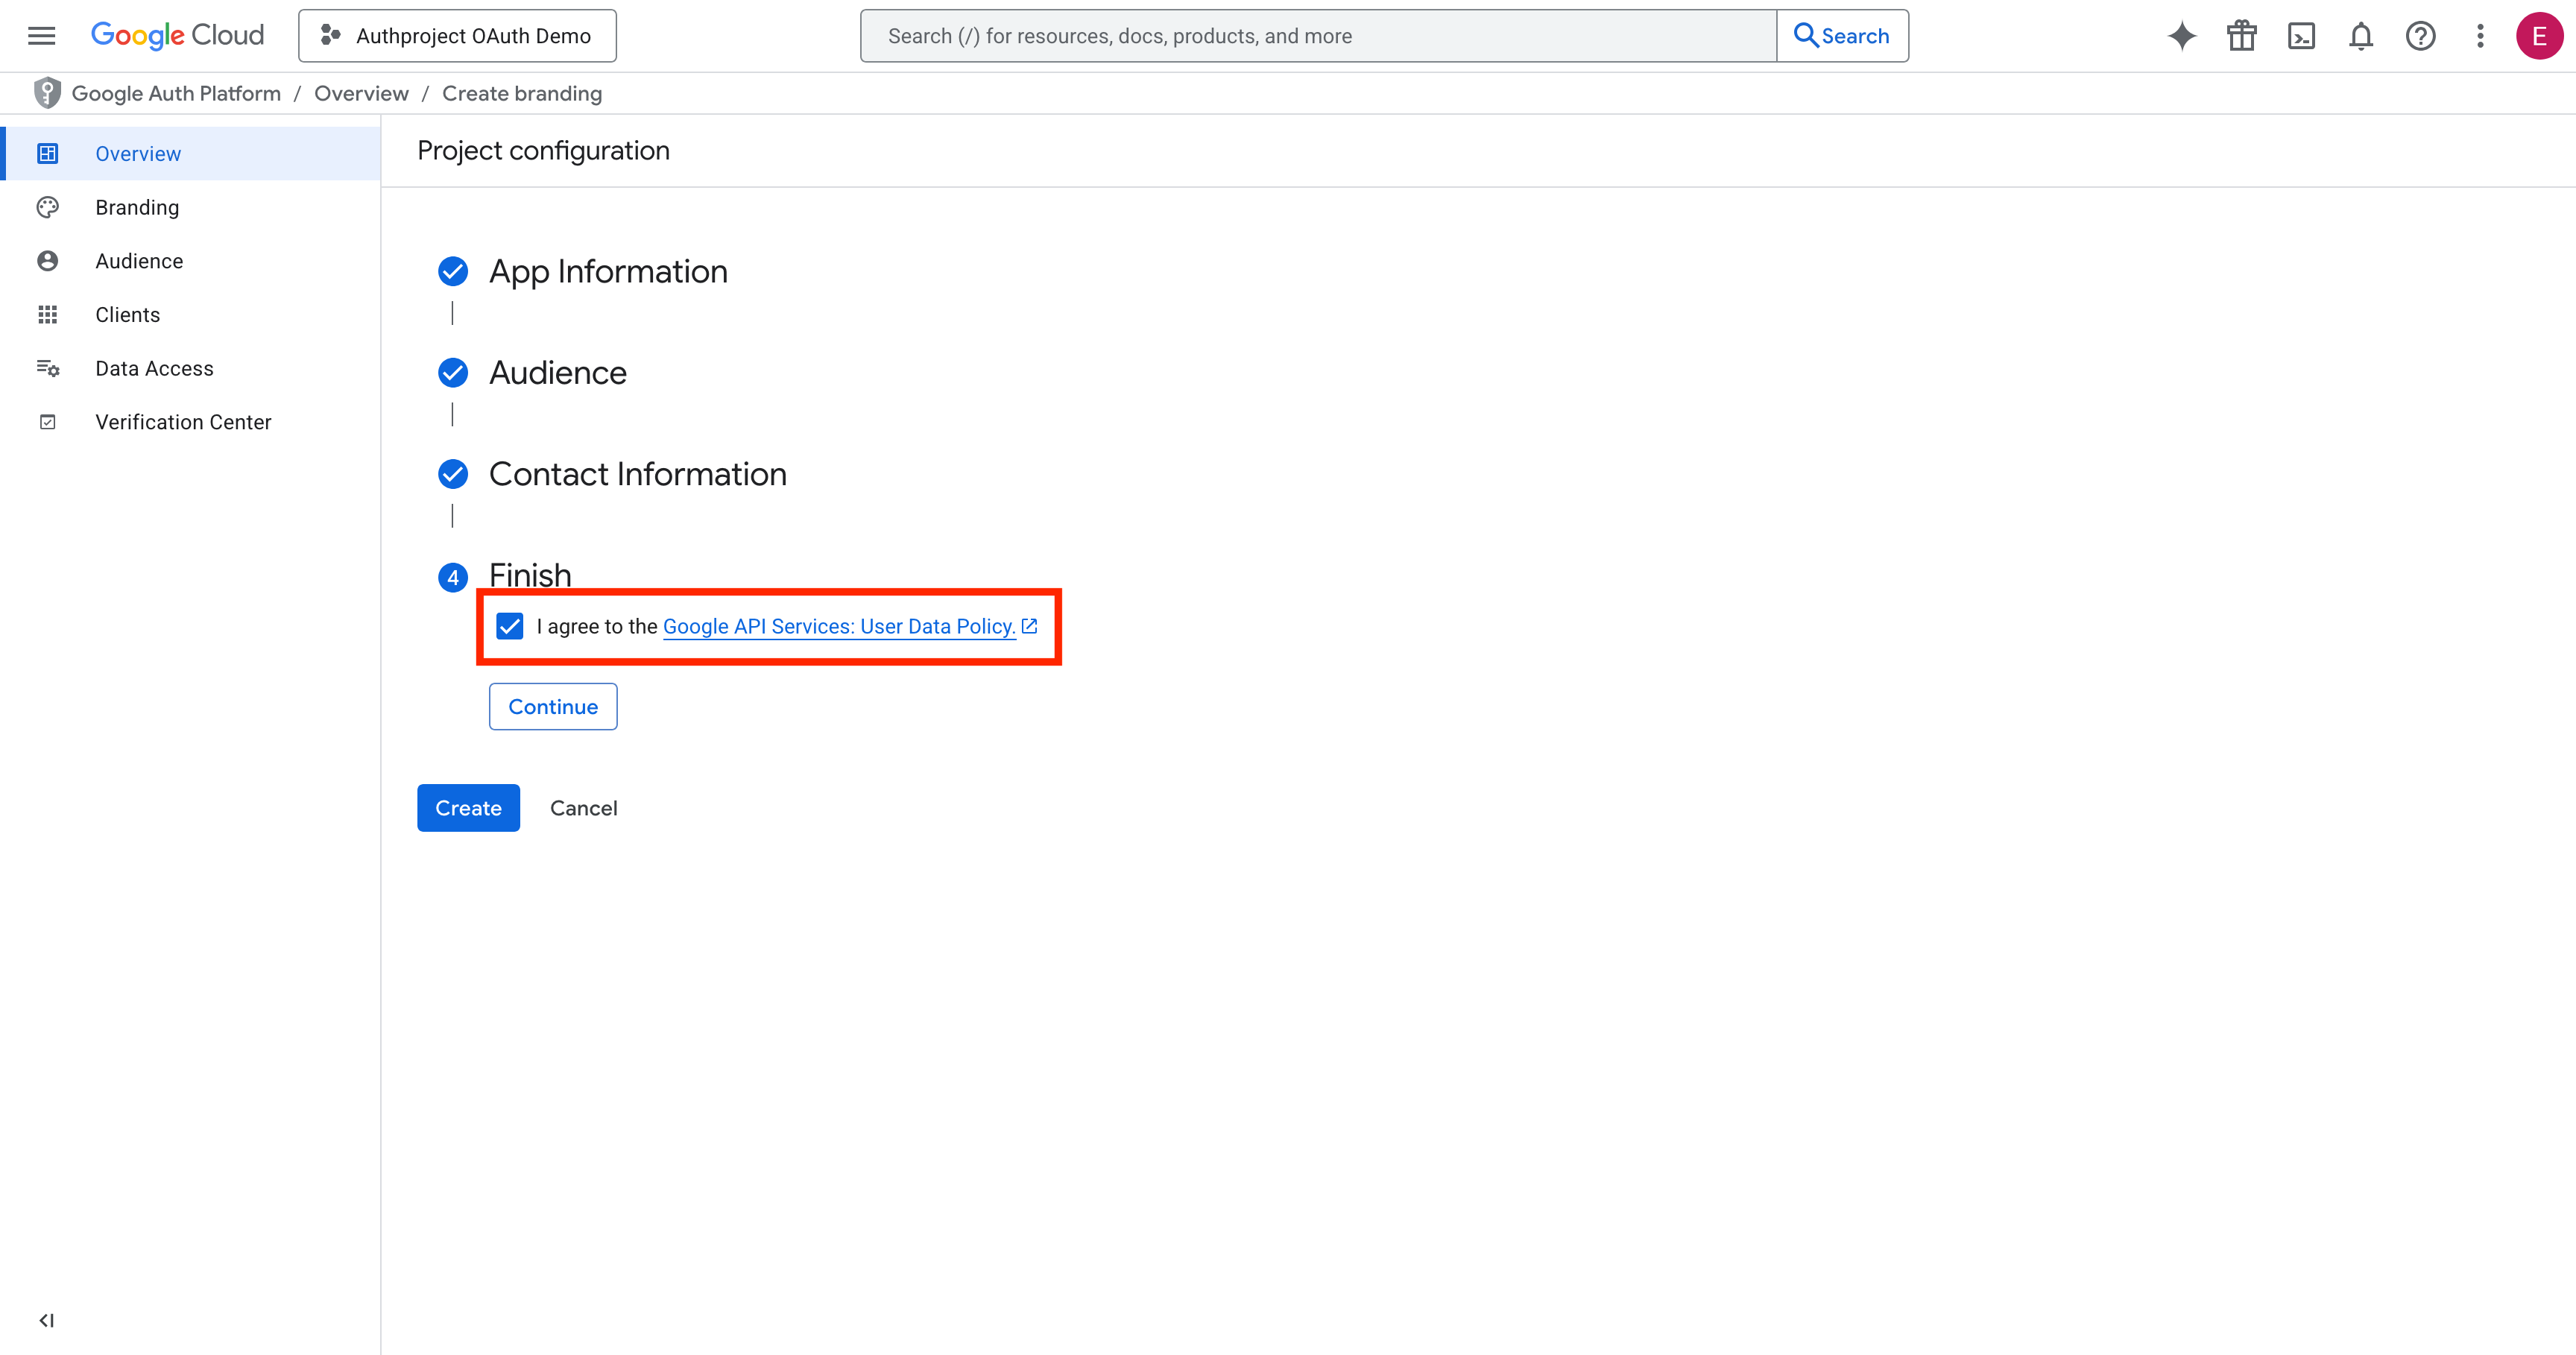
Agree to the terms and hit “Continue” and “Create.”
Create the OAuth Client
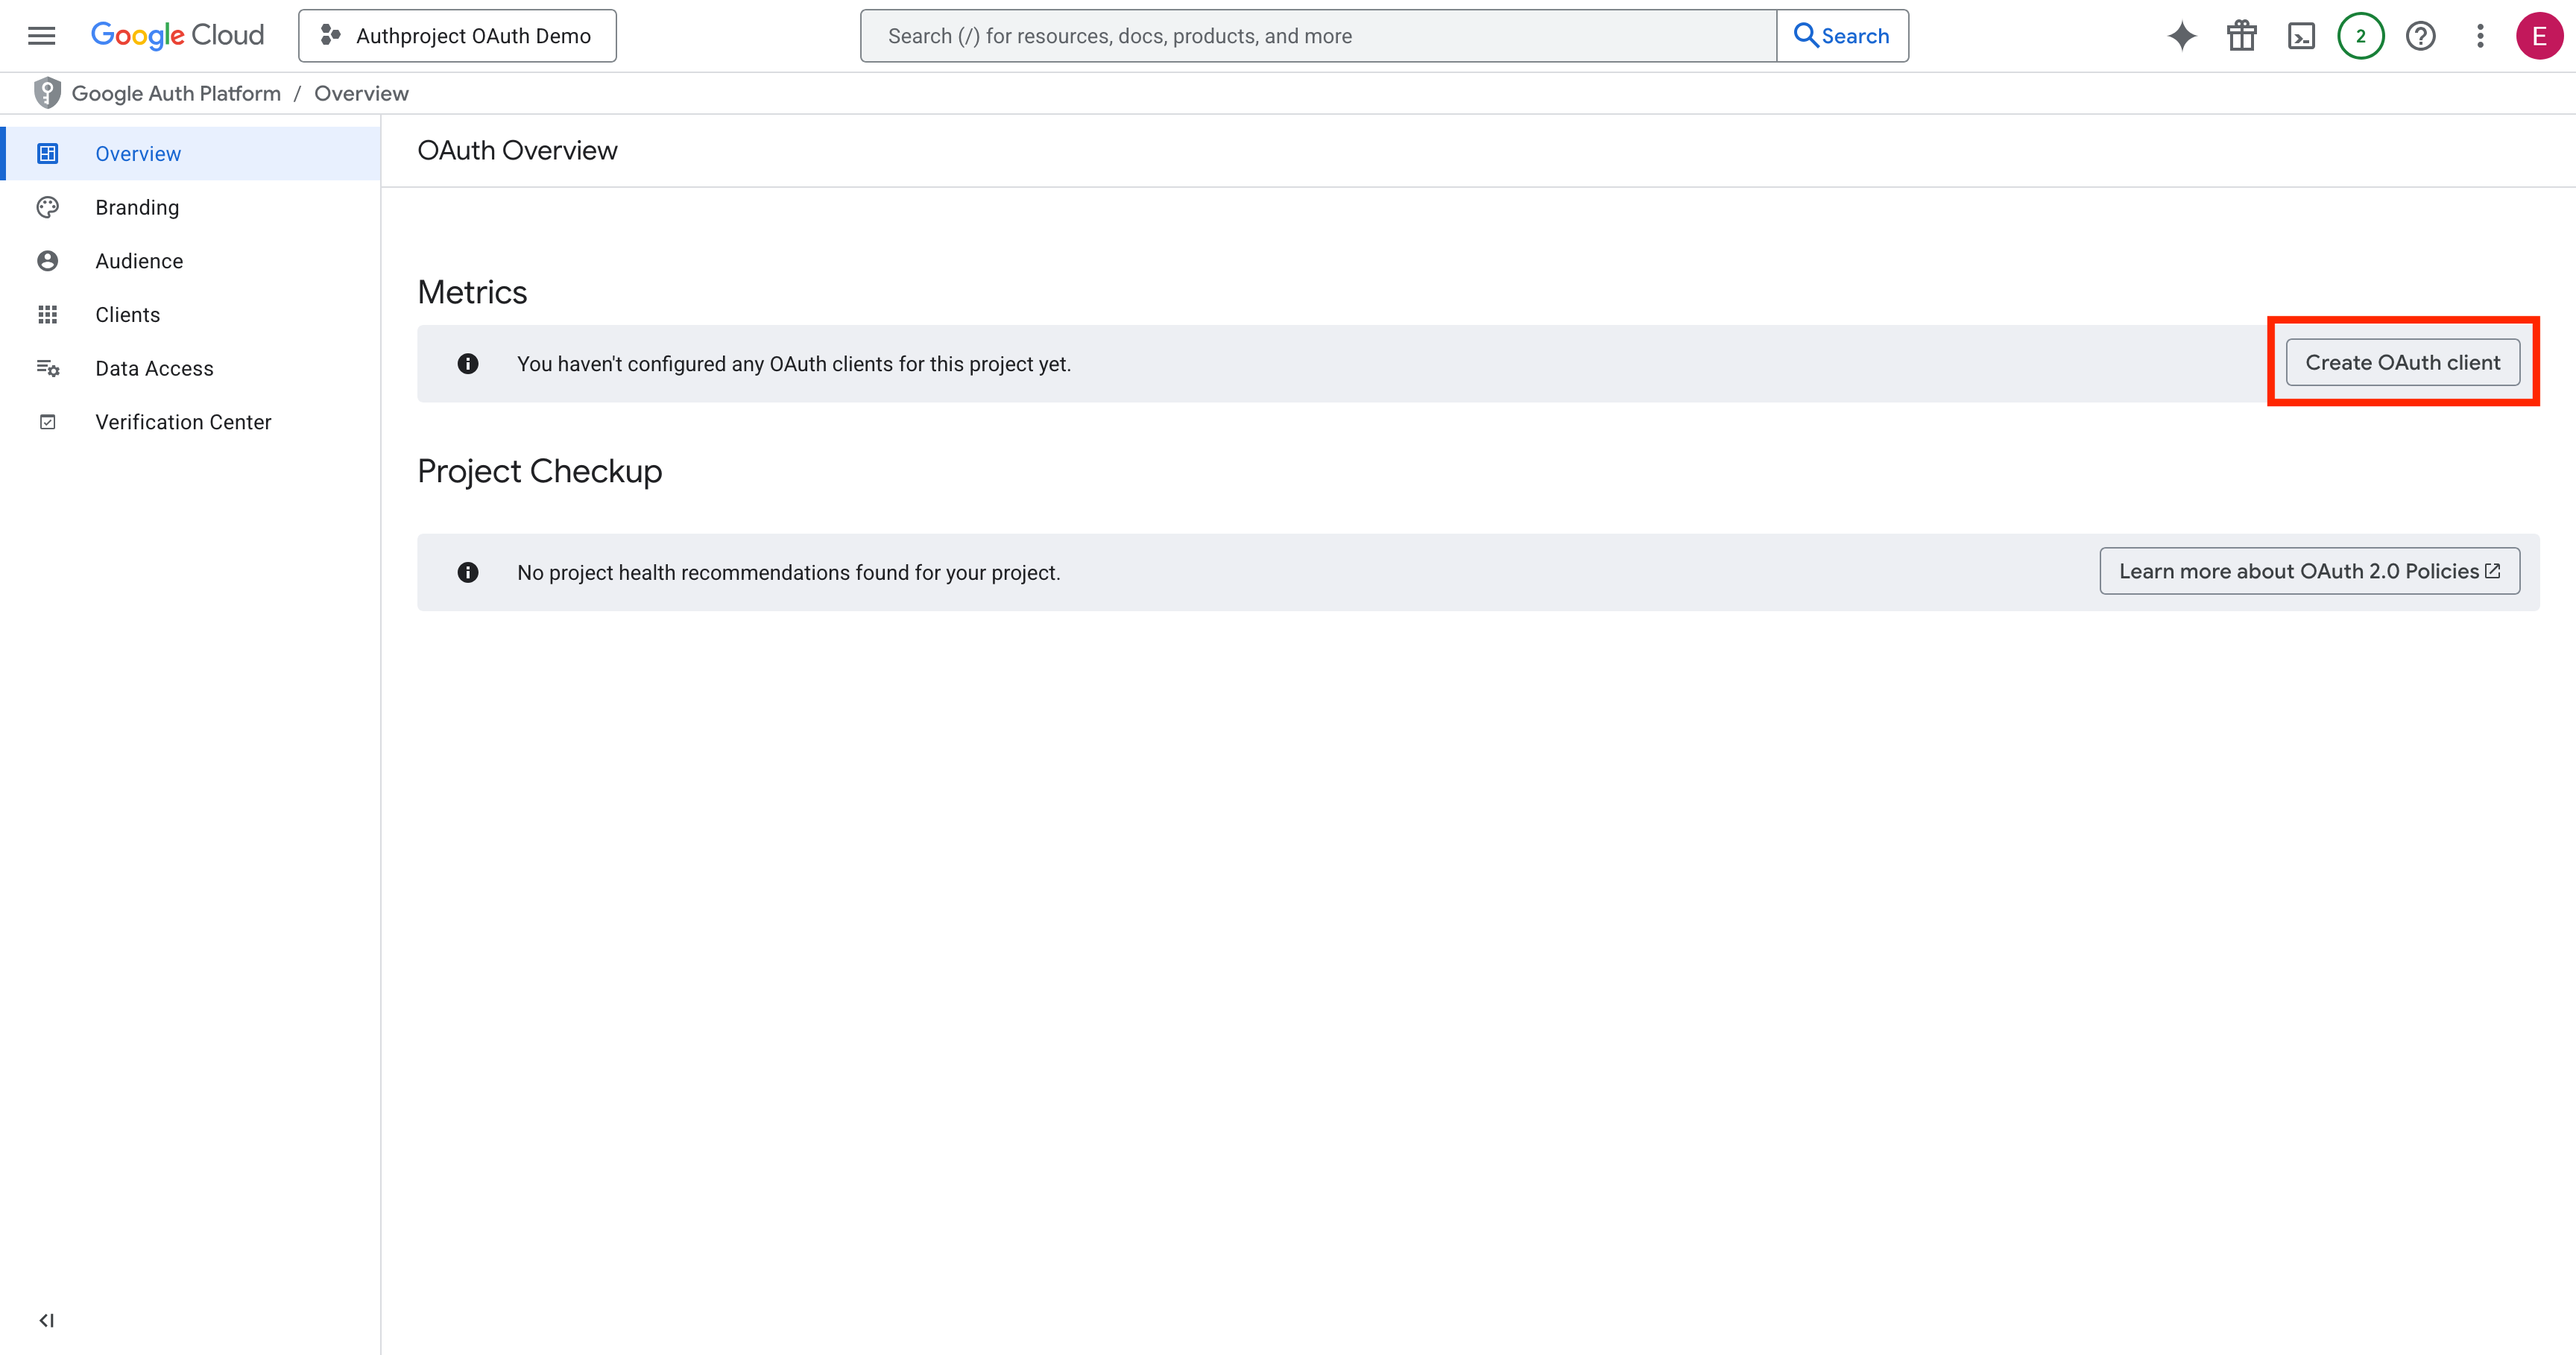
On the OAuth Overview page, click on “Create OAuth Client.”
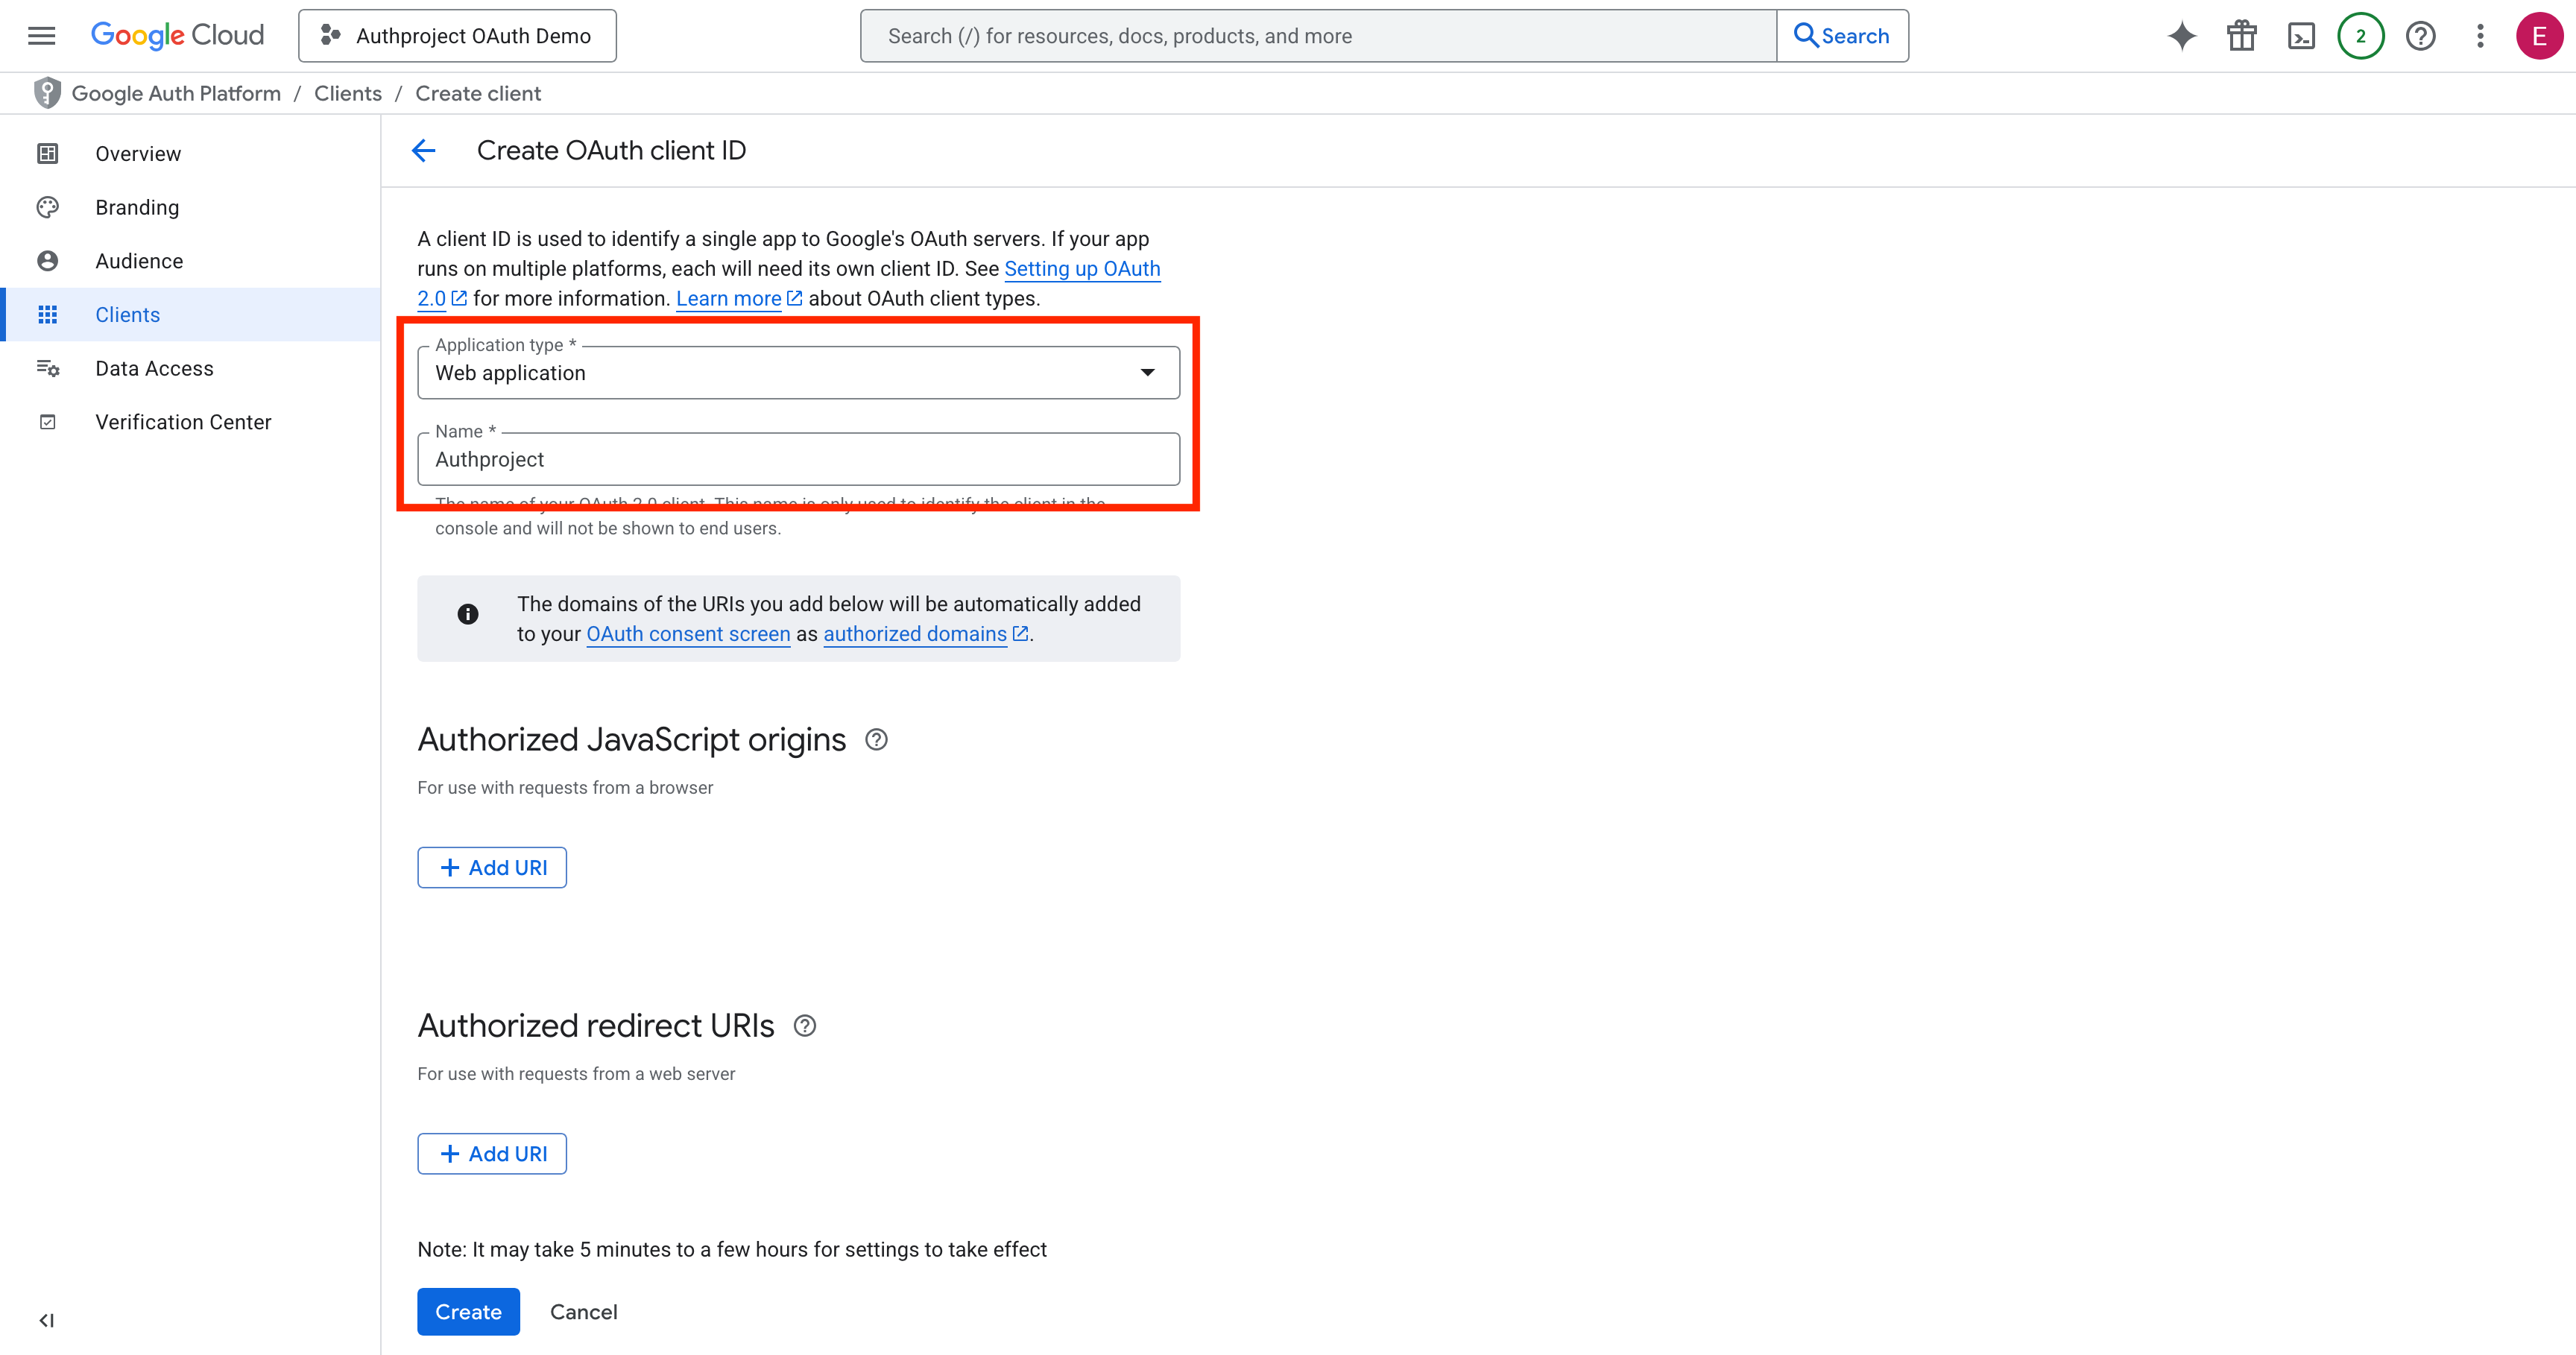
Select “Web Application,” enter a name, and hit Create at the bottom.
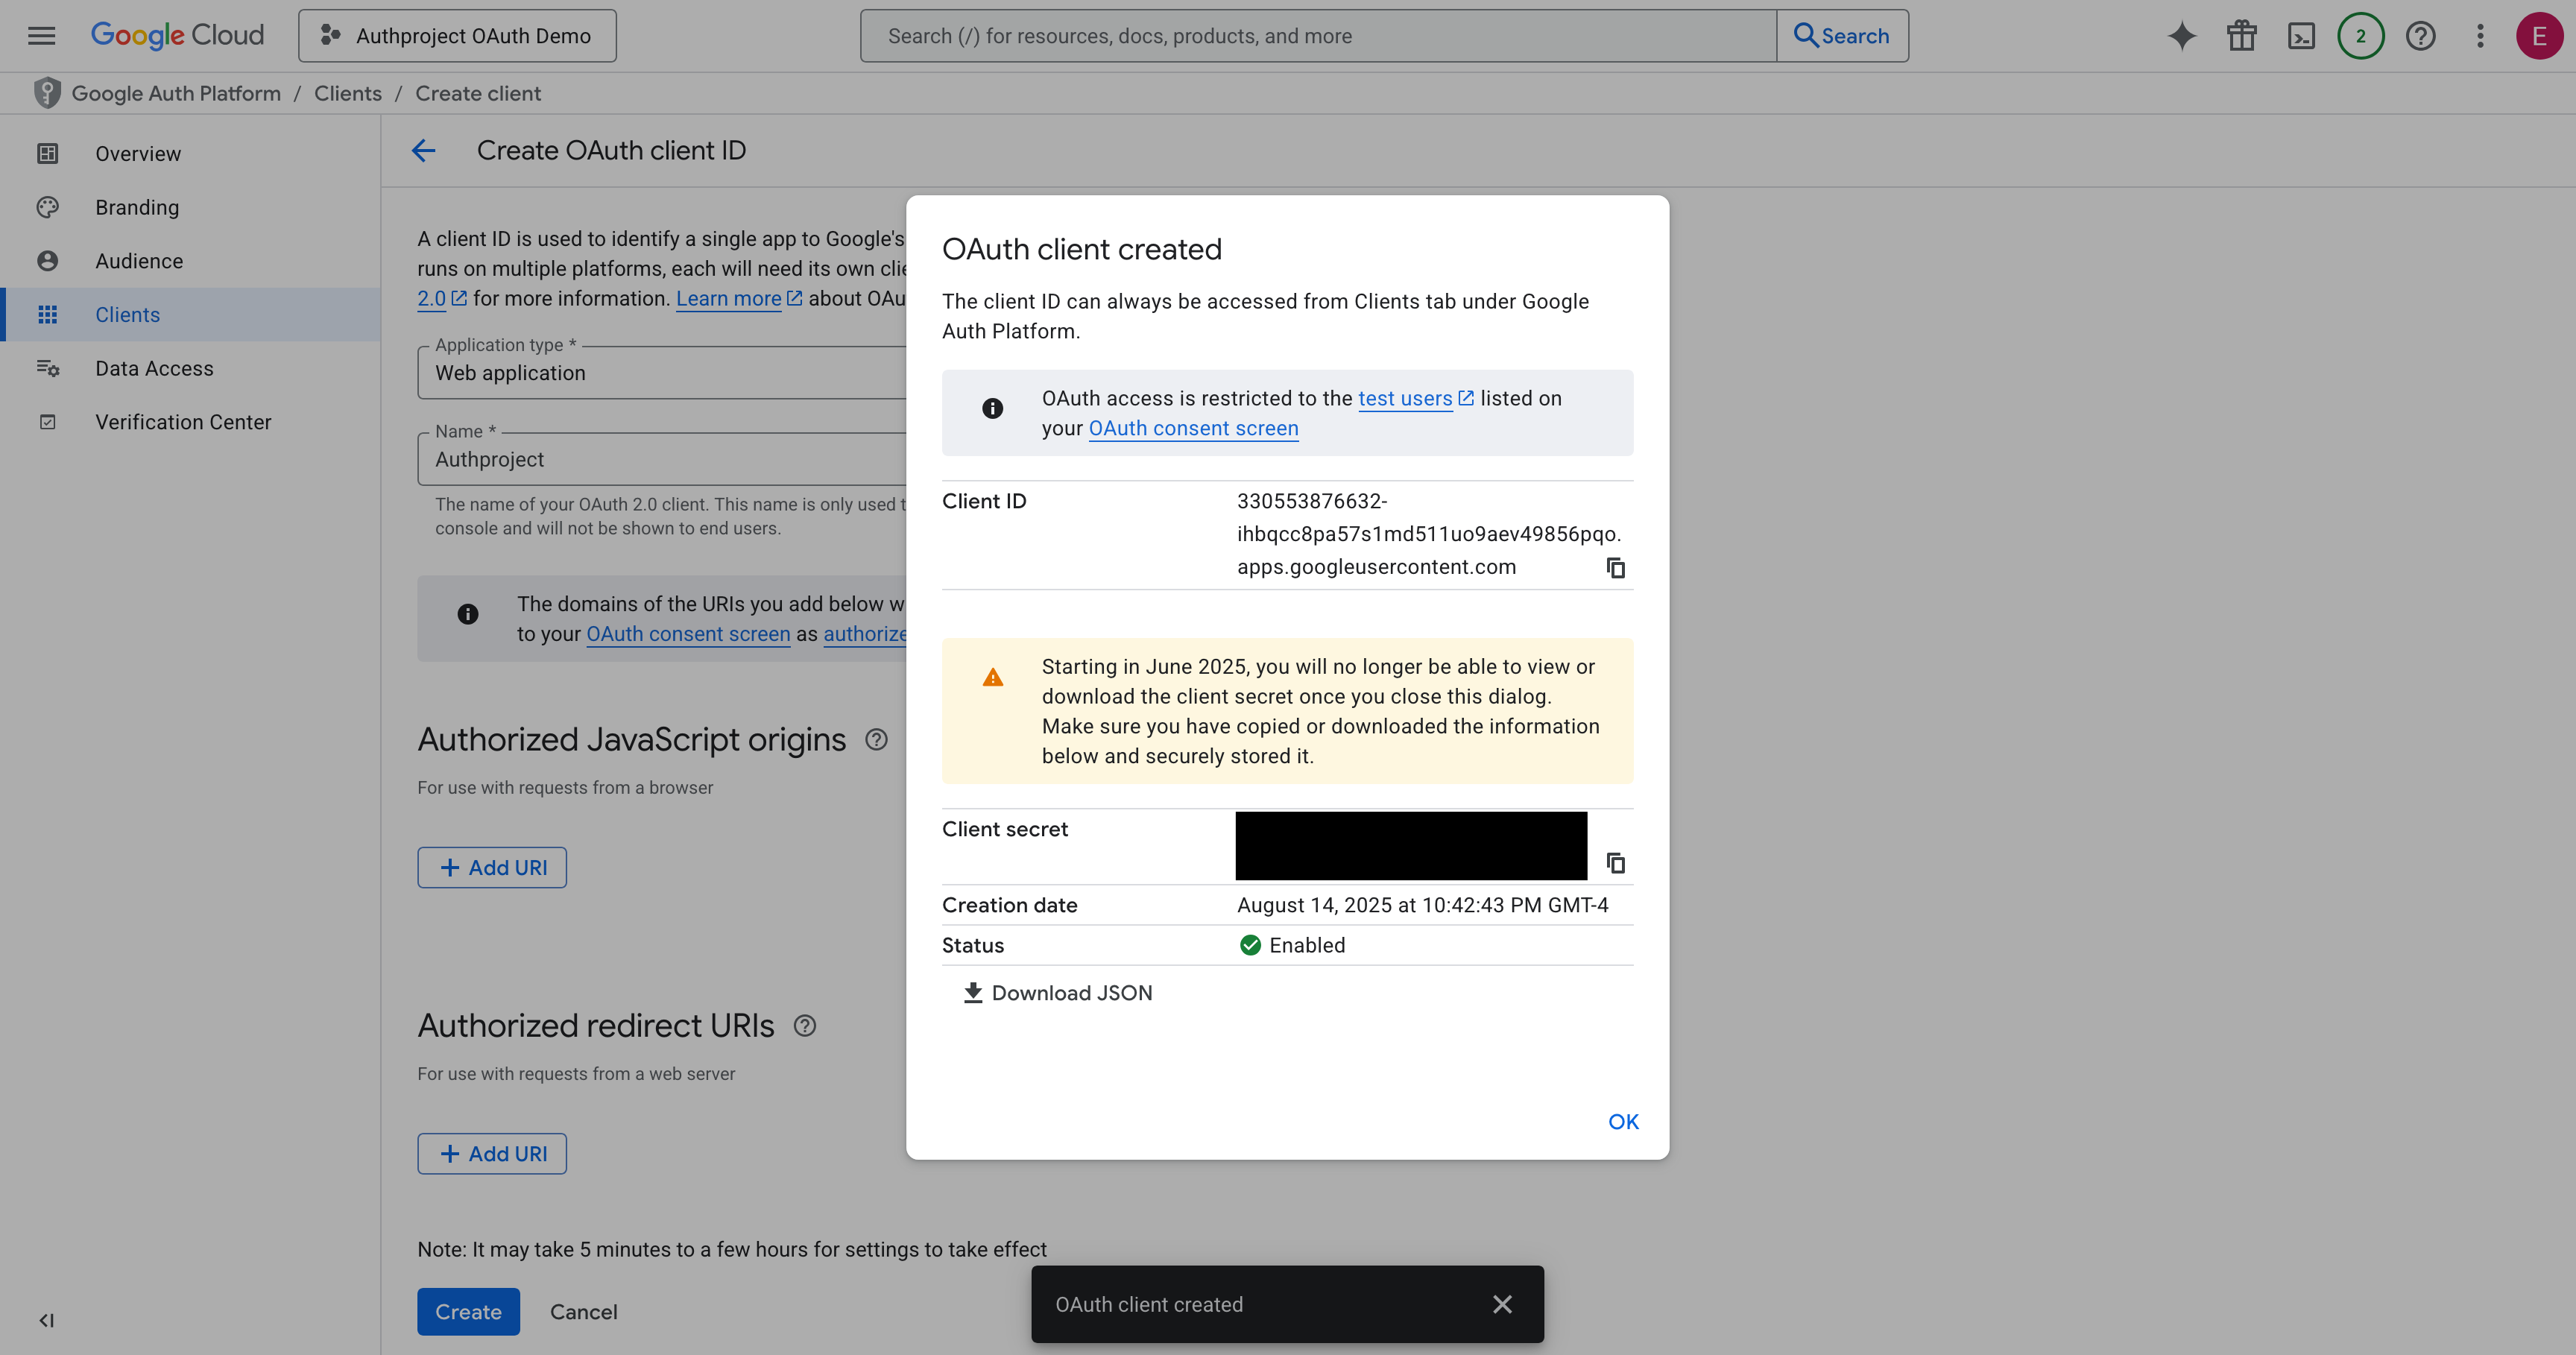
Copy the Client ID and Client Secret, and save them somewhere safe. Optionally, download them as JSON and save it for later.
Create the resources in Authproject
Create the OAuth Provider
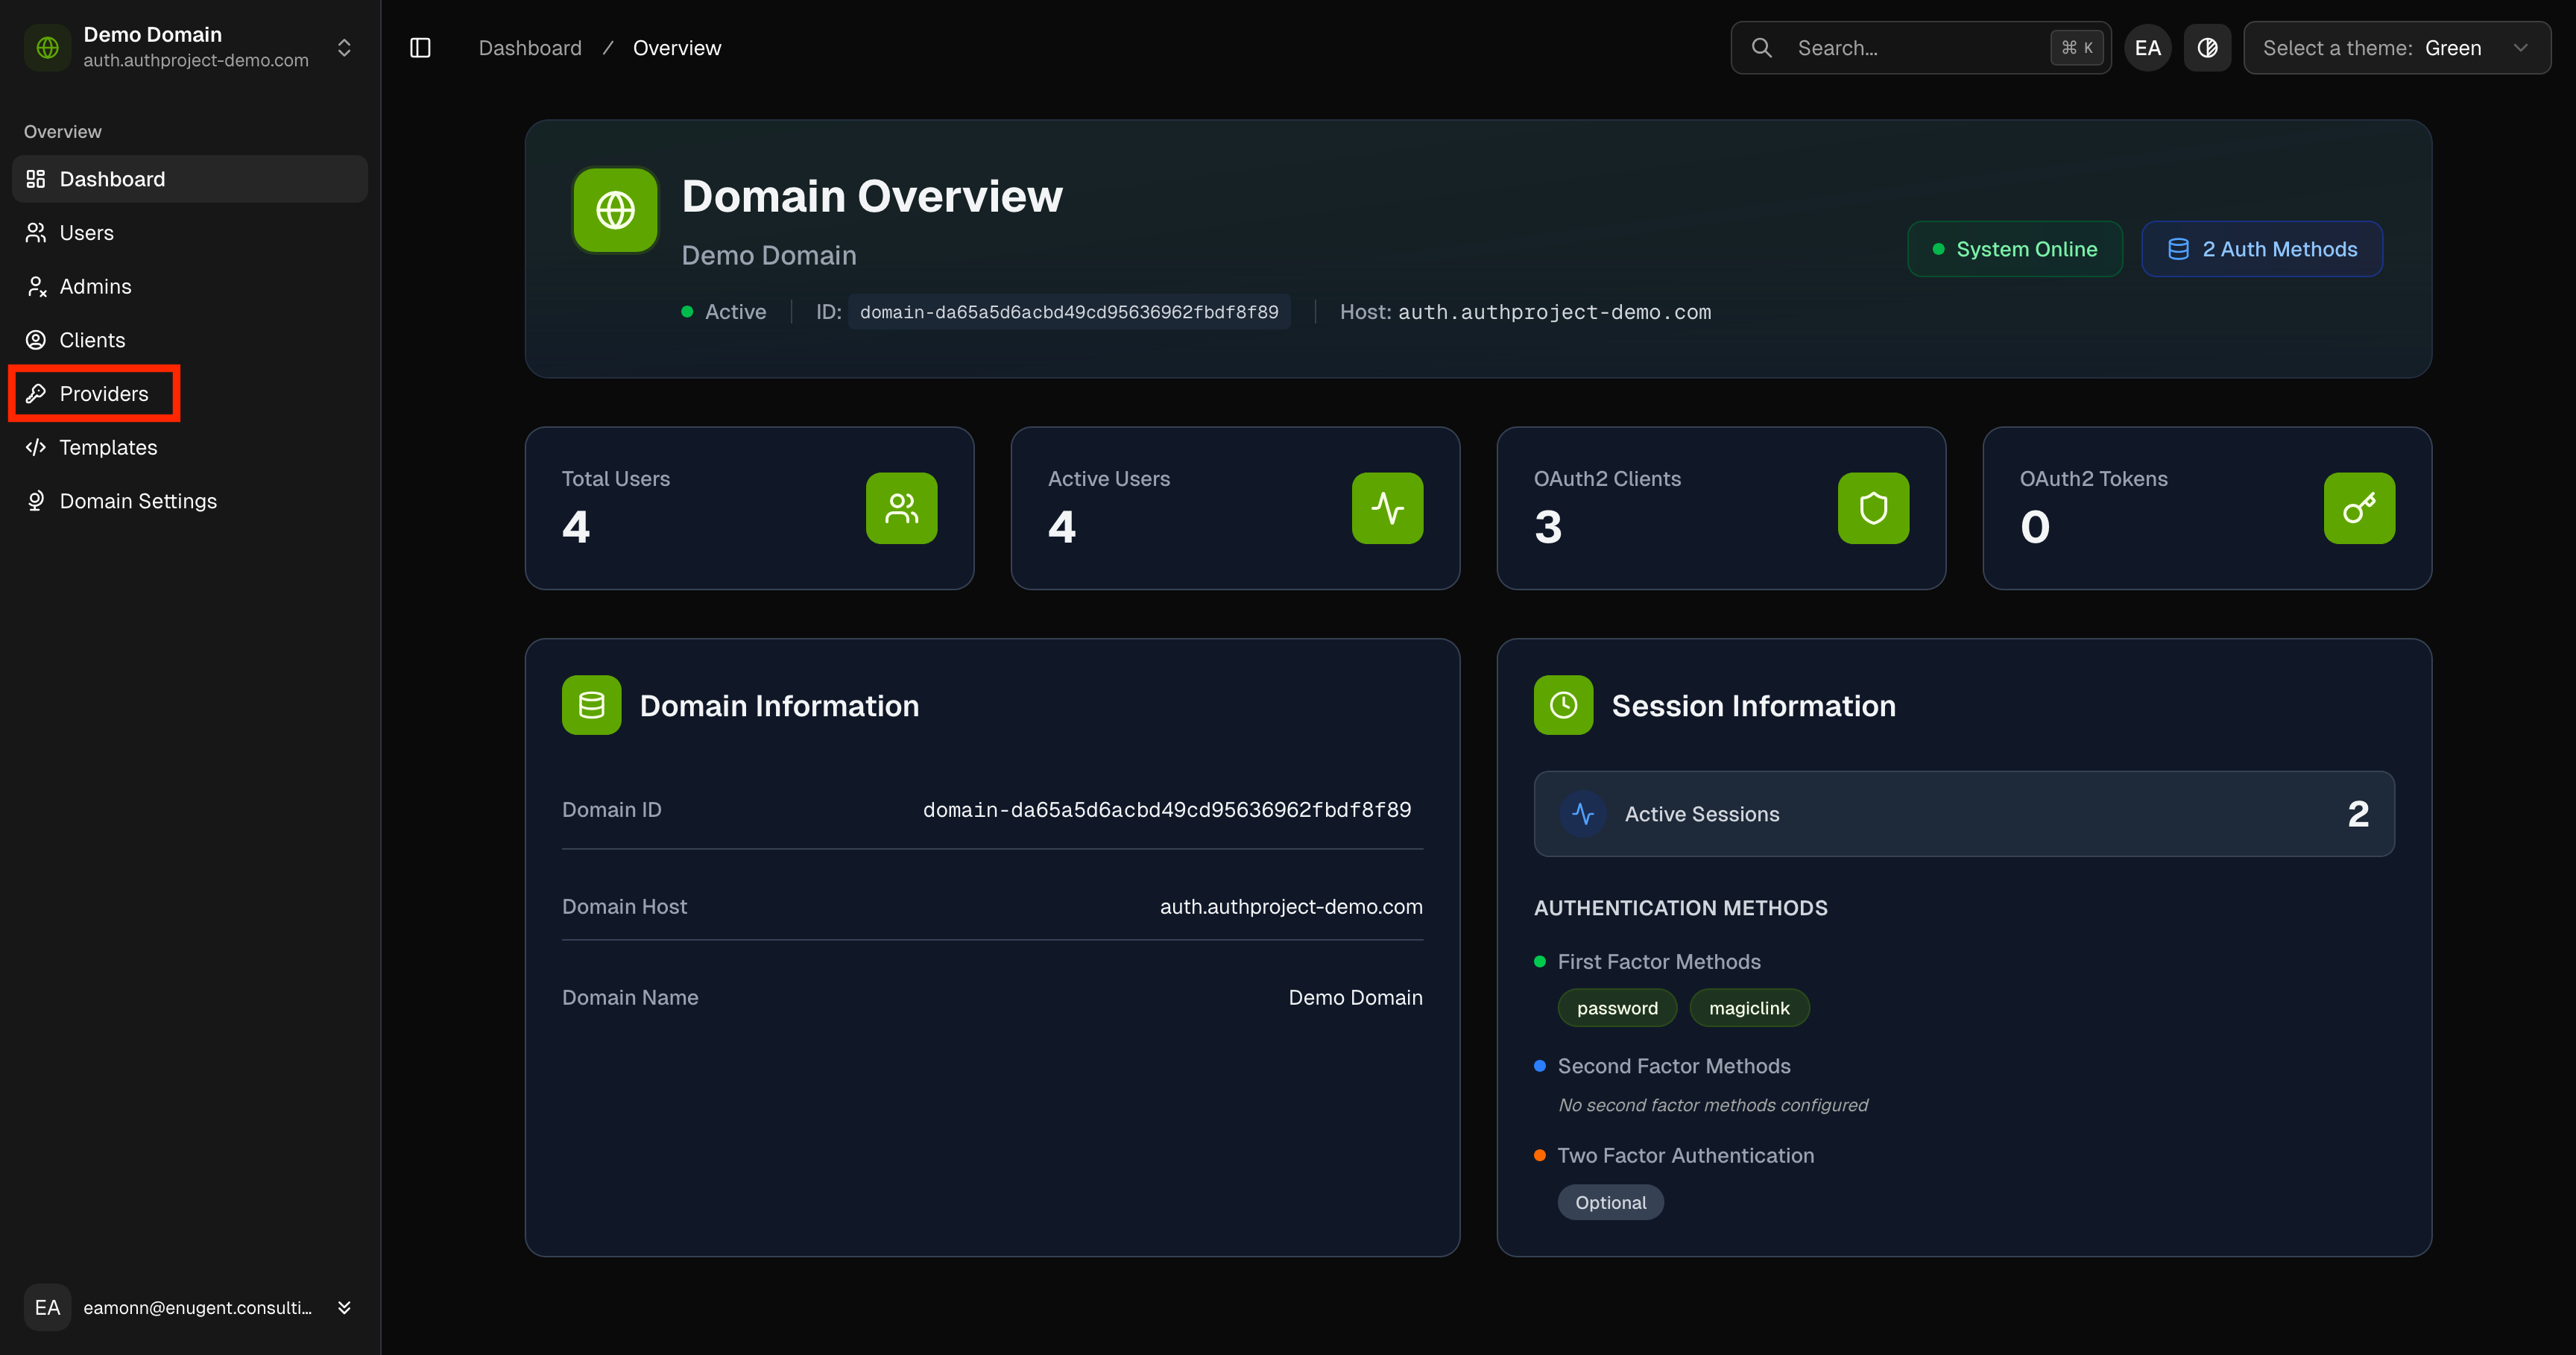
Navigate to the Authproject dashboard, and select “Providers.”
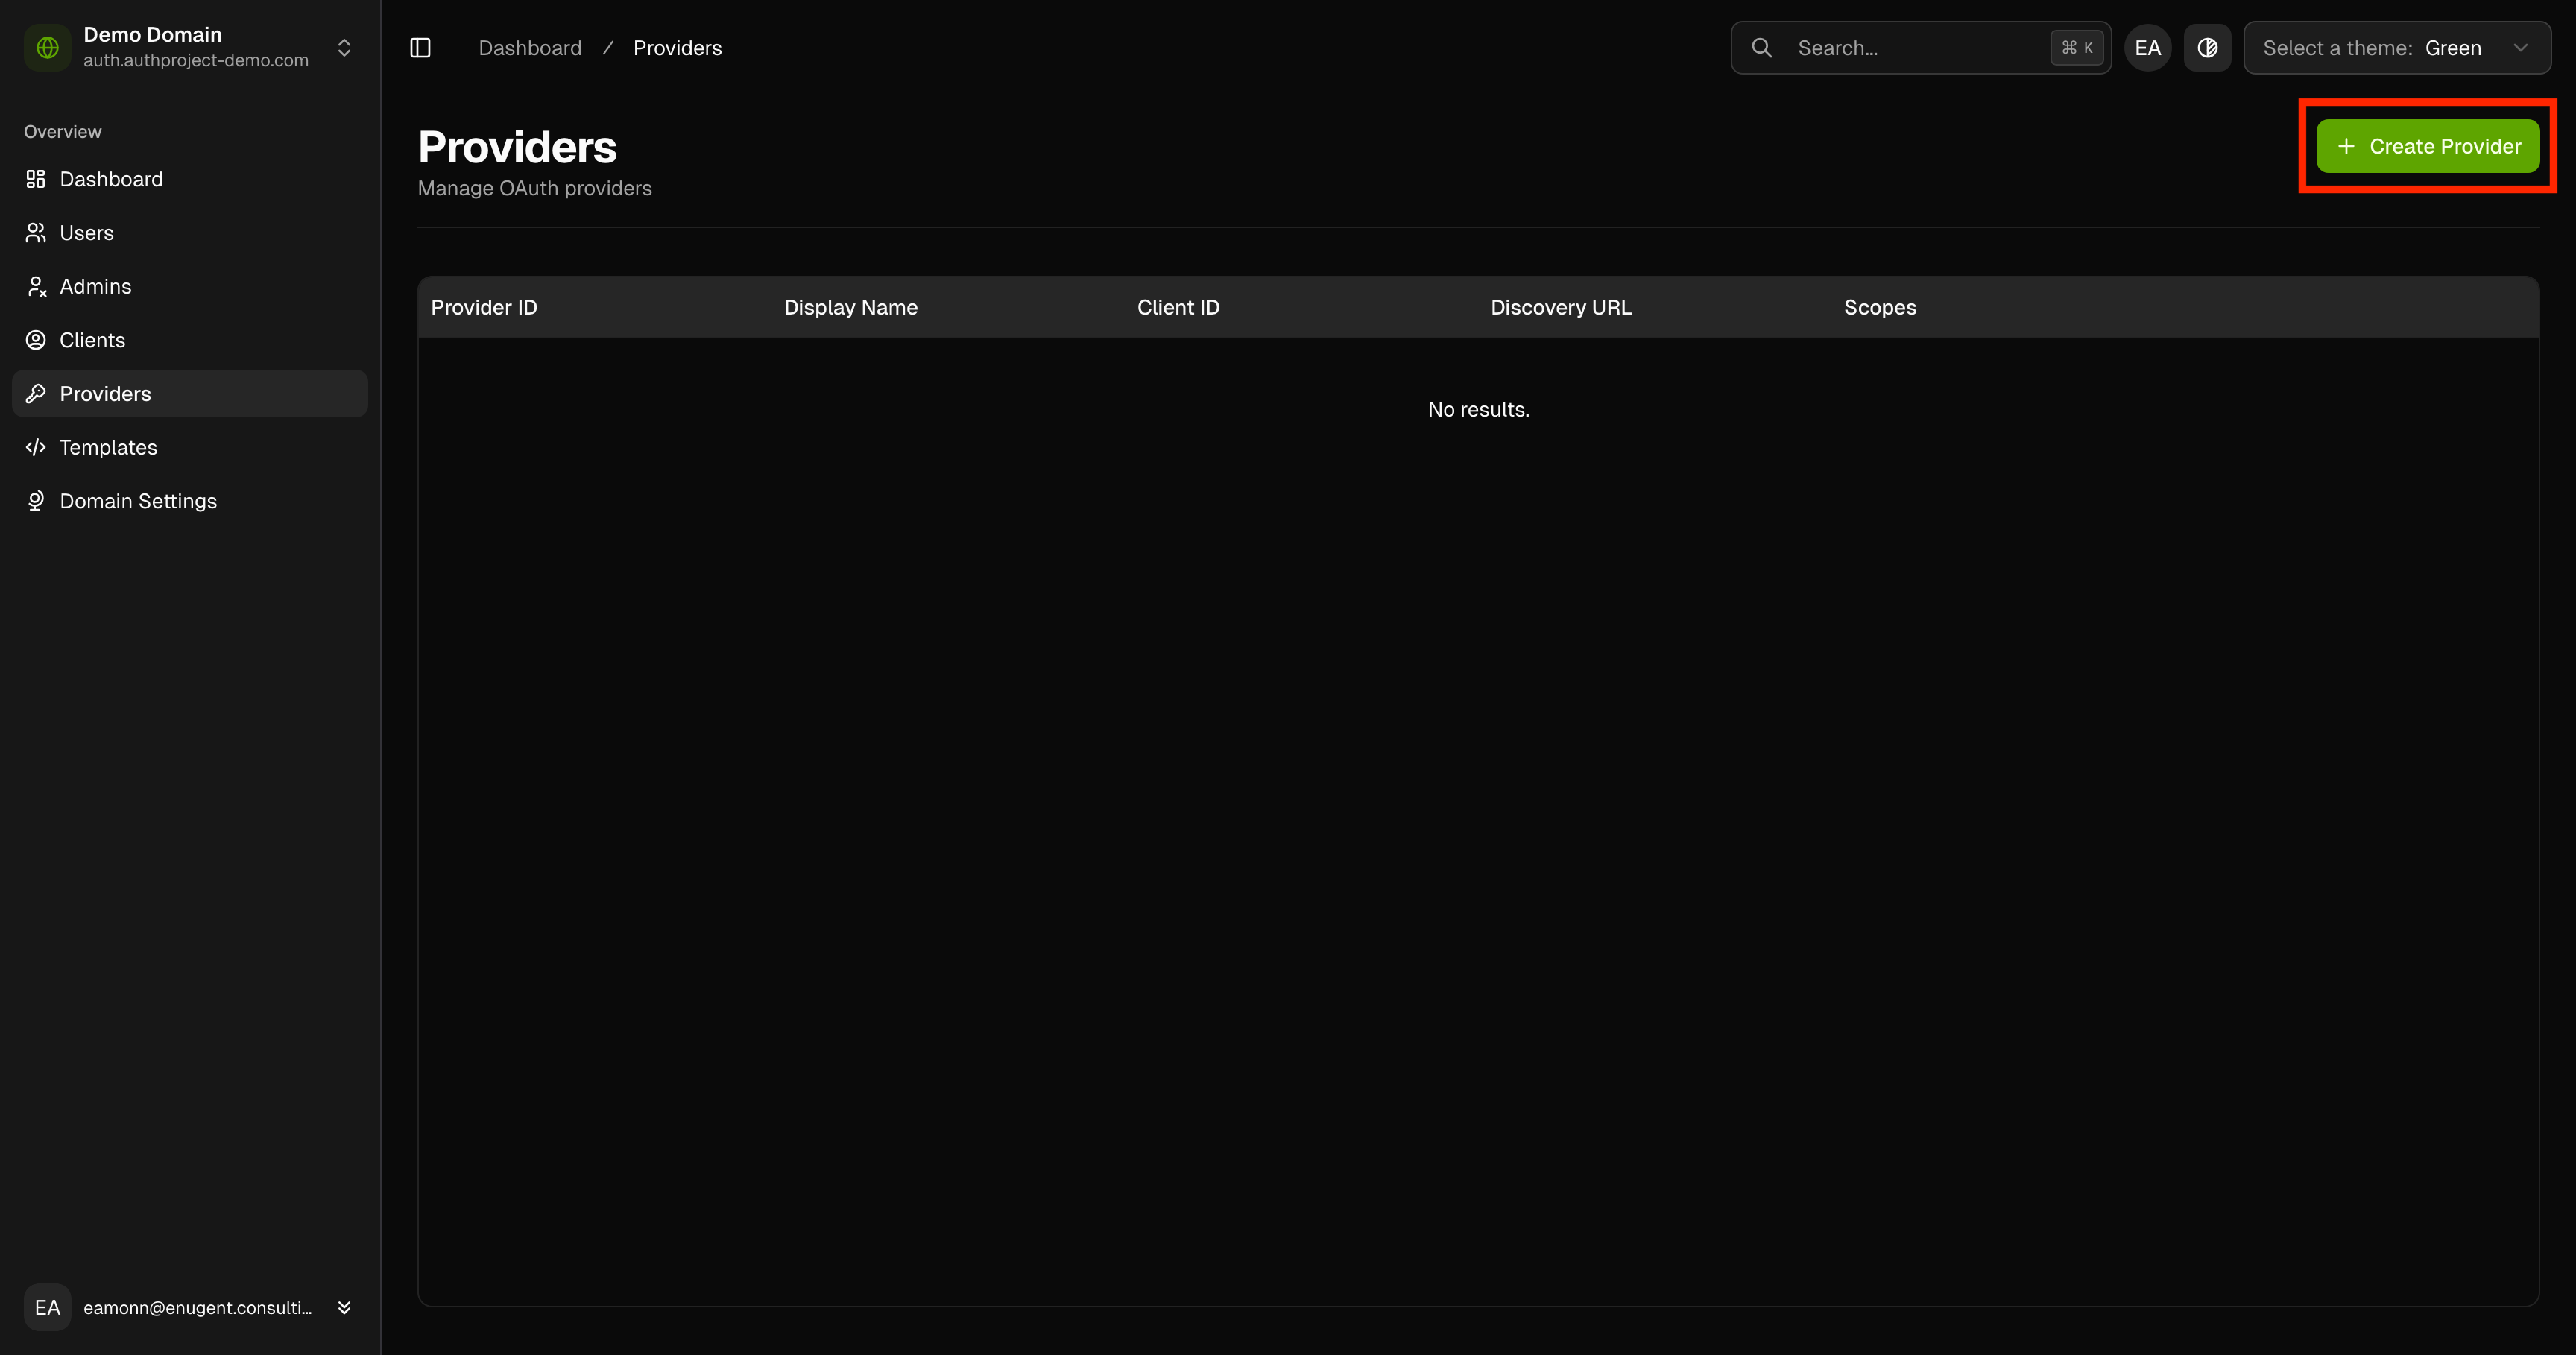
Click on “Create Provider” in the top right.
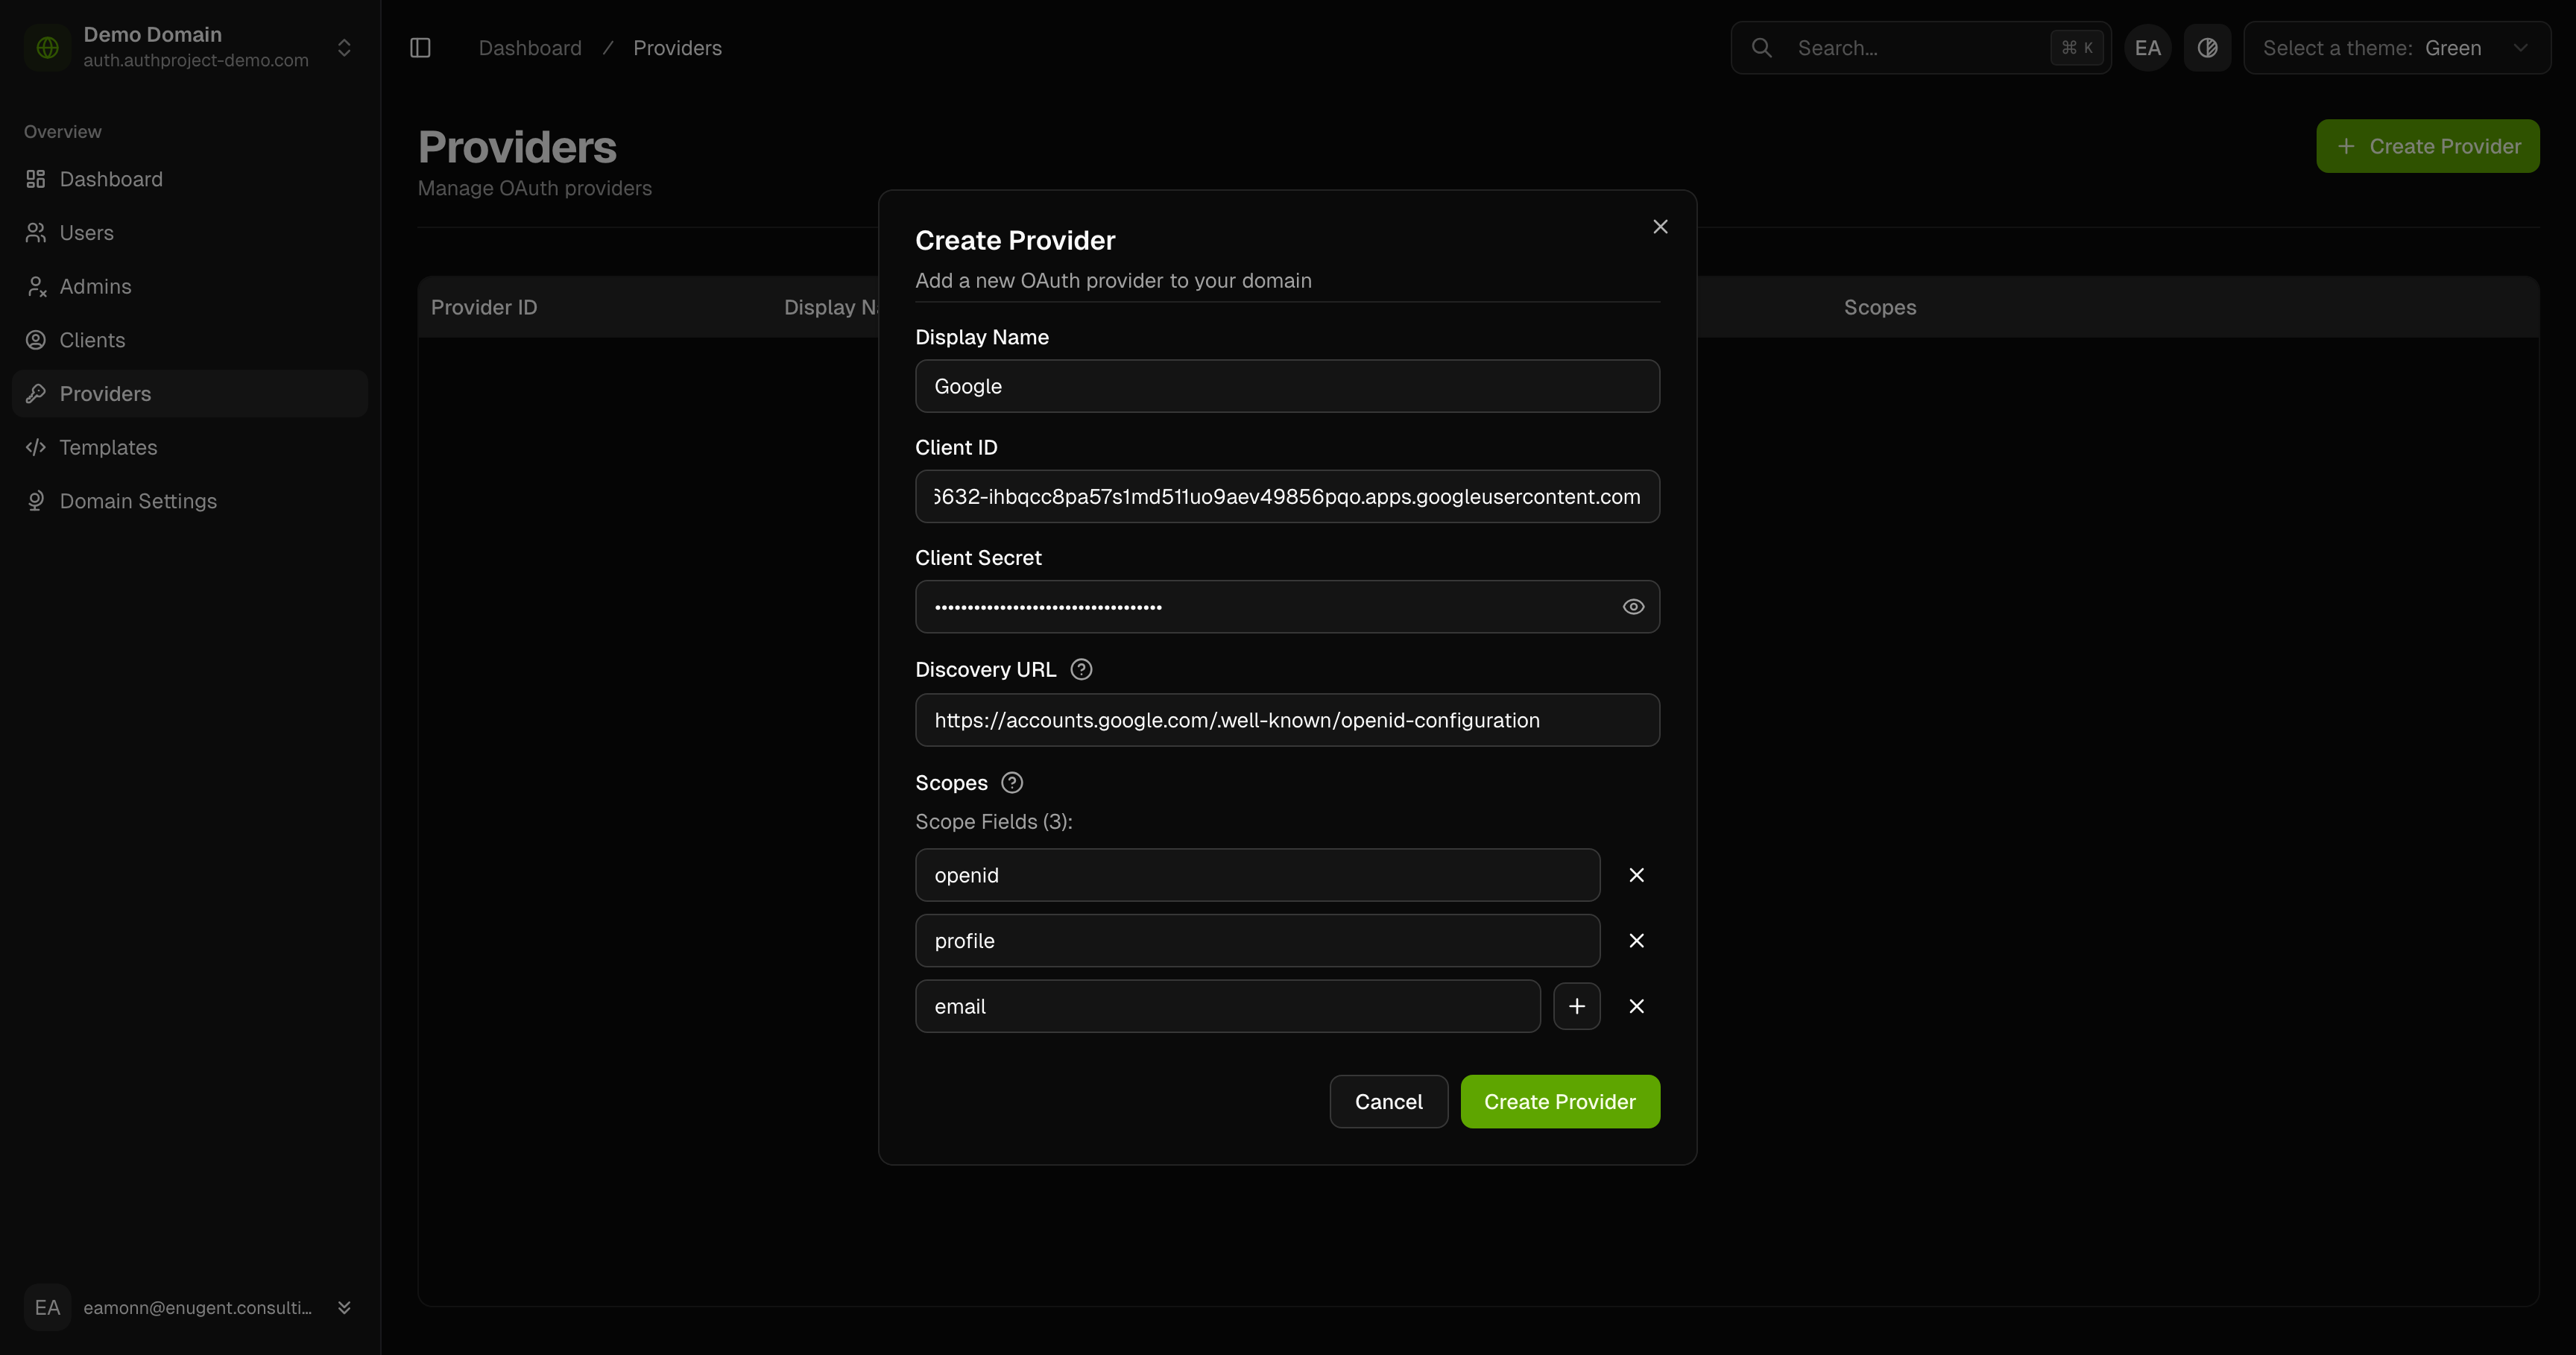
Enter the details for the provider as you saved from Google before. Name the
provider “Google,” and set the Discovery URL to
https://accounts.google.com/.well-known/openid-configuration.
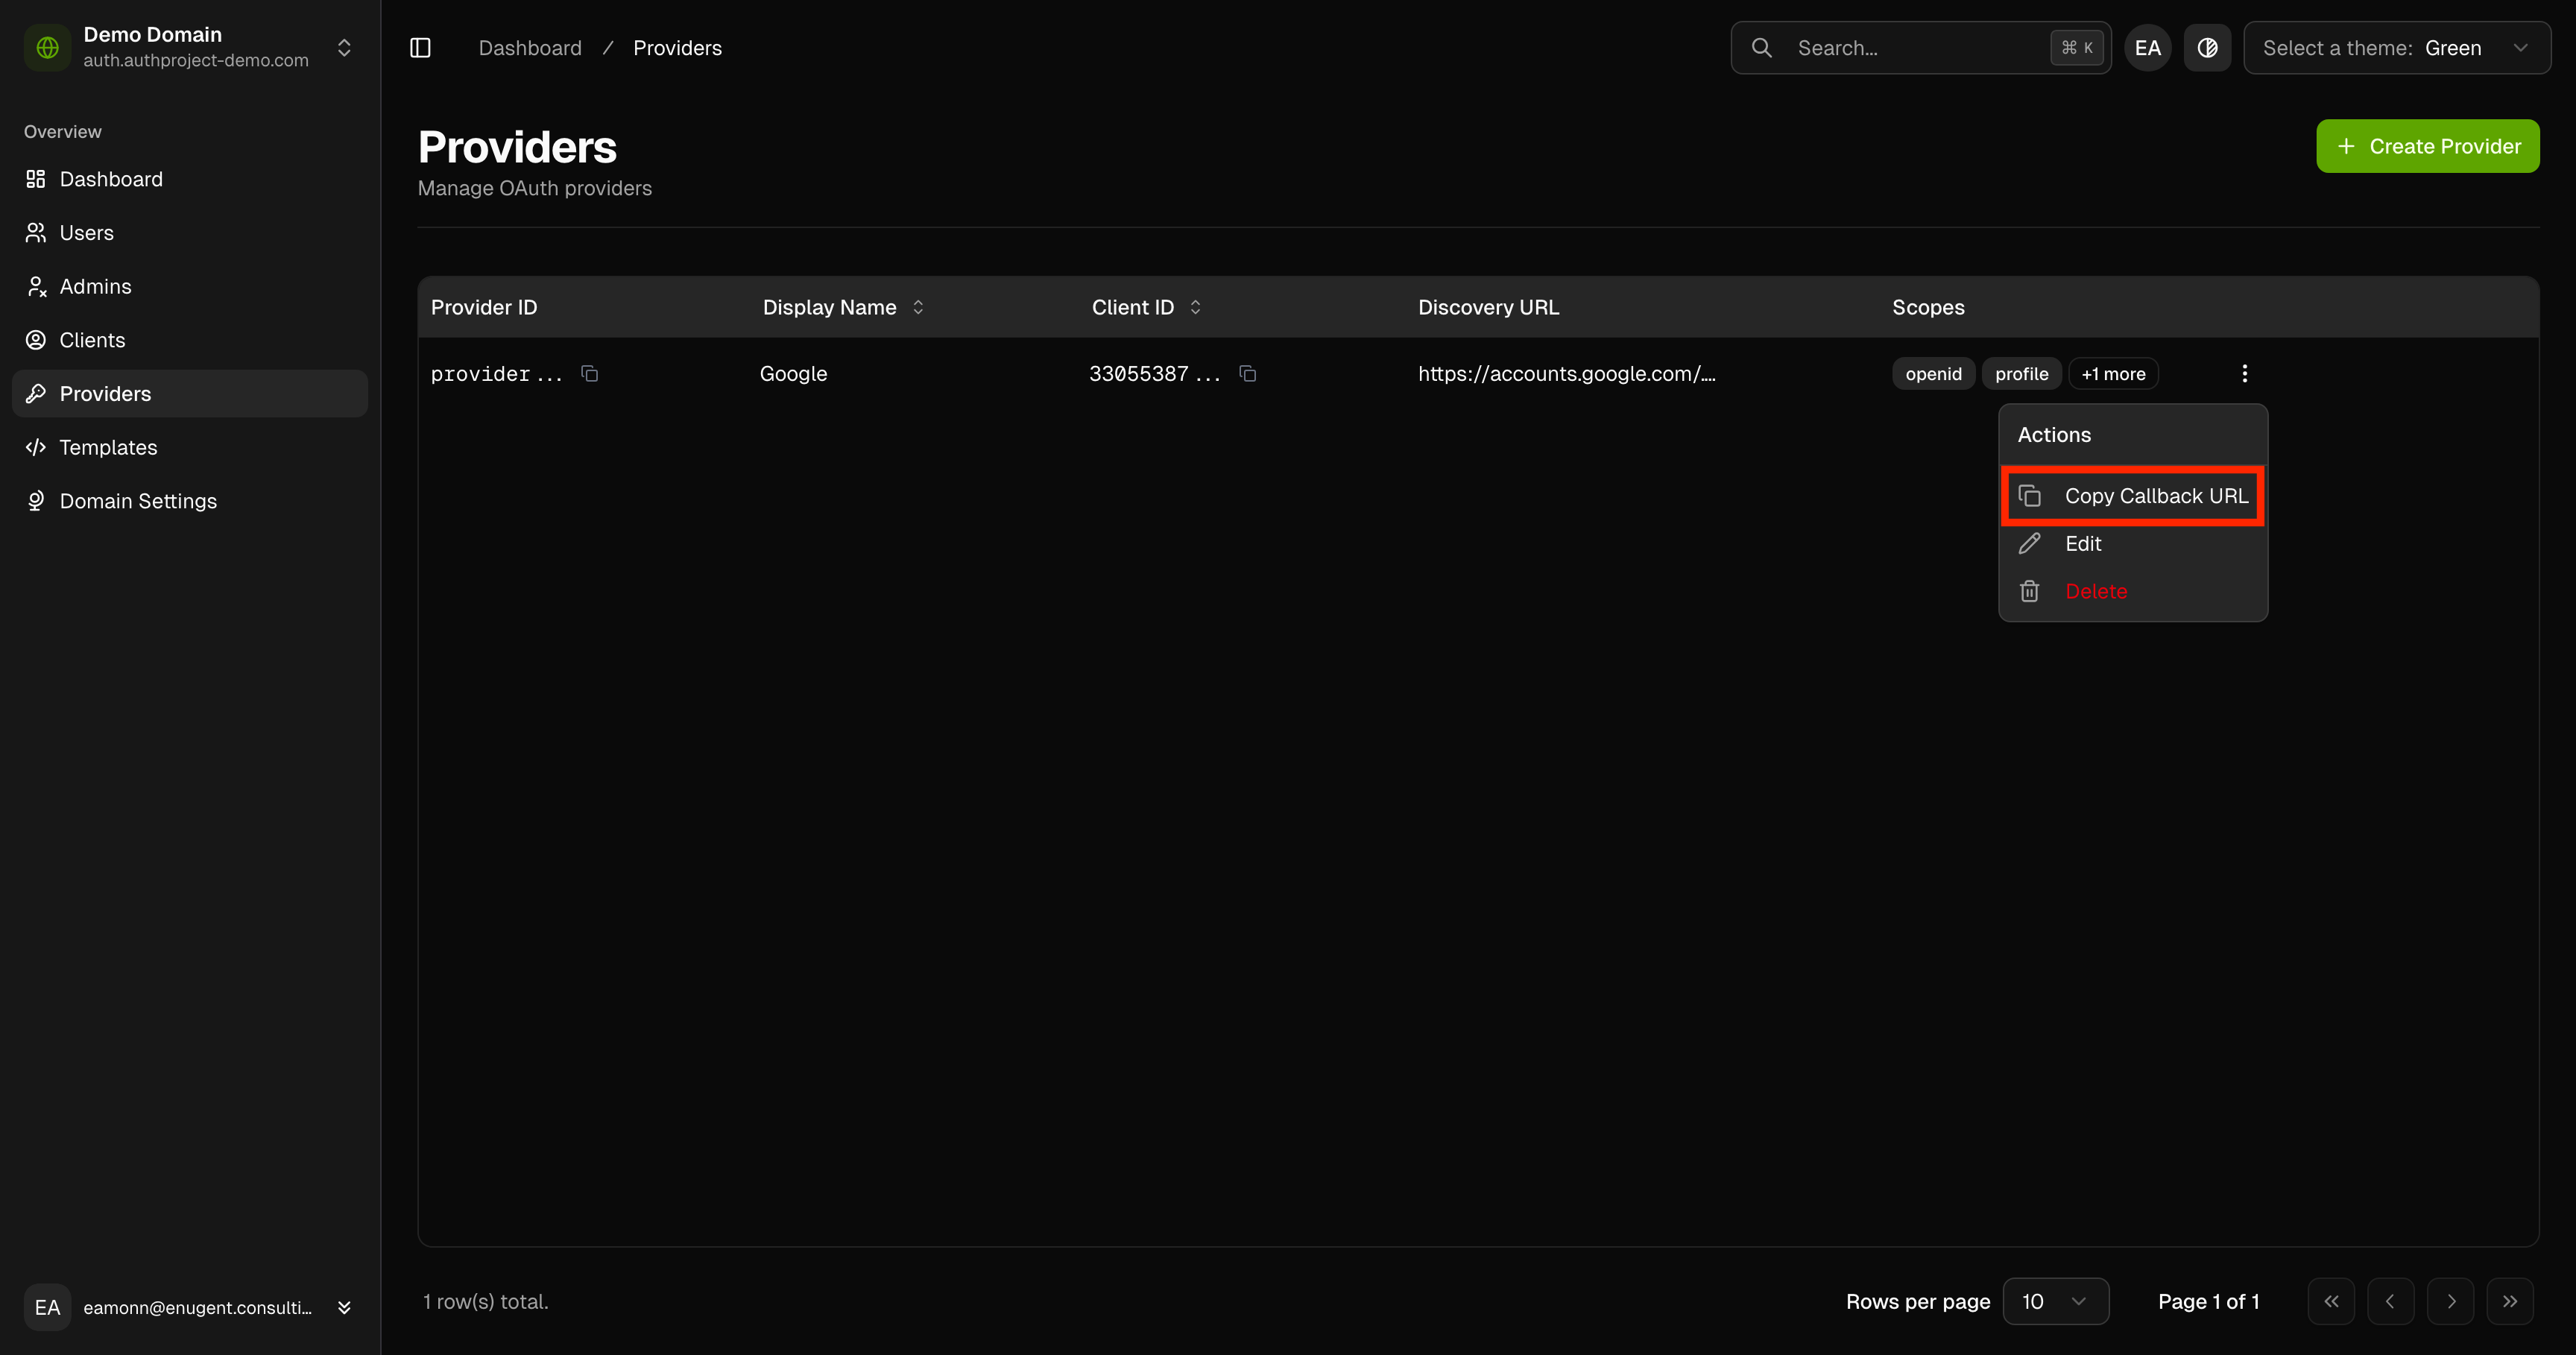
Click on the 3-dot menu to the right of the provider, then click on “Copy Callback URL.”
Tie it all together
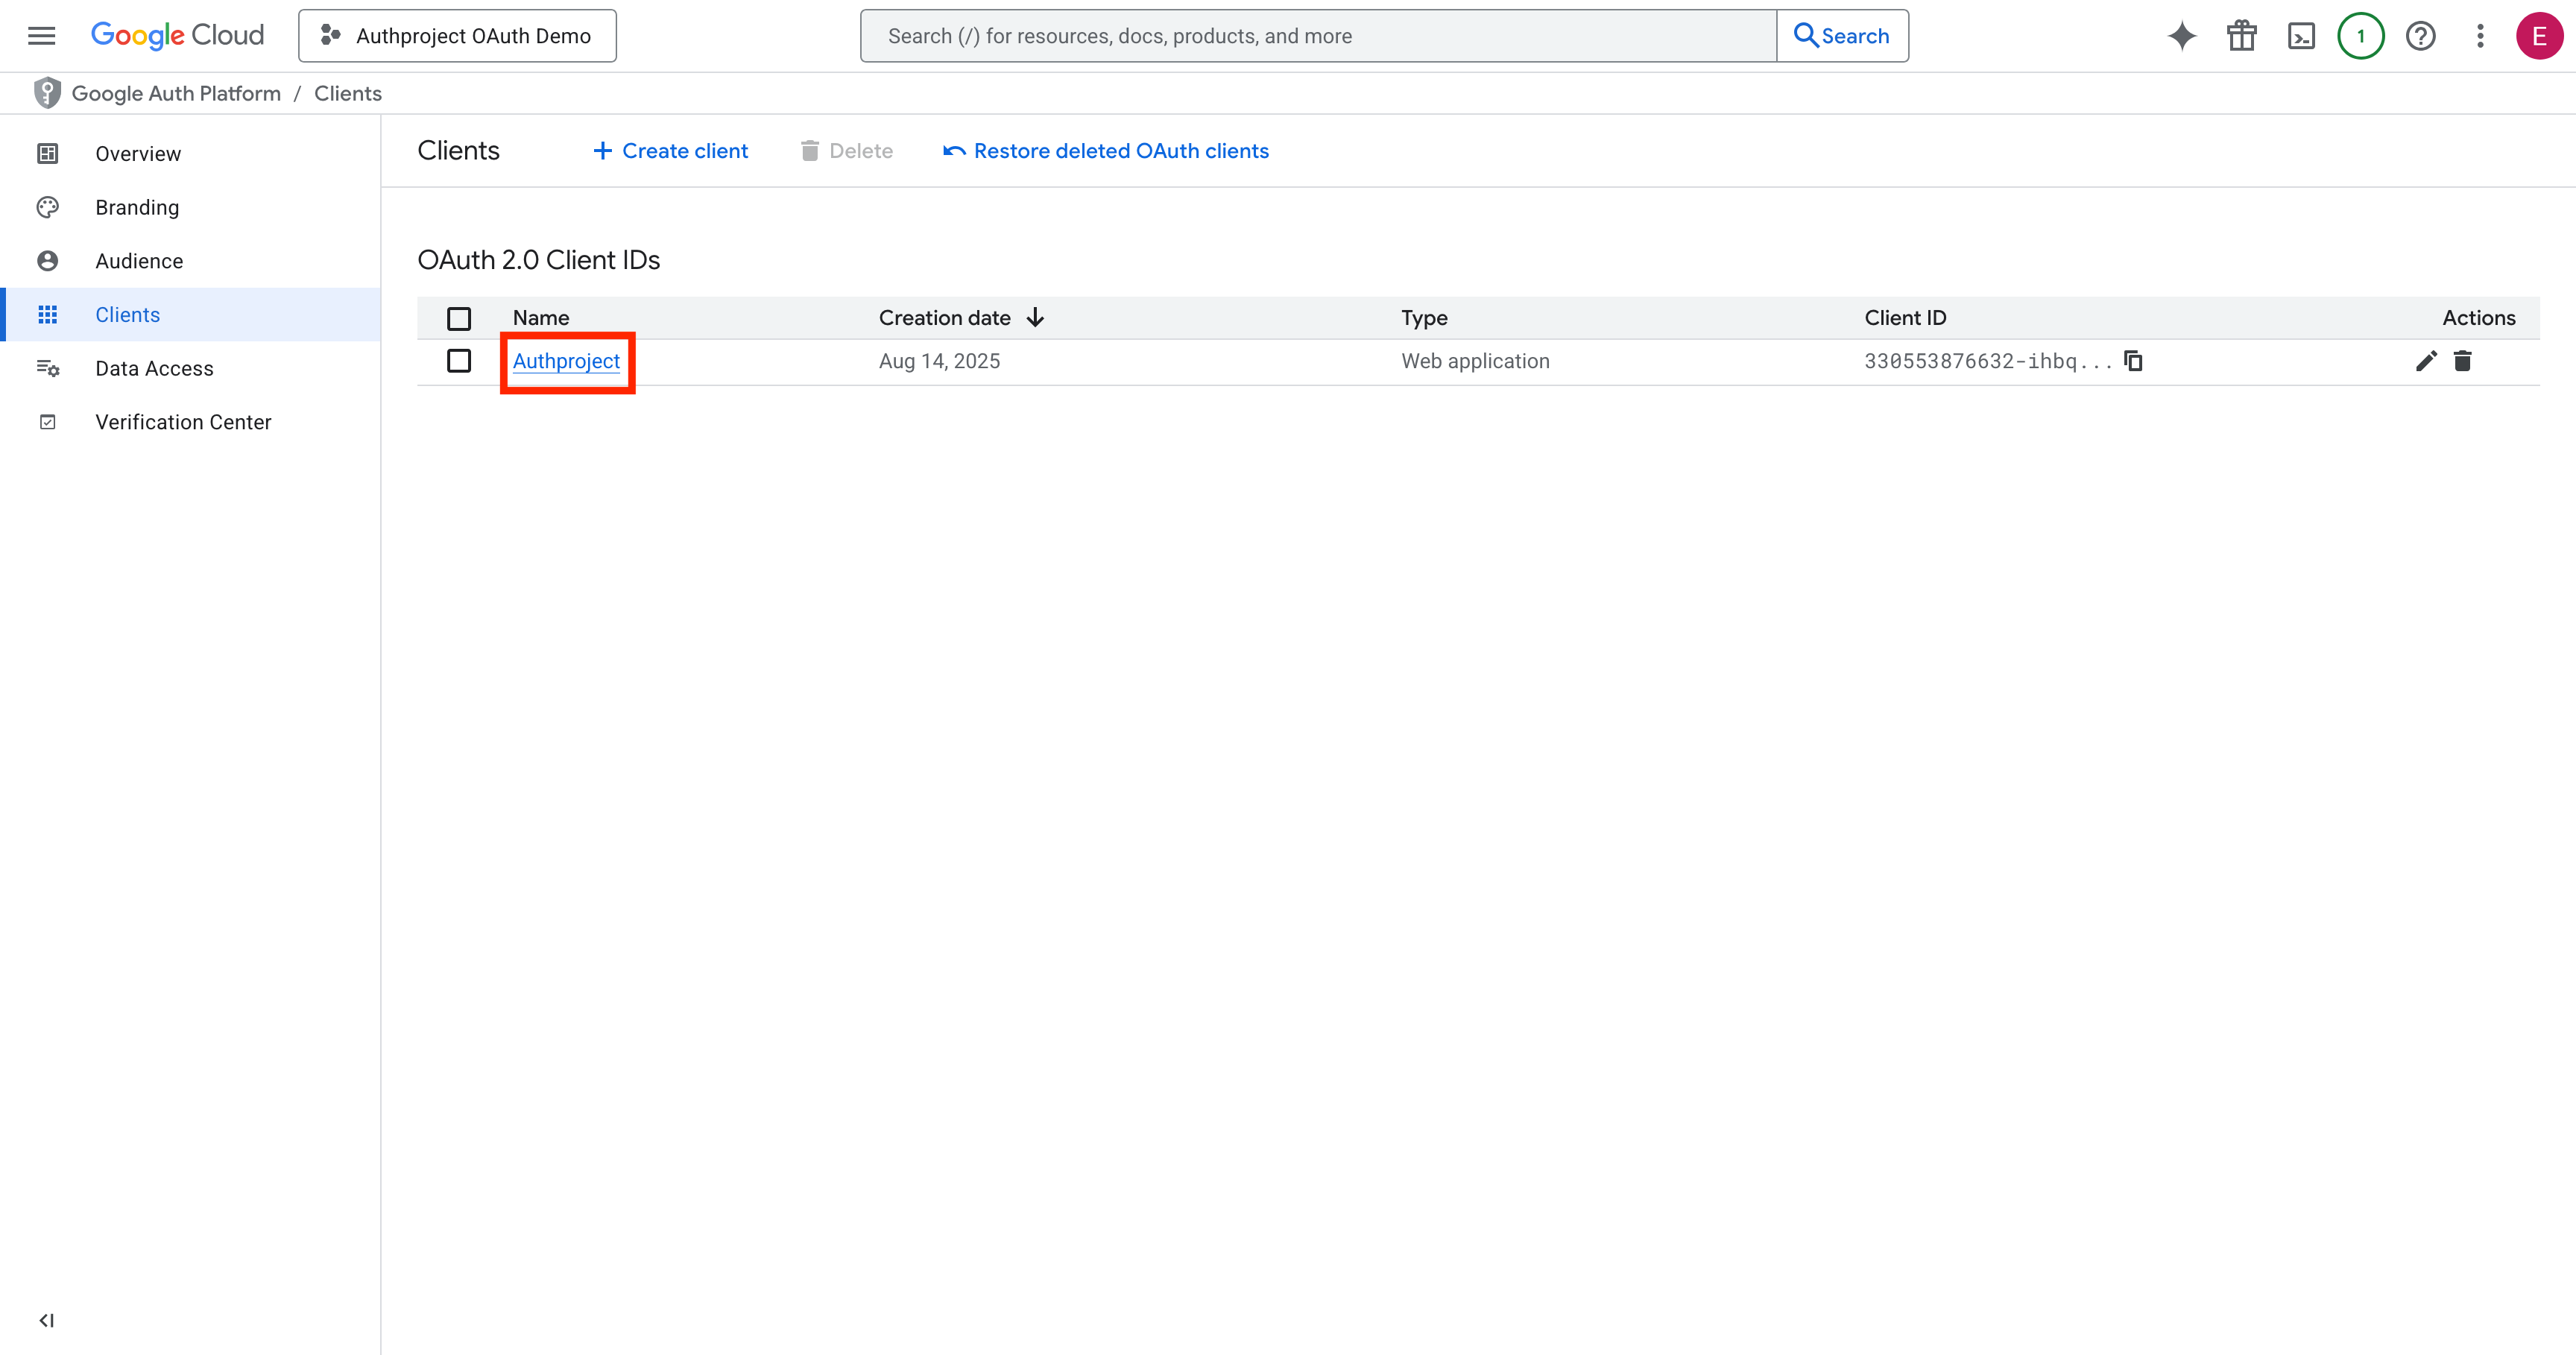
Go back to the Google Cloud Console, and select the OAuth client (if you are not already in its details page).
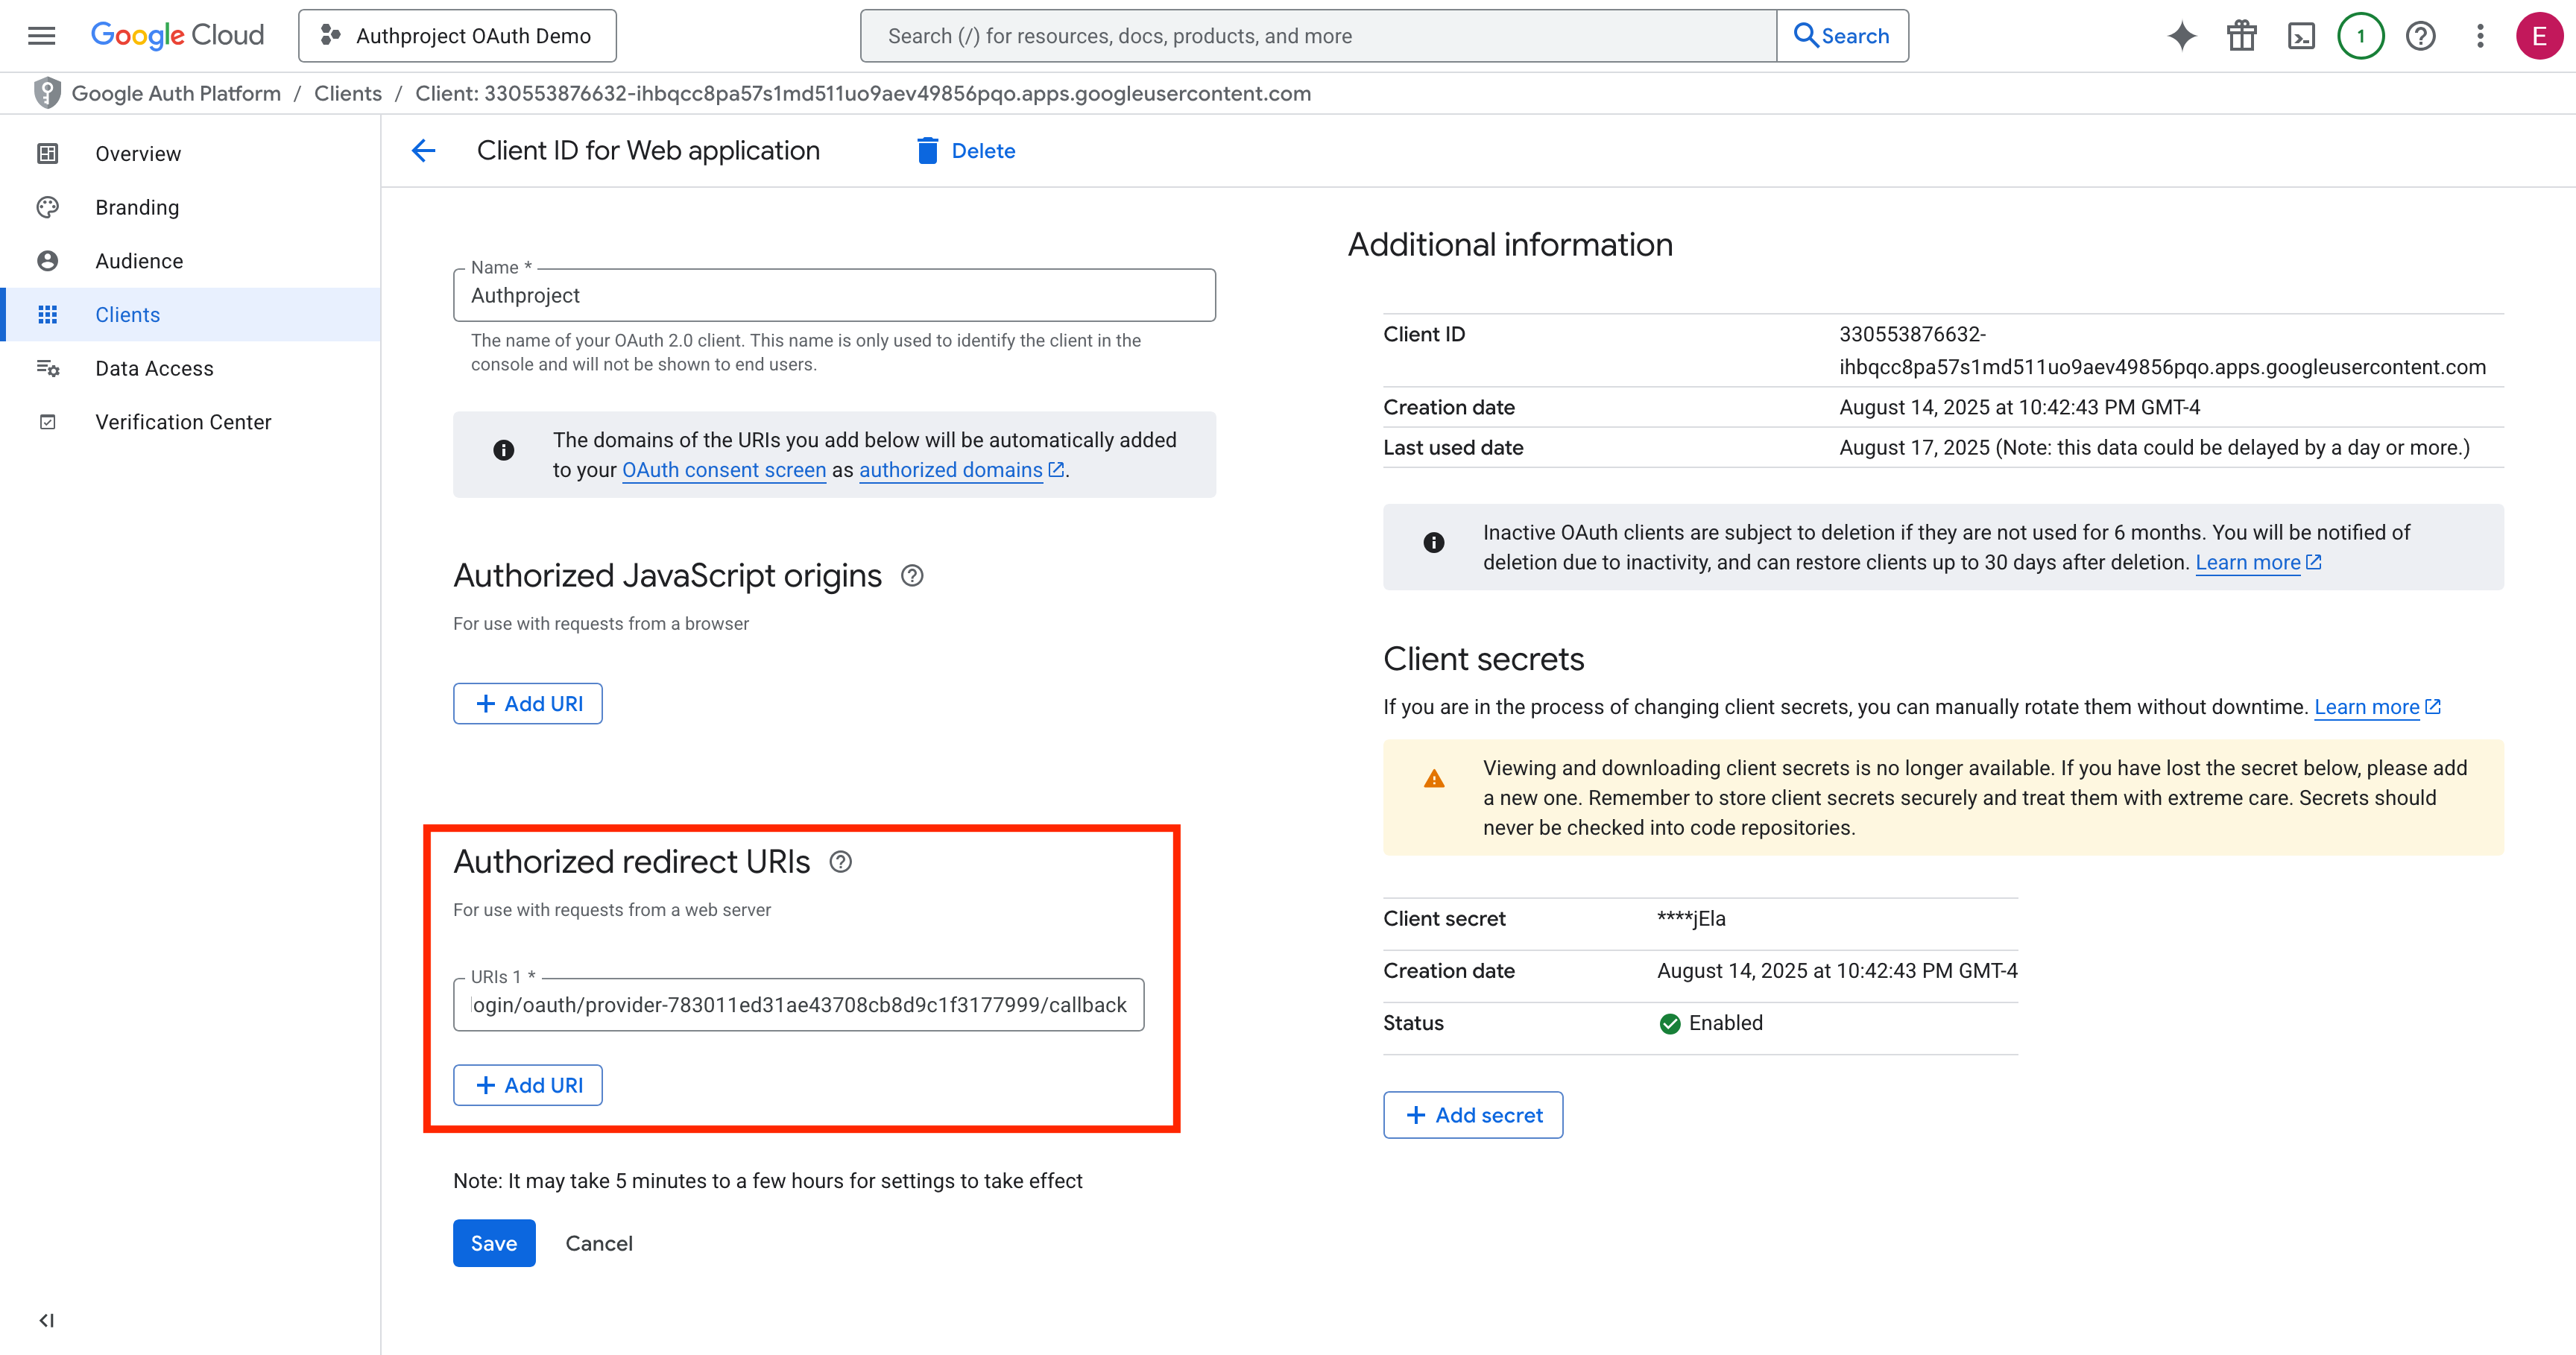
Enter the copied OAuth Callback URL into the “Authorized Redirect URIs” list.
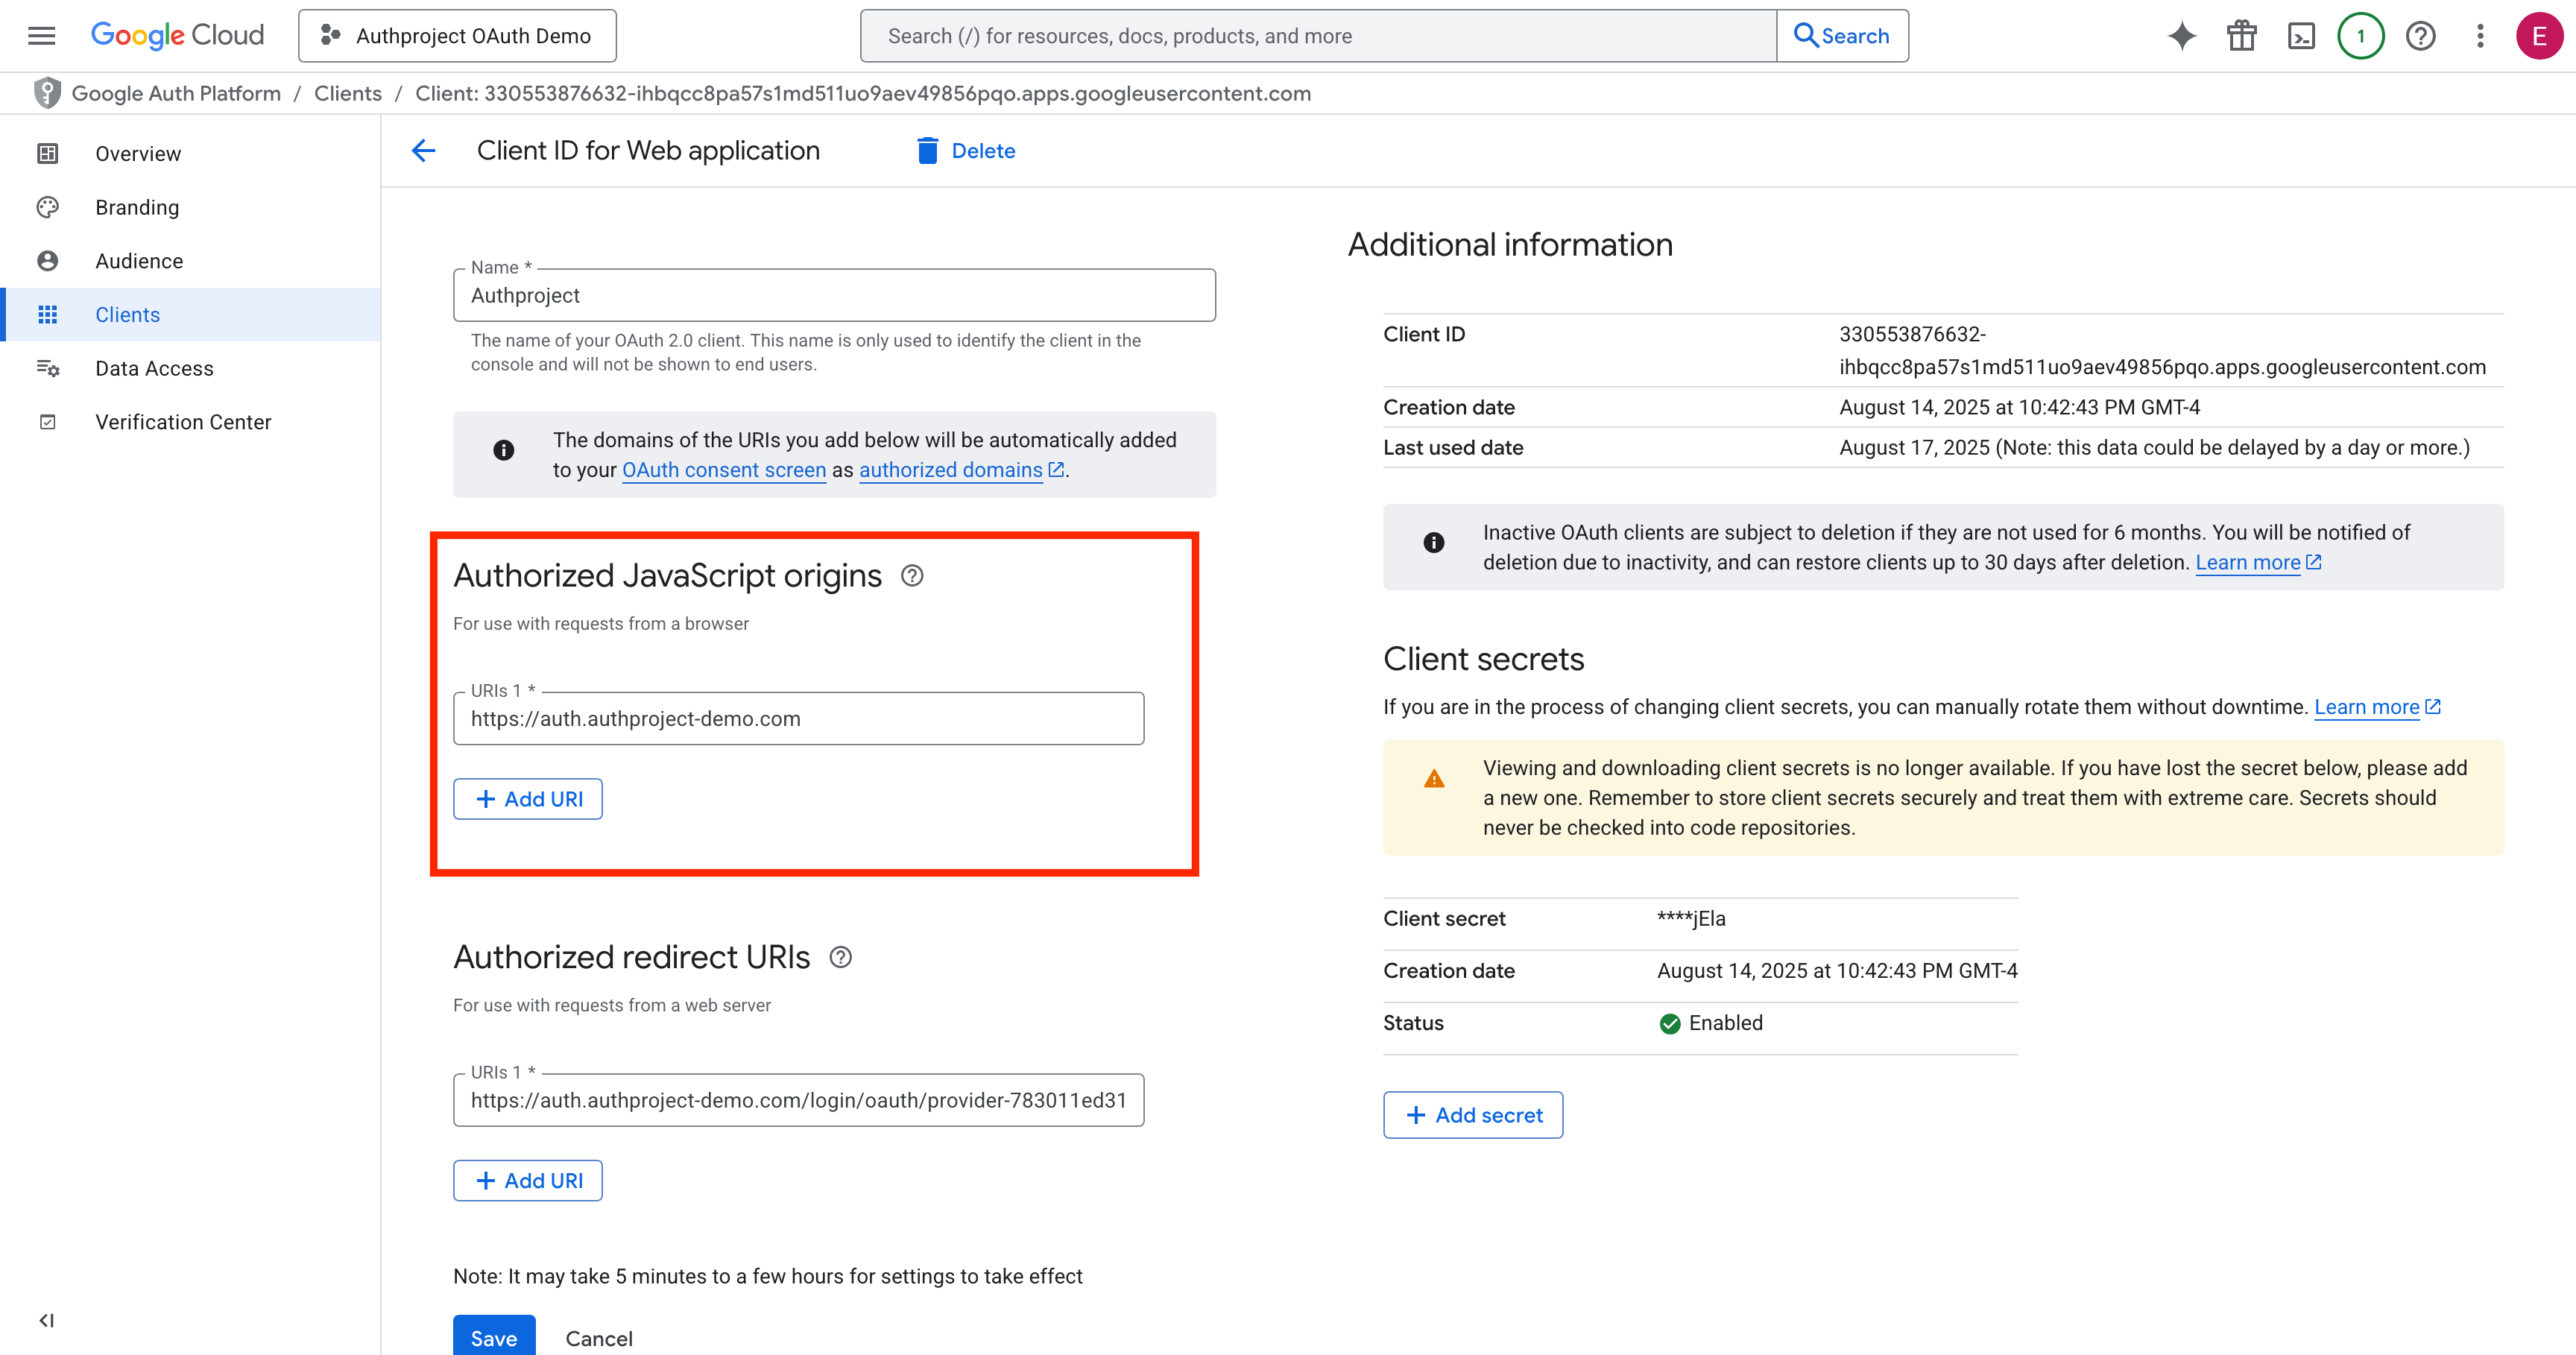
Enter your authentication domain into the “Authorized JavaScript Origins” list.
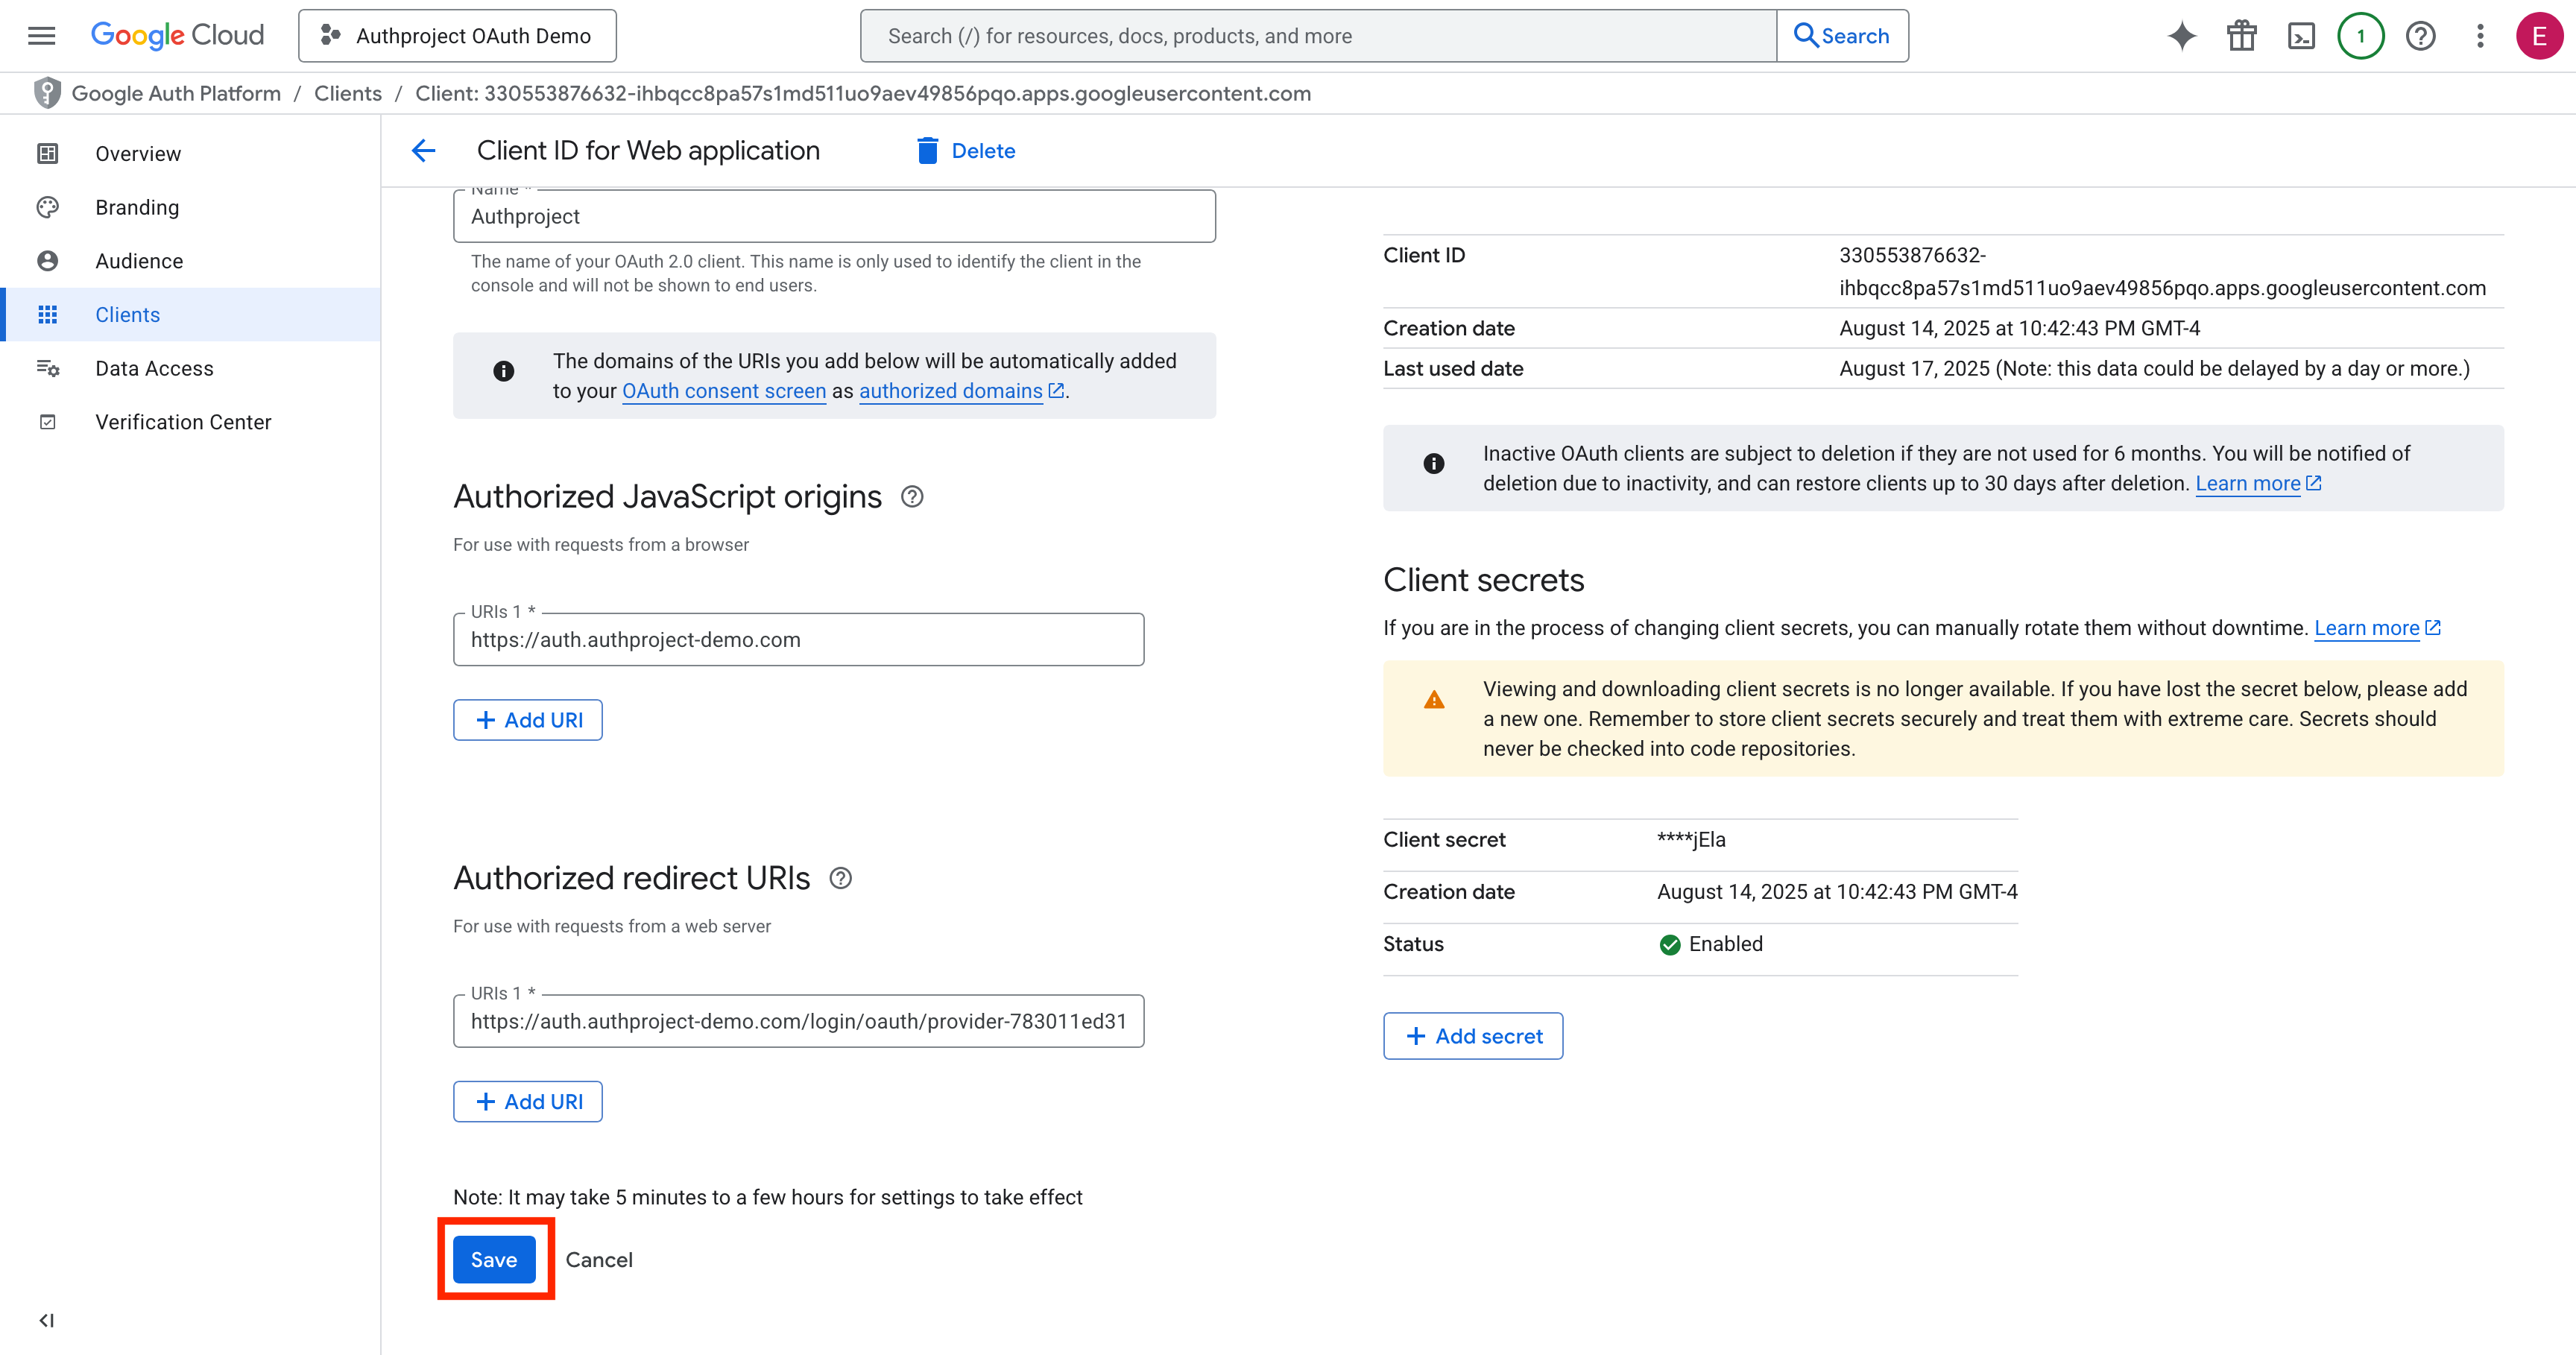
Click “Save” at the bottom.
Test the Provider
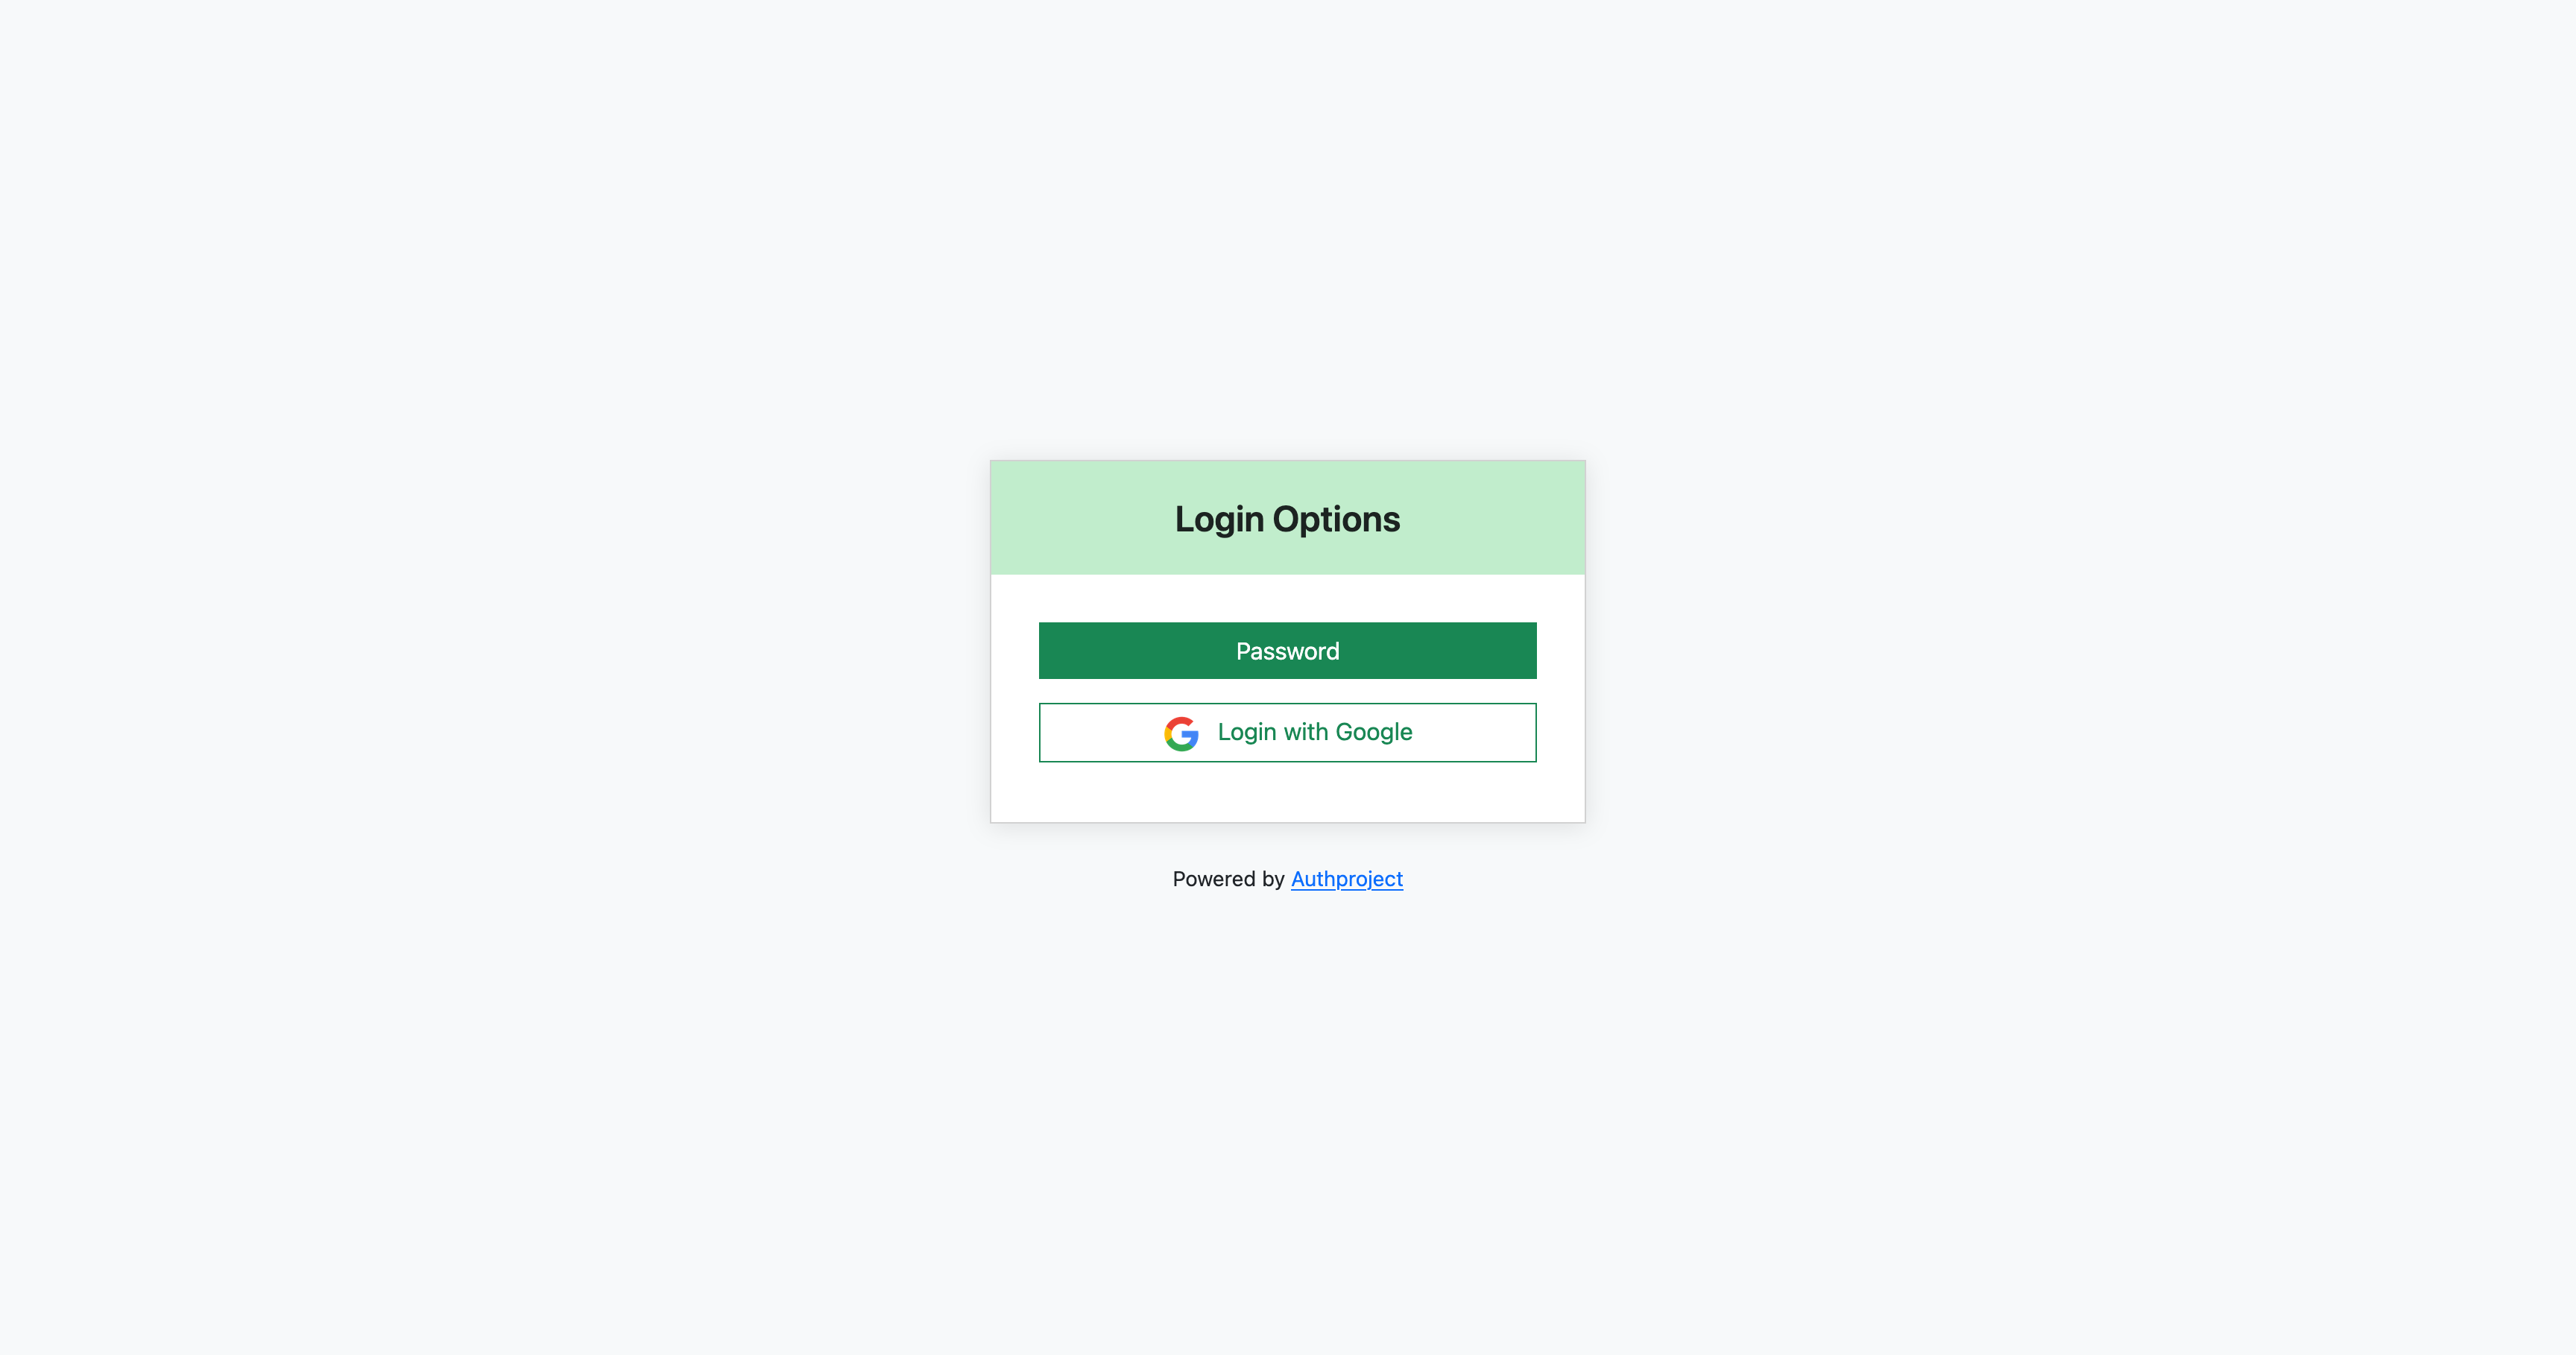
Once the provider has been saved in Google, you can now test it in Authproject. Navigate to your authentication domain, enter your email, and click “Log In with Google.”
Need help? Feel free to contact us, and we can get you onboarded.