Getting Started
How do I get started with Authproject?
How can I get started with Authproject?
Prerequesites
To start with Authproject, you’ll need just a couple of things:
Authentication Domain
This is the primary domain that people will see when they try to log into your
application. We recommend it is something short and easy to remember, while also
being a subdomain of your main website, like auth.yourdomain.com.
Name
You’ll also need the name of your project. This can be any short string, such as
My Project.
DNS Access
You’ll need to be able to create DNS records for your domain. Four records will
need to be added - one for the primary domain, and three for emails.
Setup
First, set up the primary authentication domain. This should be nice and simple.
DNS CNAME Setup
Once you have selected the subdomain to use for user authentication, create a
DNS CNAME record that goes from your authentication subdomain to
prod.authproject.com. For example:
CNAME auth.yourdomain.com prod.authproject.com
DNS Email CNAME Setup
Once you have pointed your authentication subdomain to our servers, we will give
you three more CNAMEs to create, so we can send emails on your behalf. These
will be restricted to only work on the subdomain you have selected for us - for
example, users will receive their email verifications from
noreply@auth.yourdomain.com. These must be created before we can fully
provision your authentication domain.
HTTPS Setup
Now that your authentication subdomain has been pointed at our servers, we will
provision a TLS certificate on our own, to encrypt all data between your users
and our services. There are no steps required from your side for this to happen.
Administering Your Domain
When everything is complete, you will be able to see your domain accessible in
our dashboard. This means that you will be able
to edit and manage users, update administrators, and generally view the overall
health of your authentication domain.
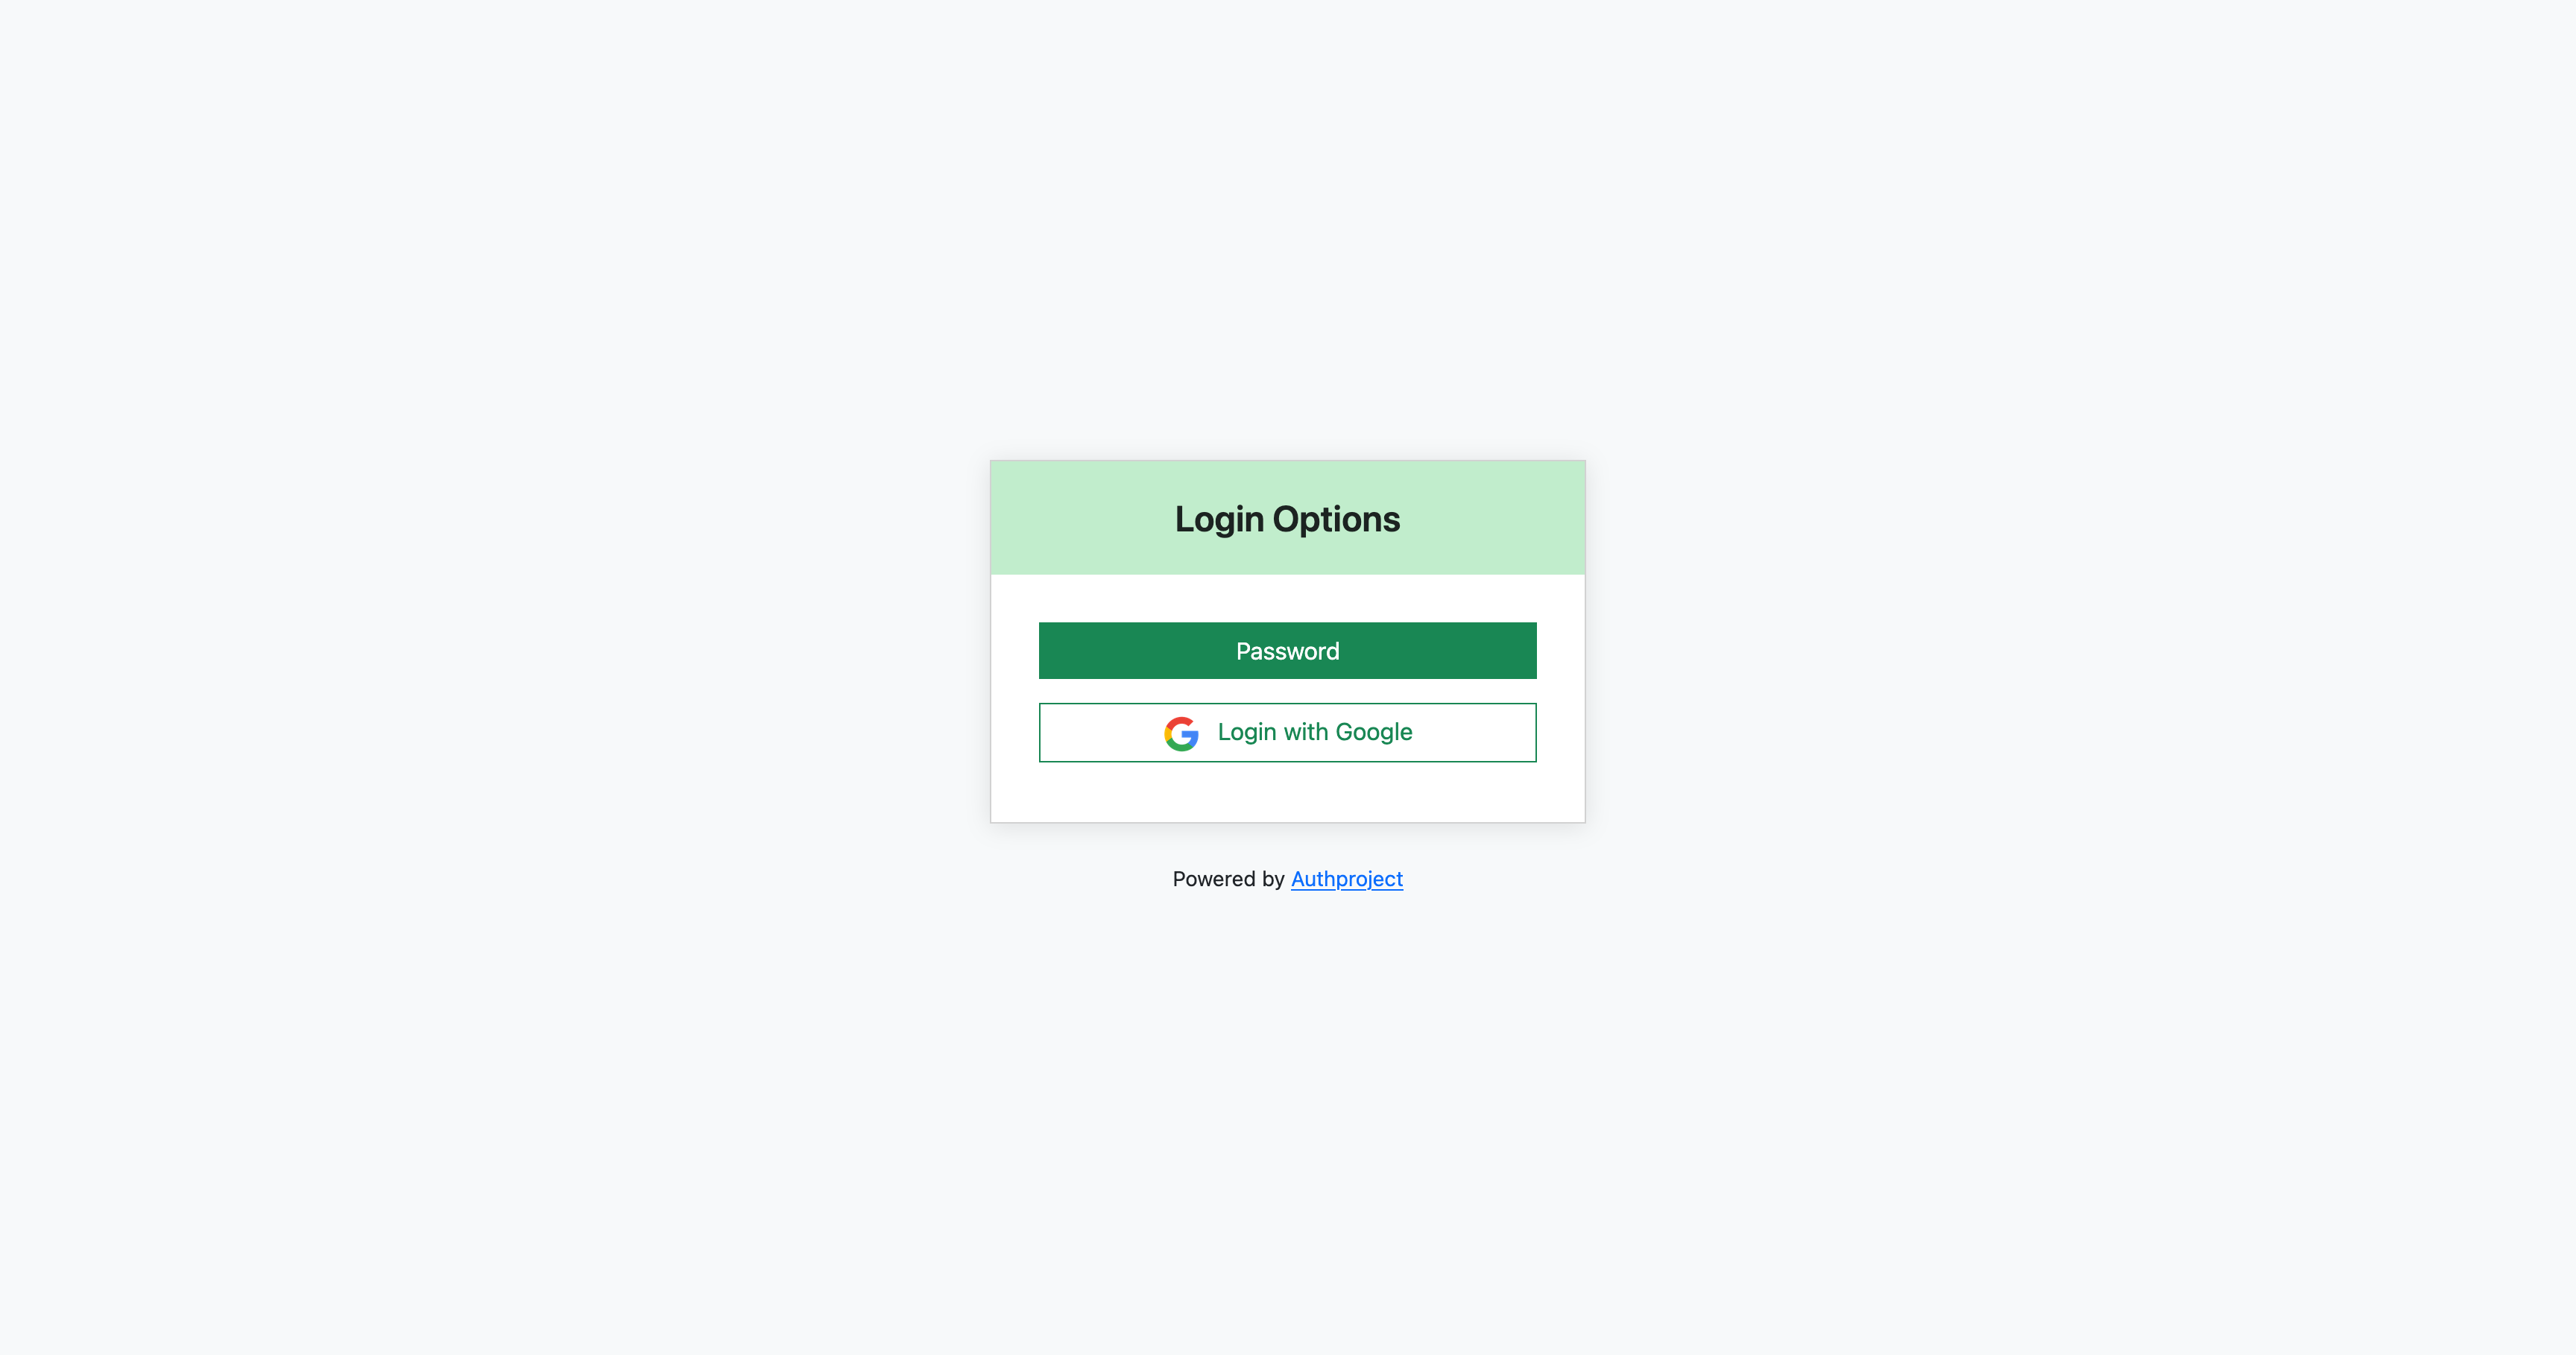
1 - Login with Google
Use Google as an OAuth provider
Learn how to use Google as a third-party OAuth provider,
creating a “Login with Google” button after a user enters their email.
Creating the resources in Google
The first part is to create the OAuth client in the Google Cloud Platform
console. This can be done by performing the following steps.
Create a Project (optional, but recommended)
If you have already created a project in GCP, and want to use it for
Authproject, you can skip this section.
Click the Project button in the top left.
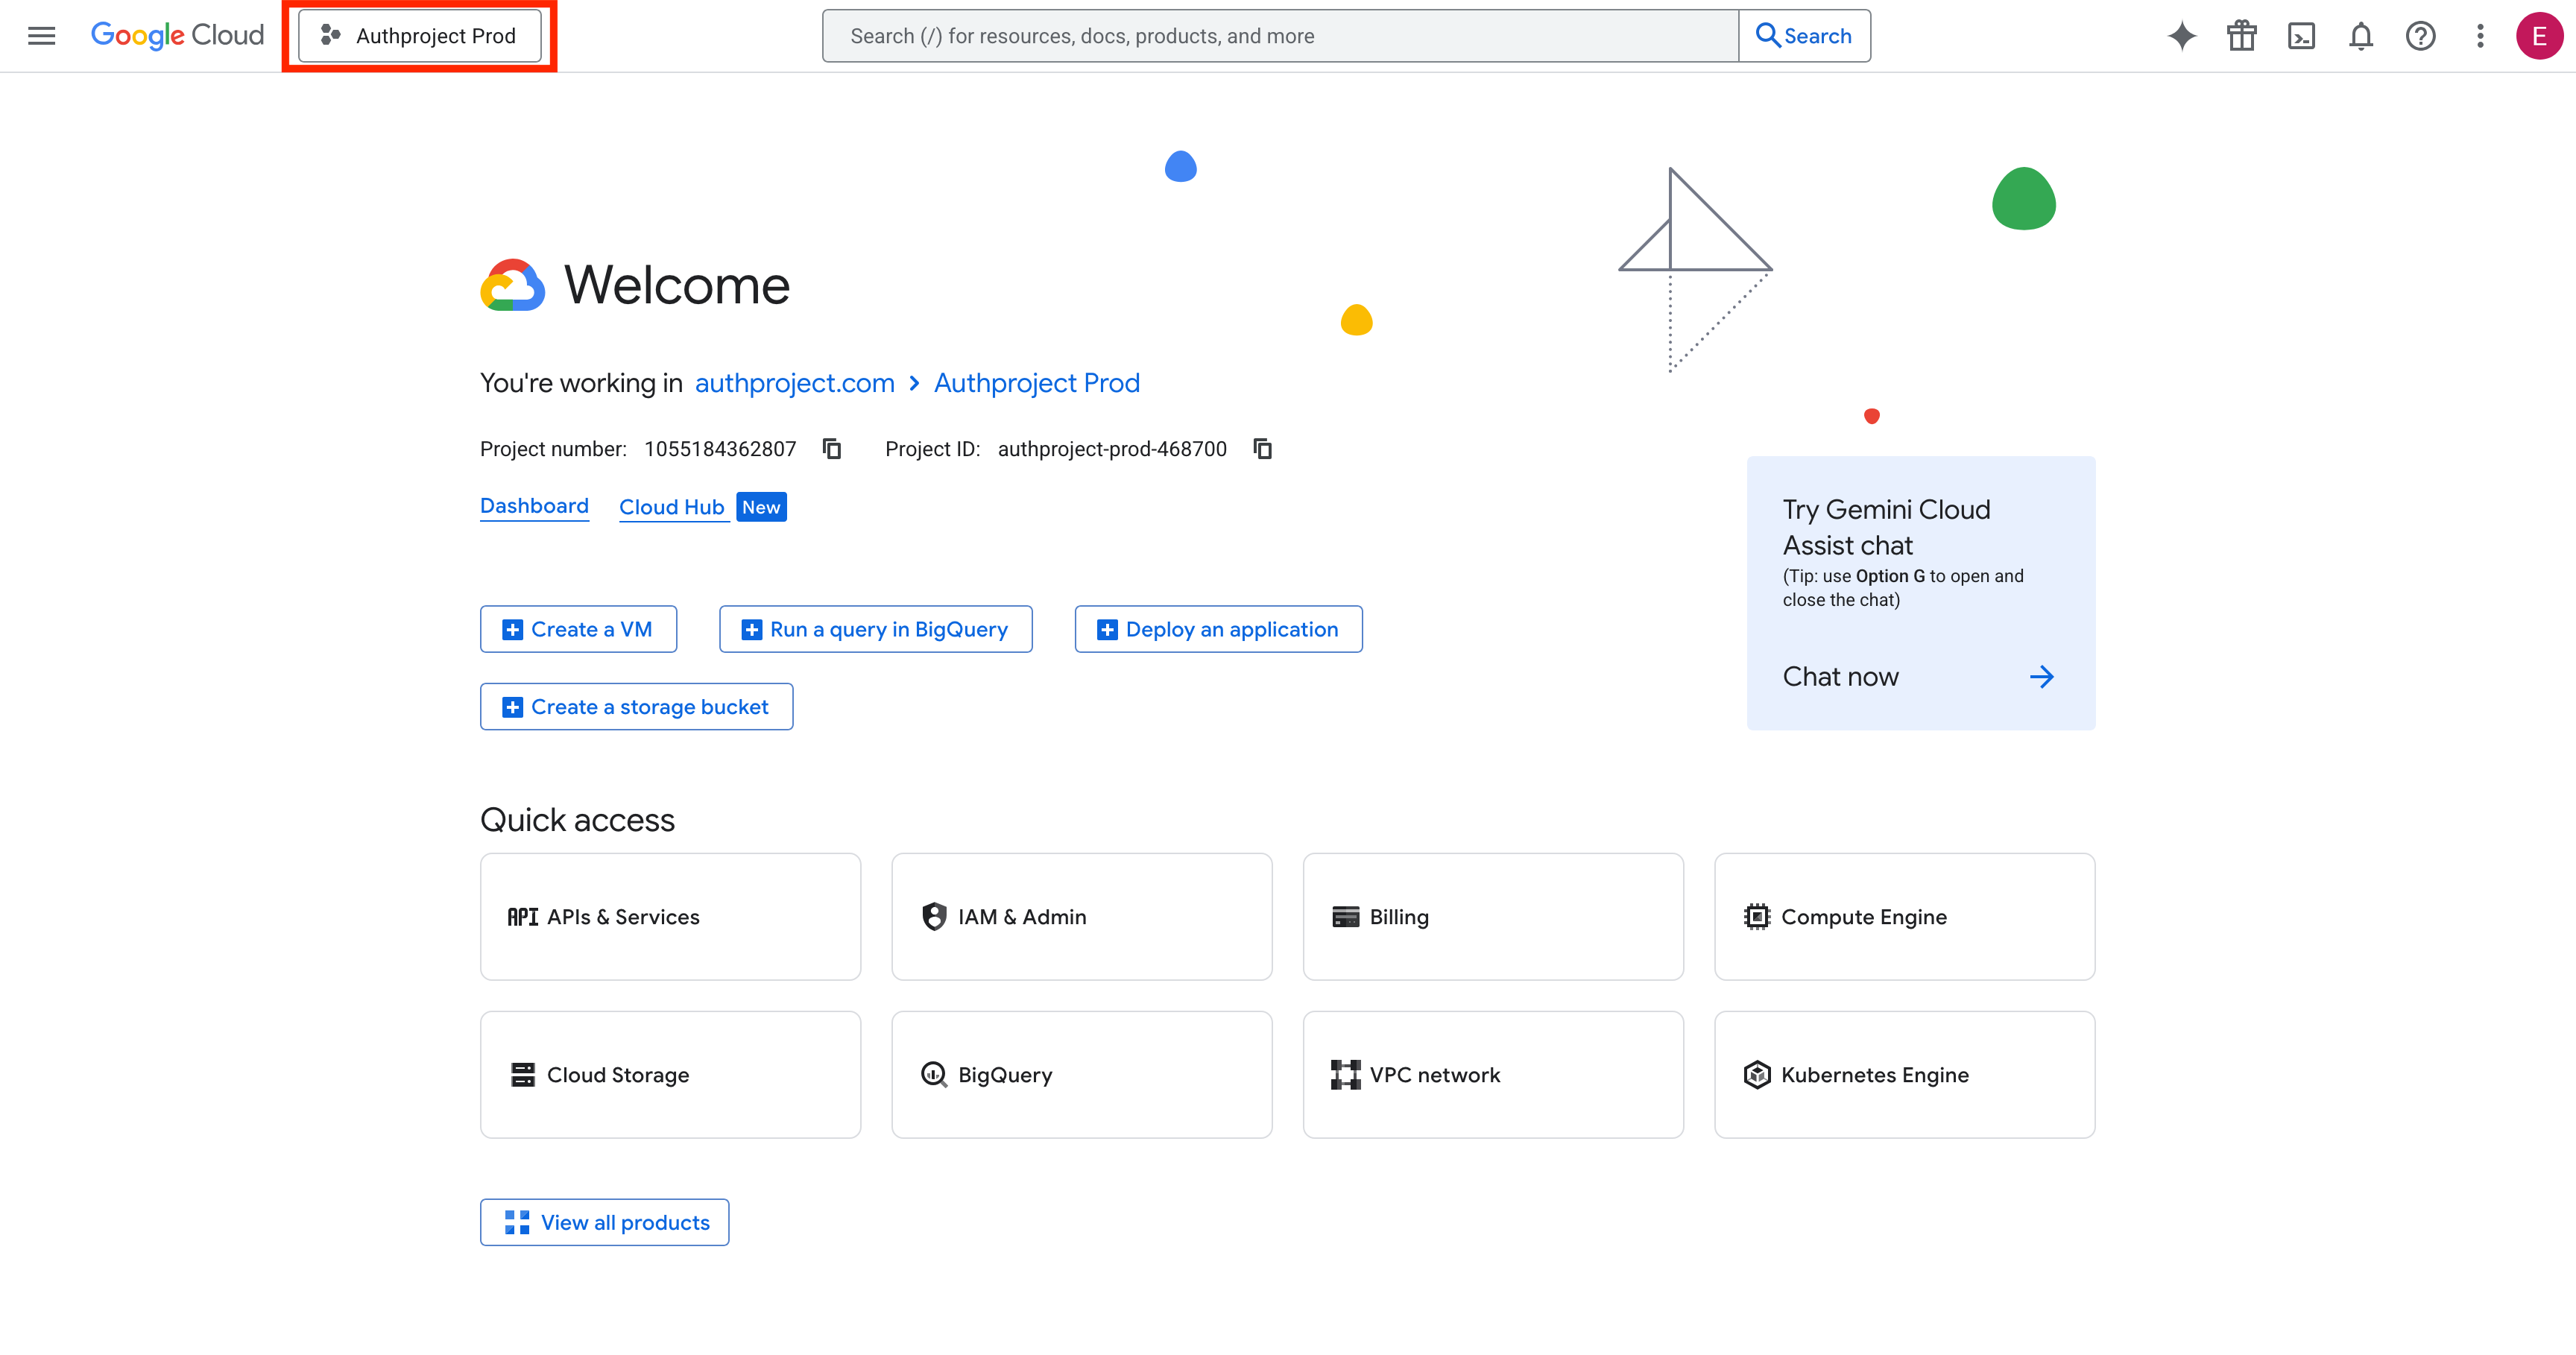
Click on “New Project” in the top right.
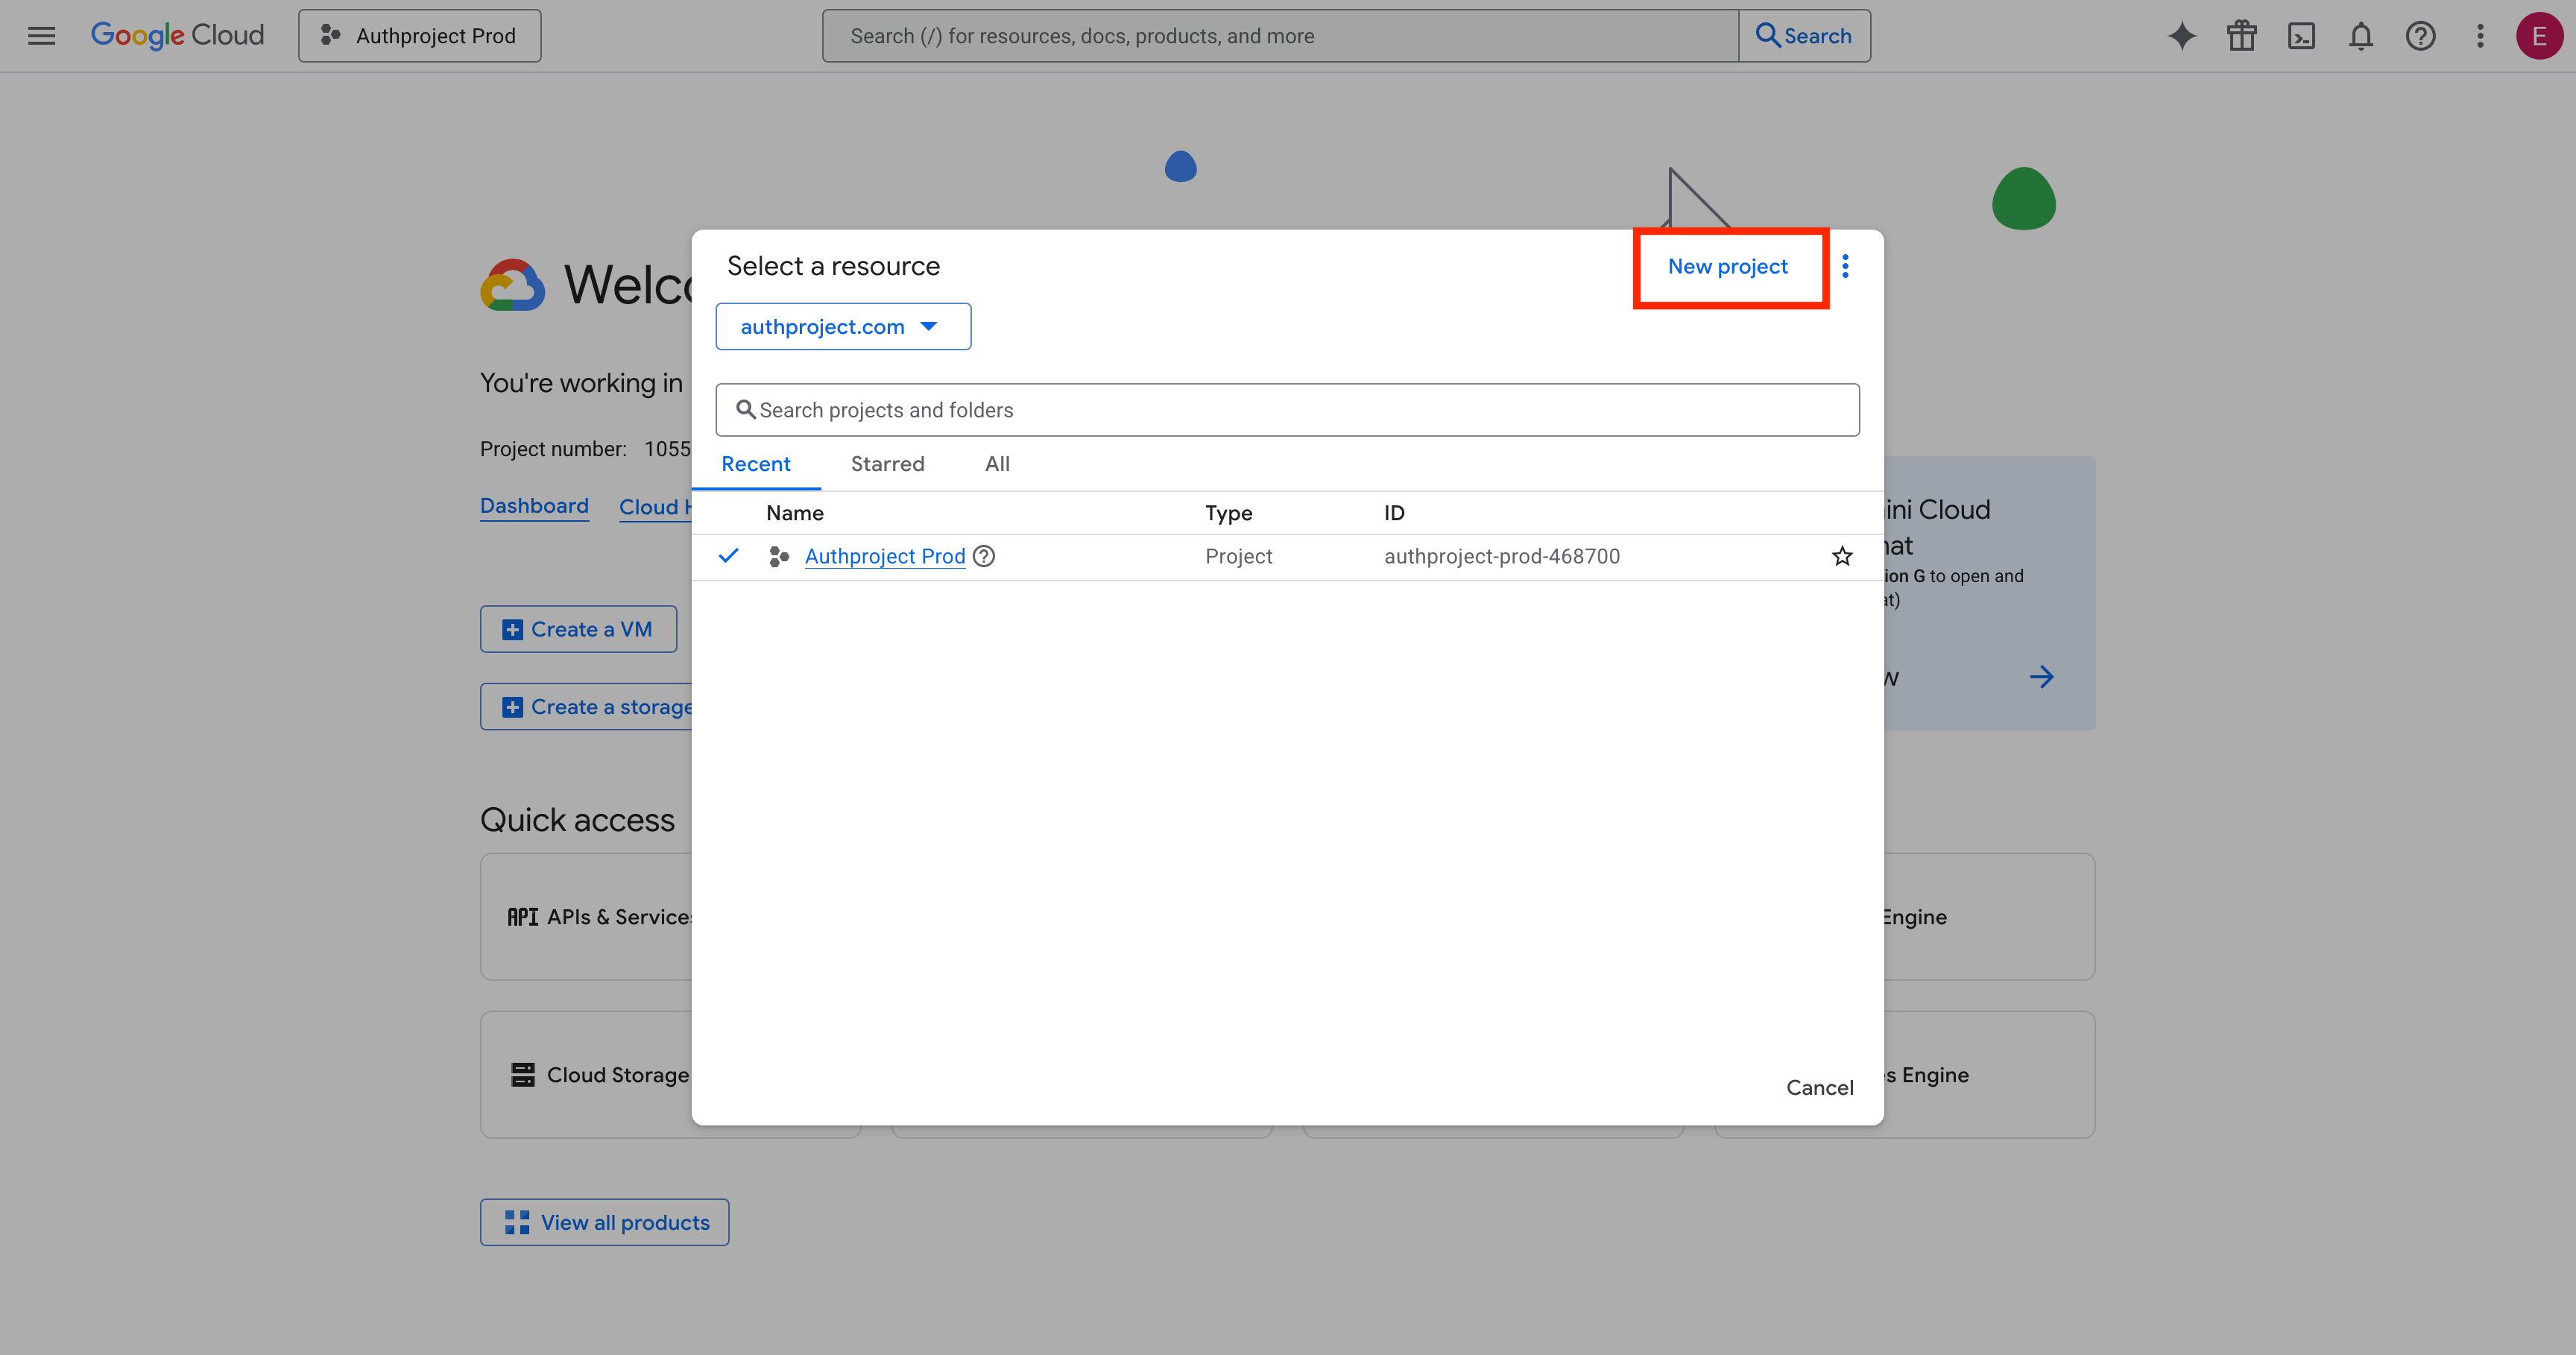
Enter the details for your new project. If you are not planning on utilizing the
Google Cloud Platform, call it something like “Authproject OAuth2.”
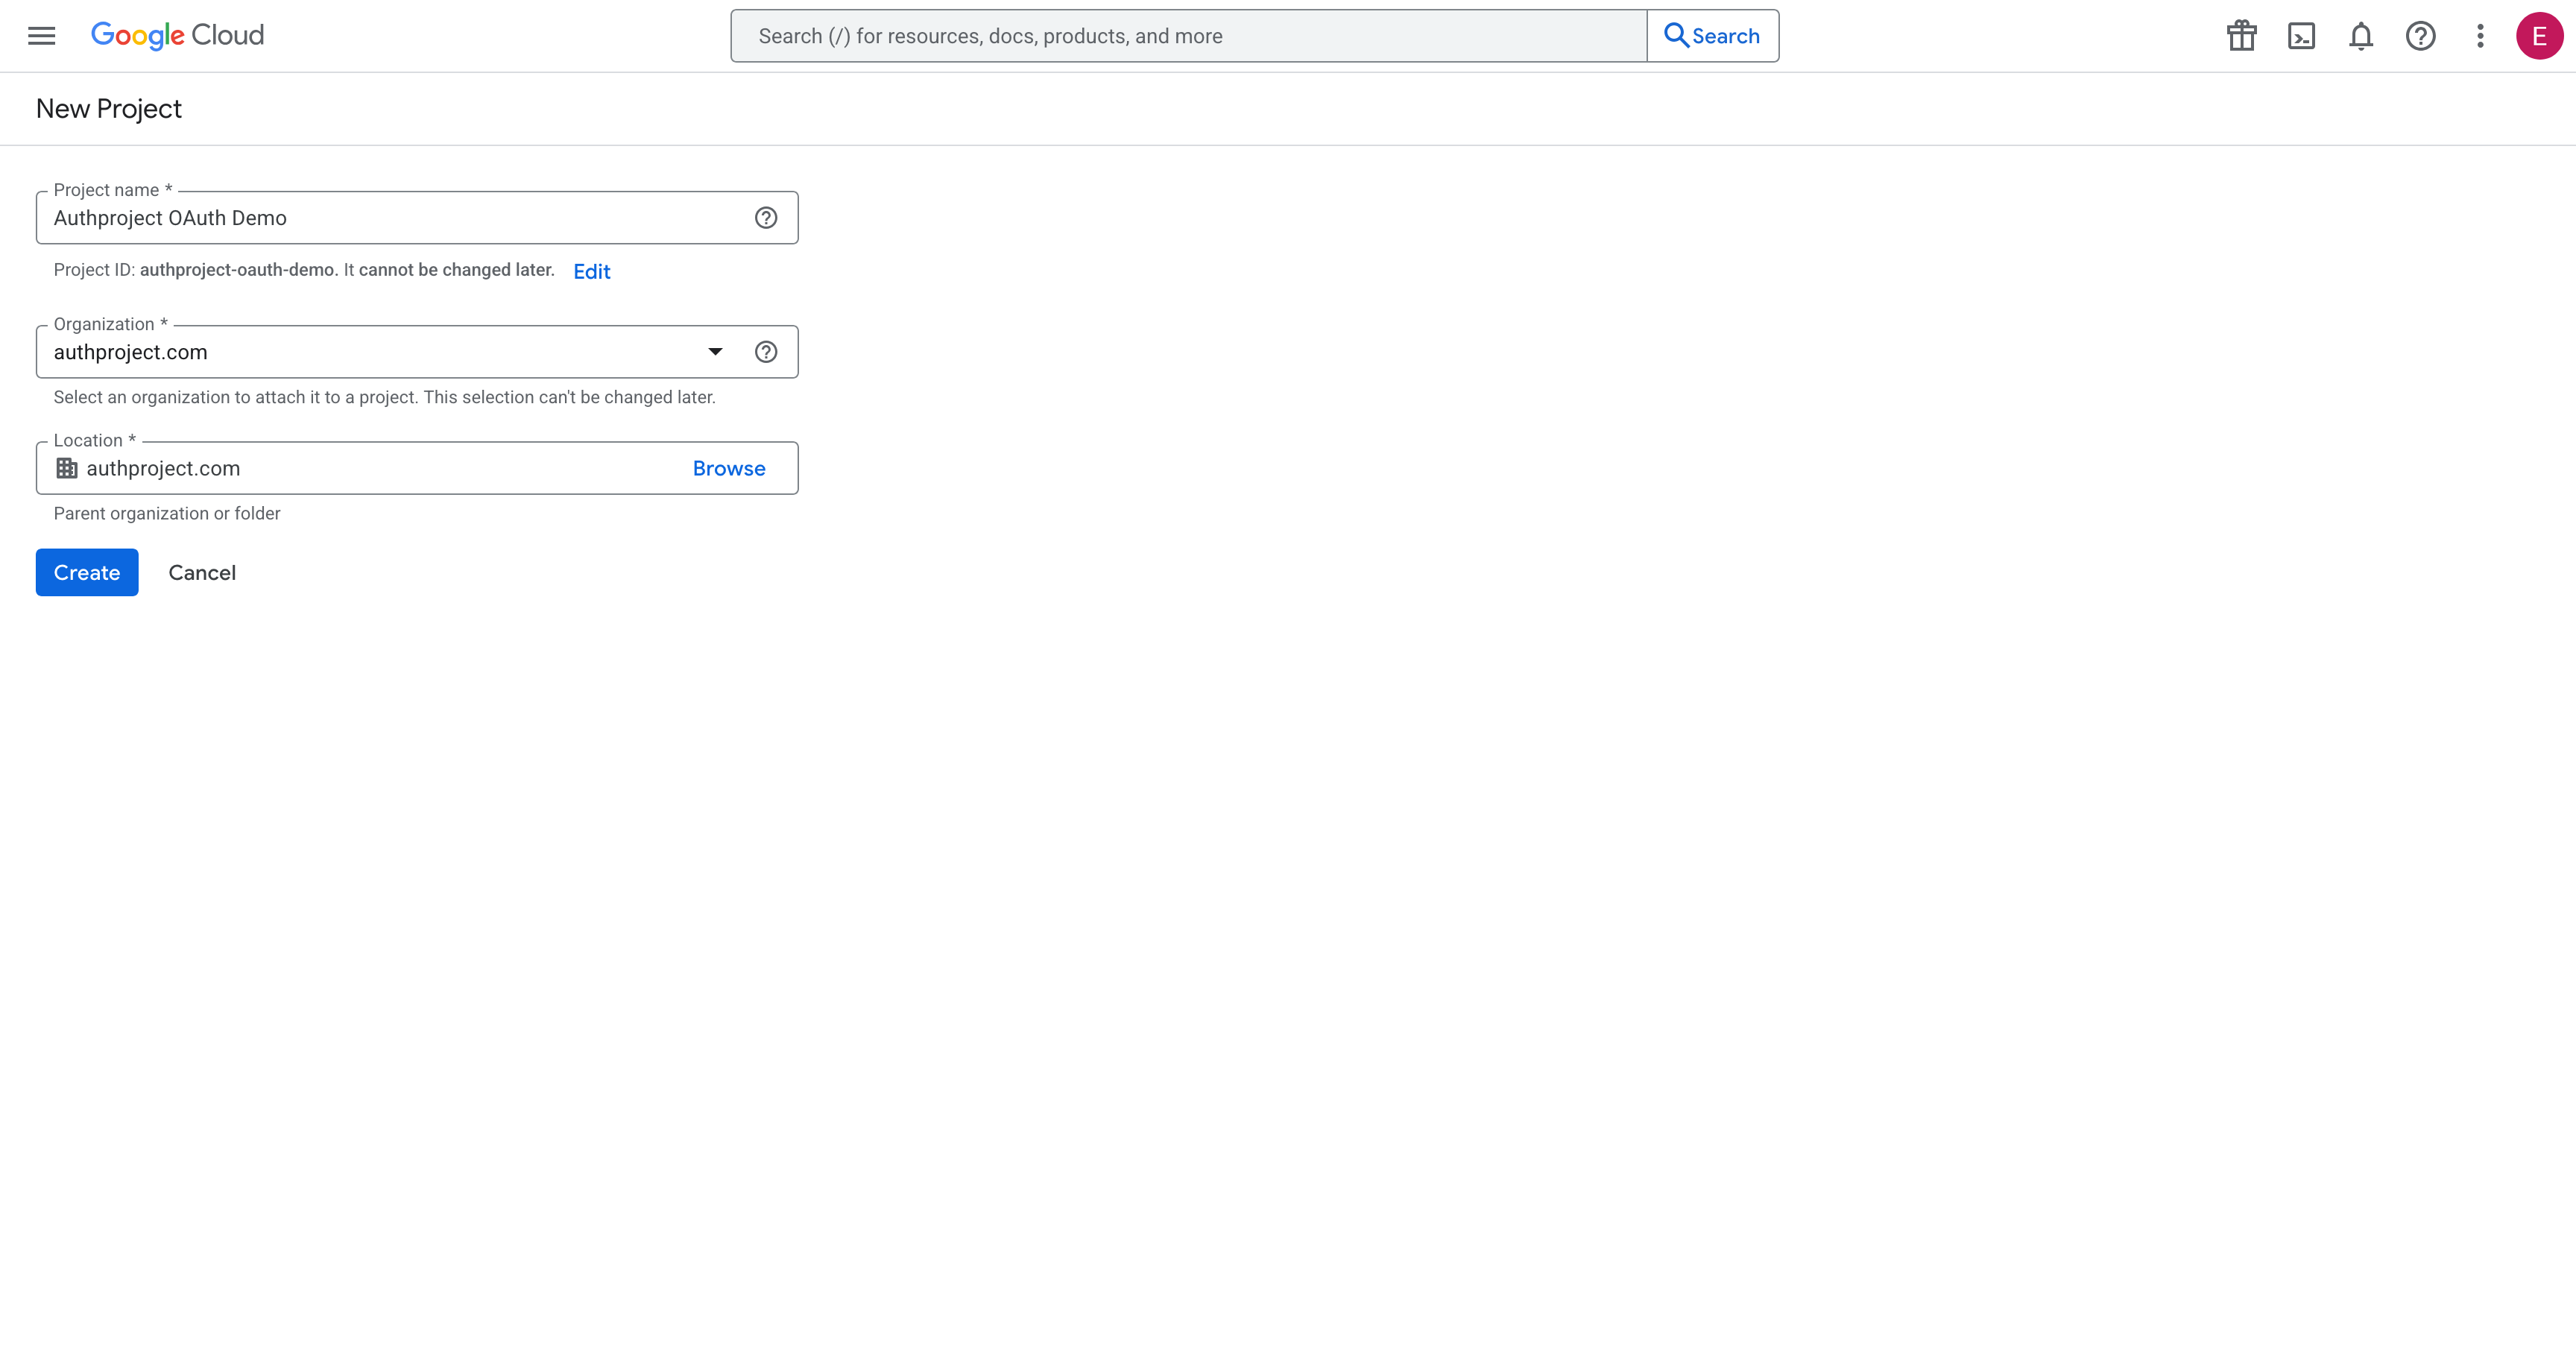
Select the newly created project.

Complete OAuth Consent Screen
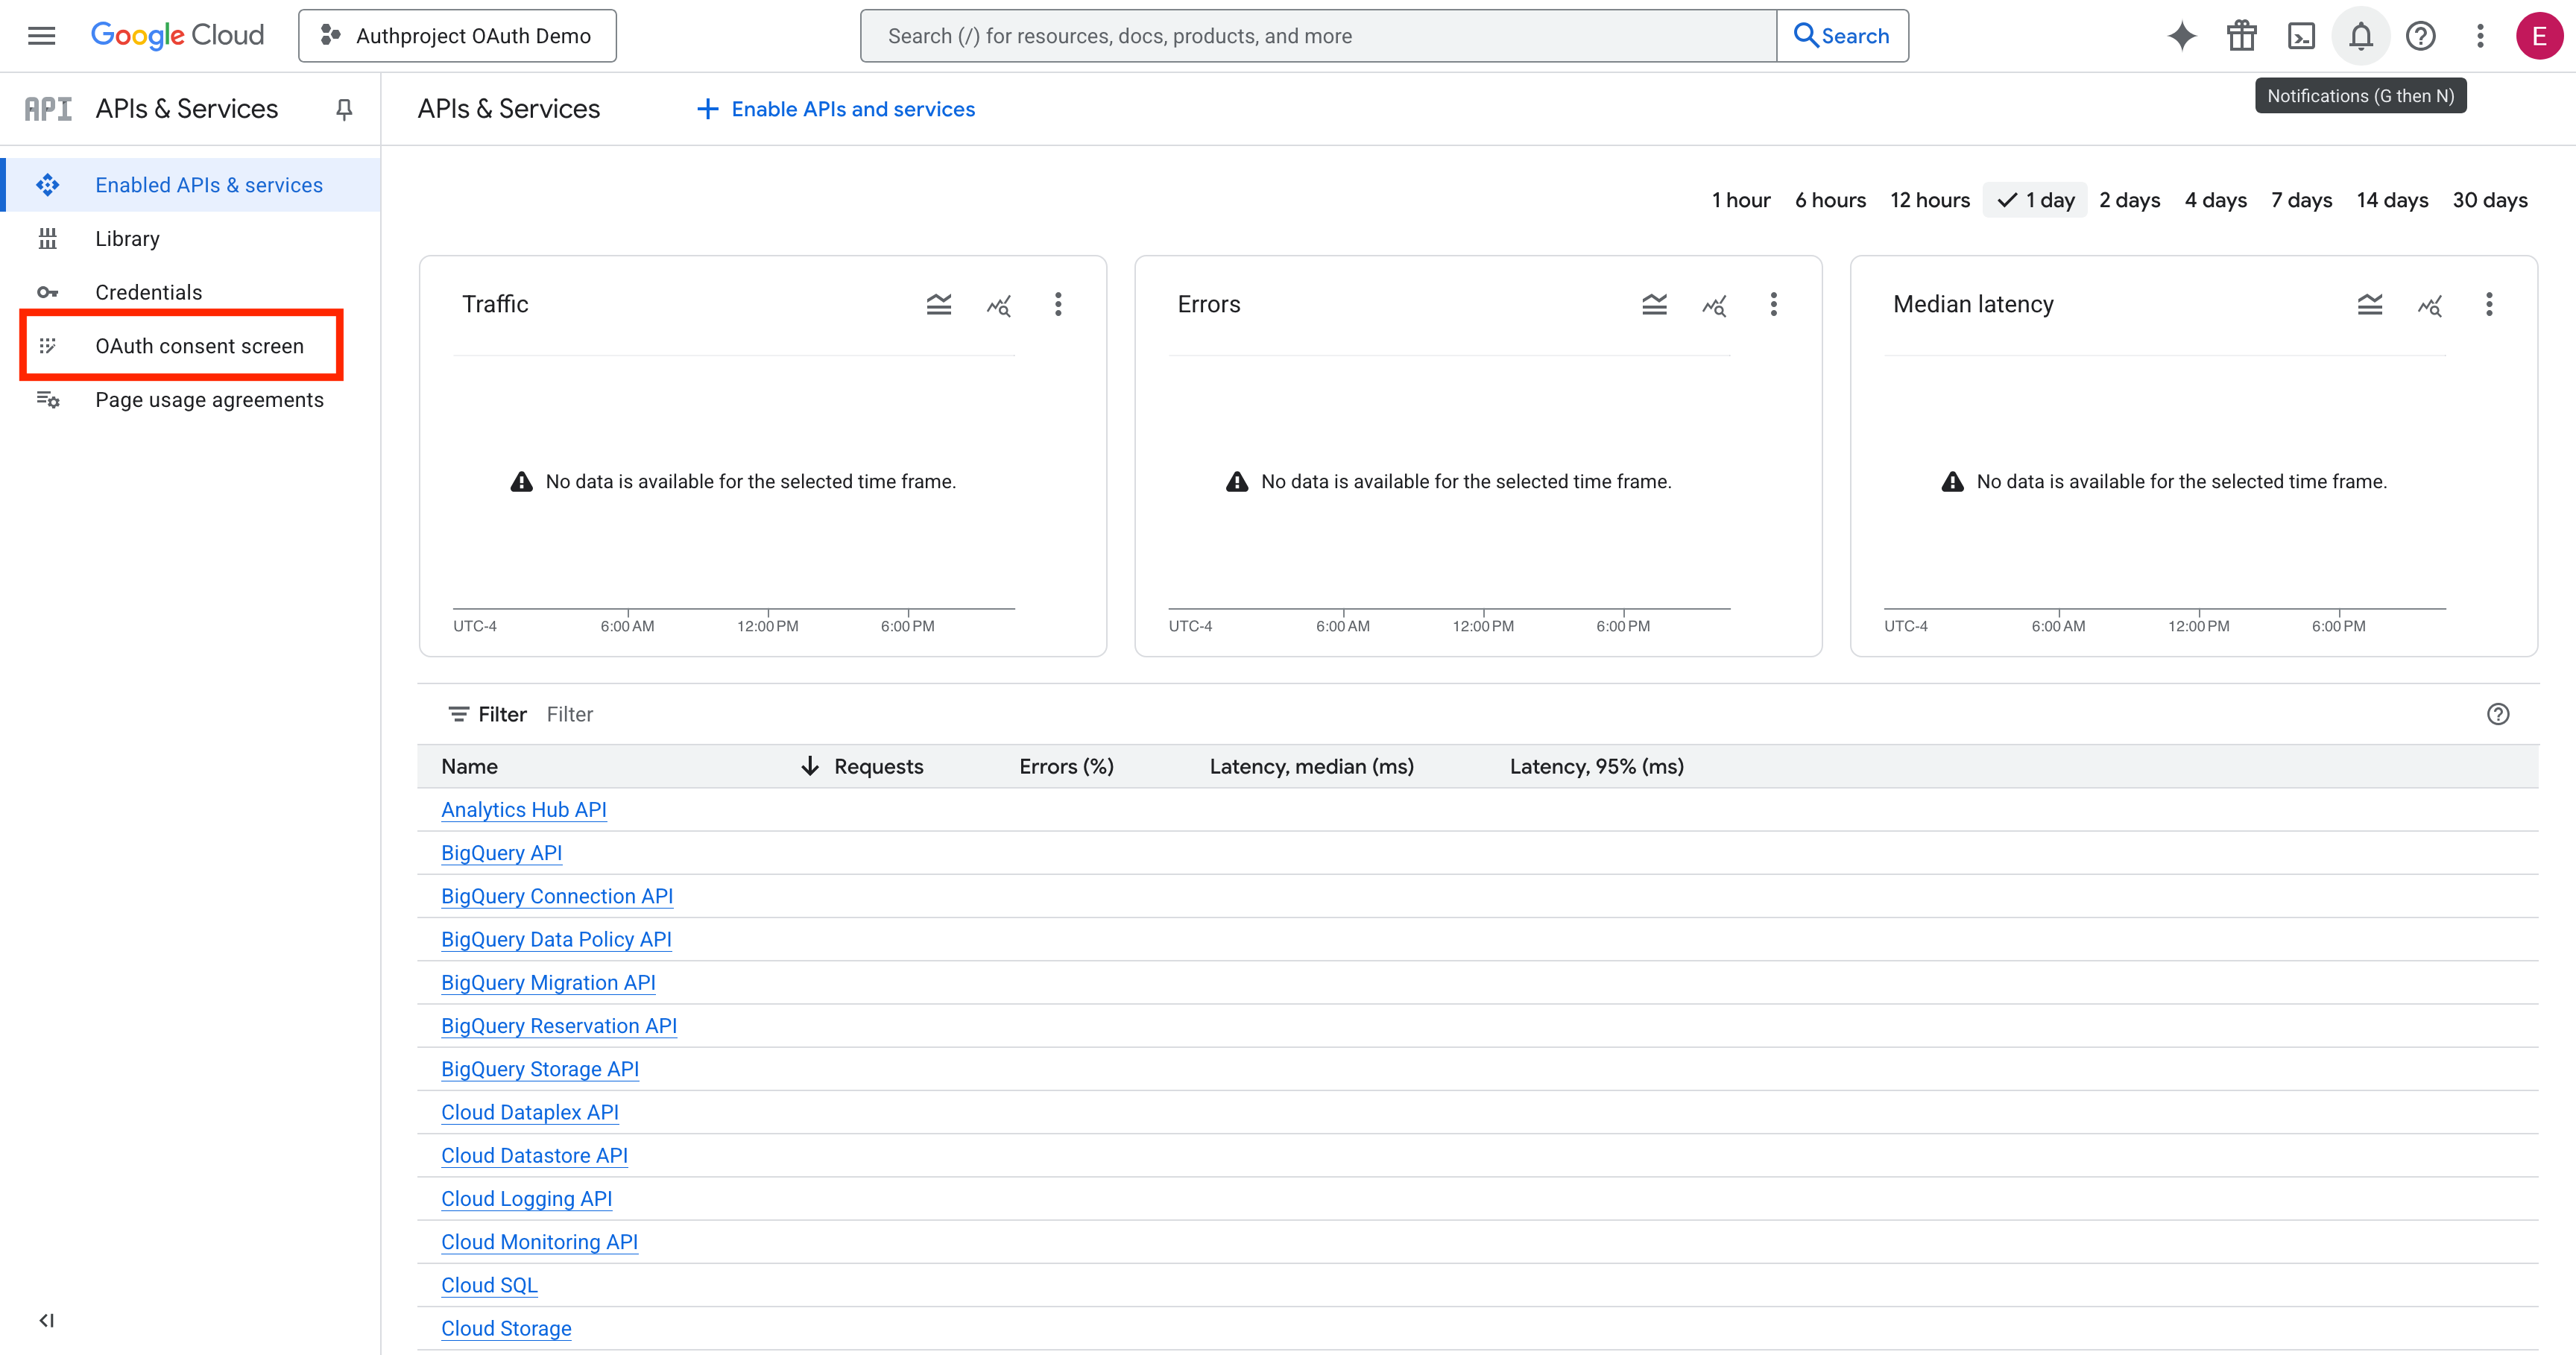
Once the project has been created and has been selected, click on the menu
button in the top left, then select “APIs & Services.”

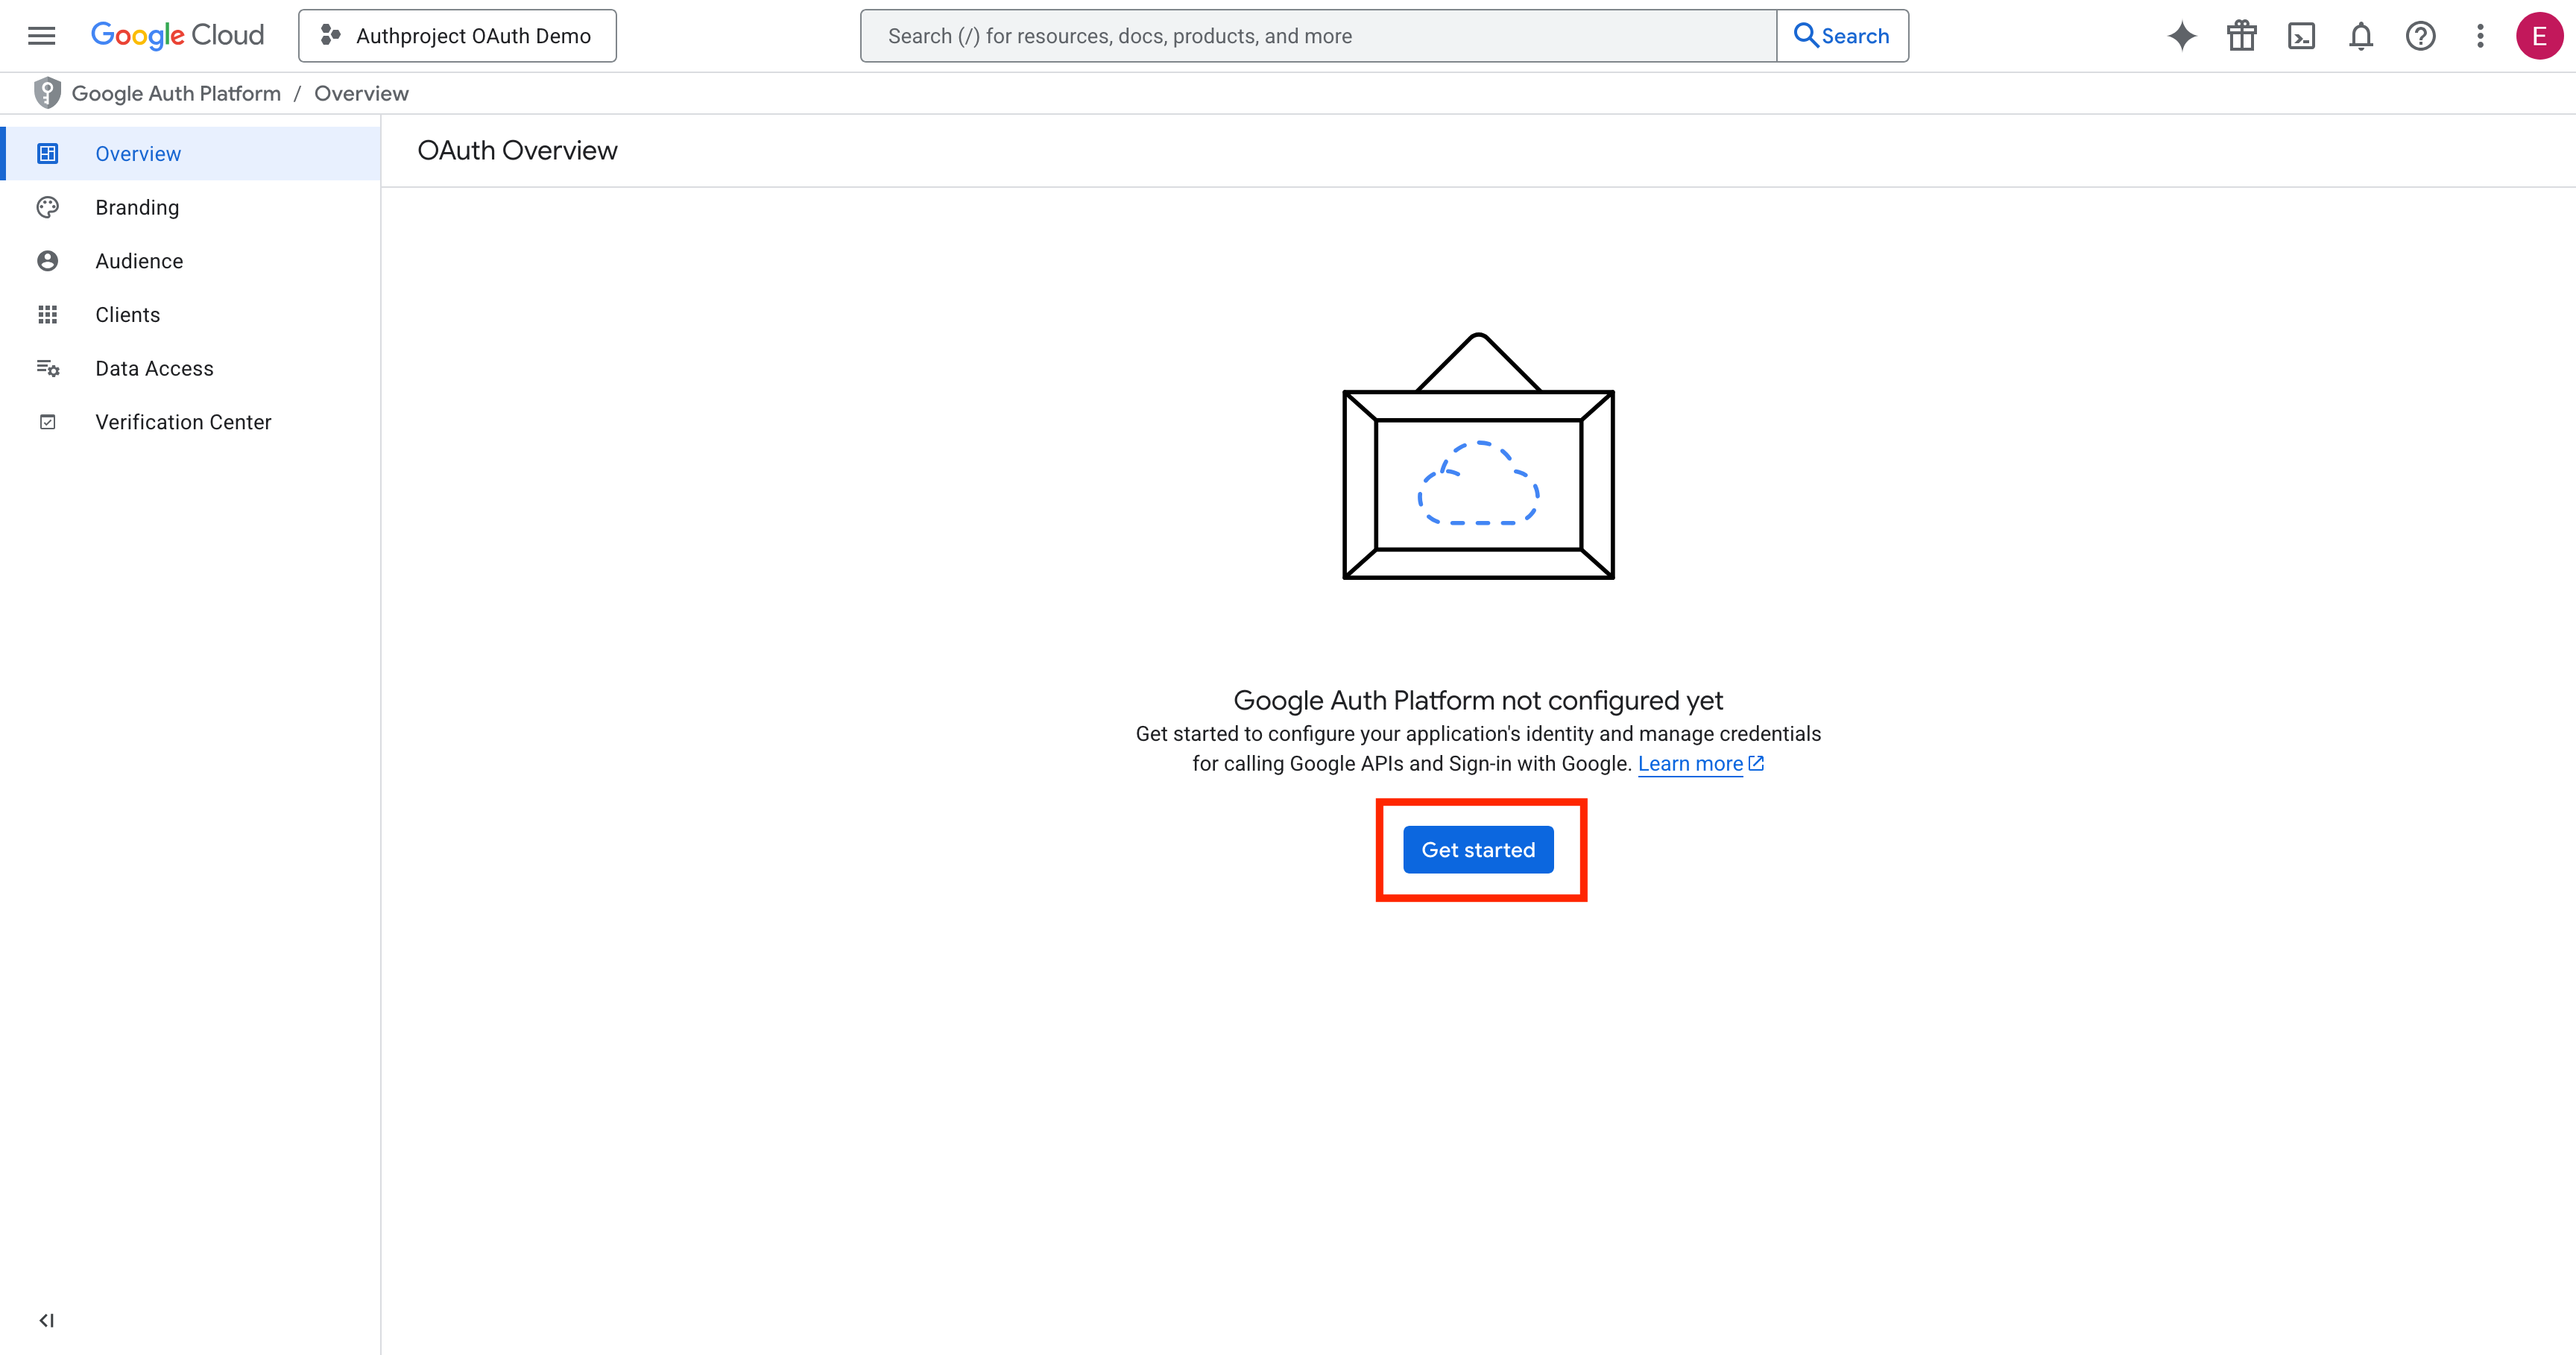
Then, select “OAuth Consent Screen” in the left menu.
Click on “Get Started.”
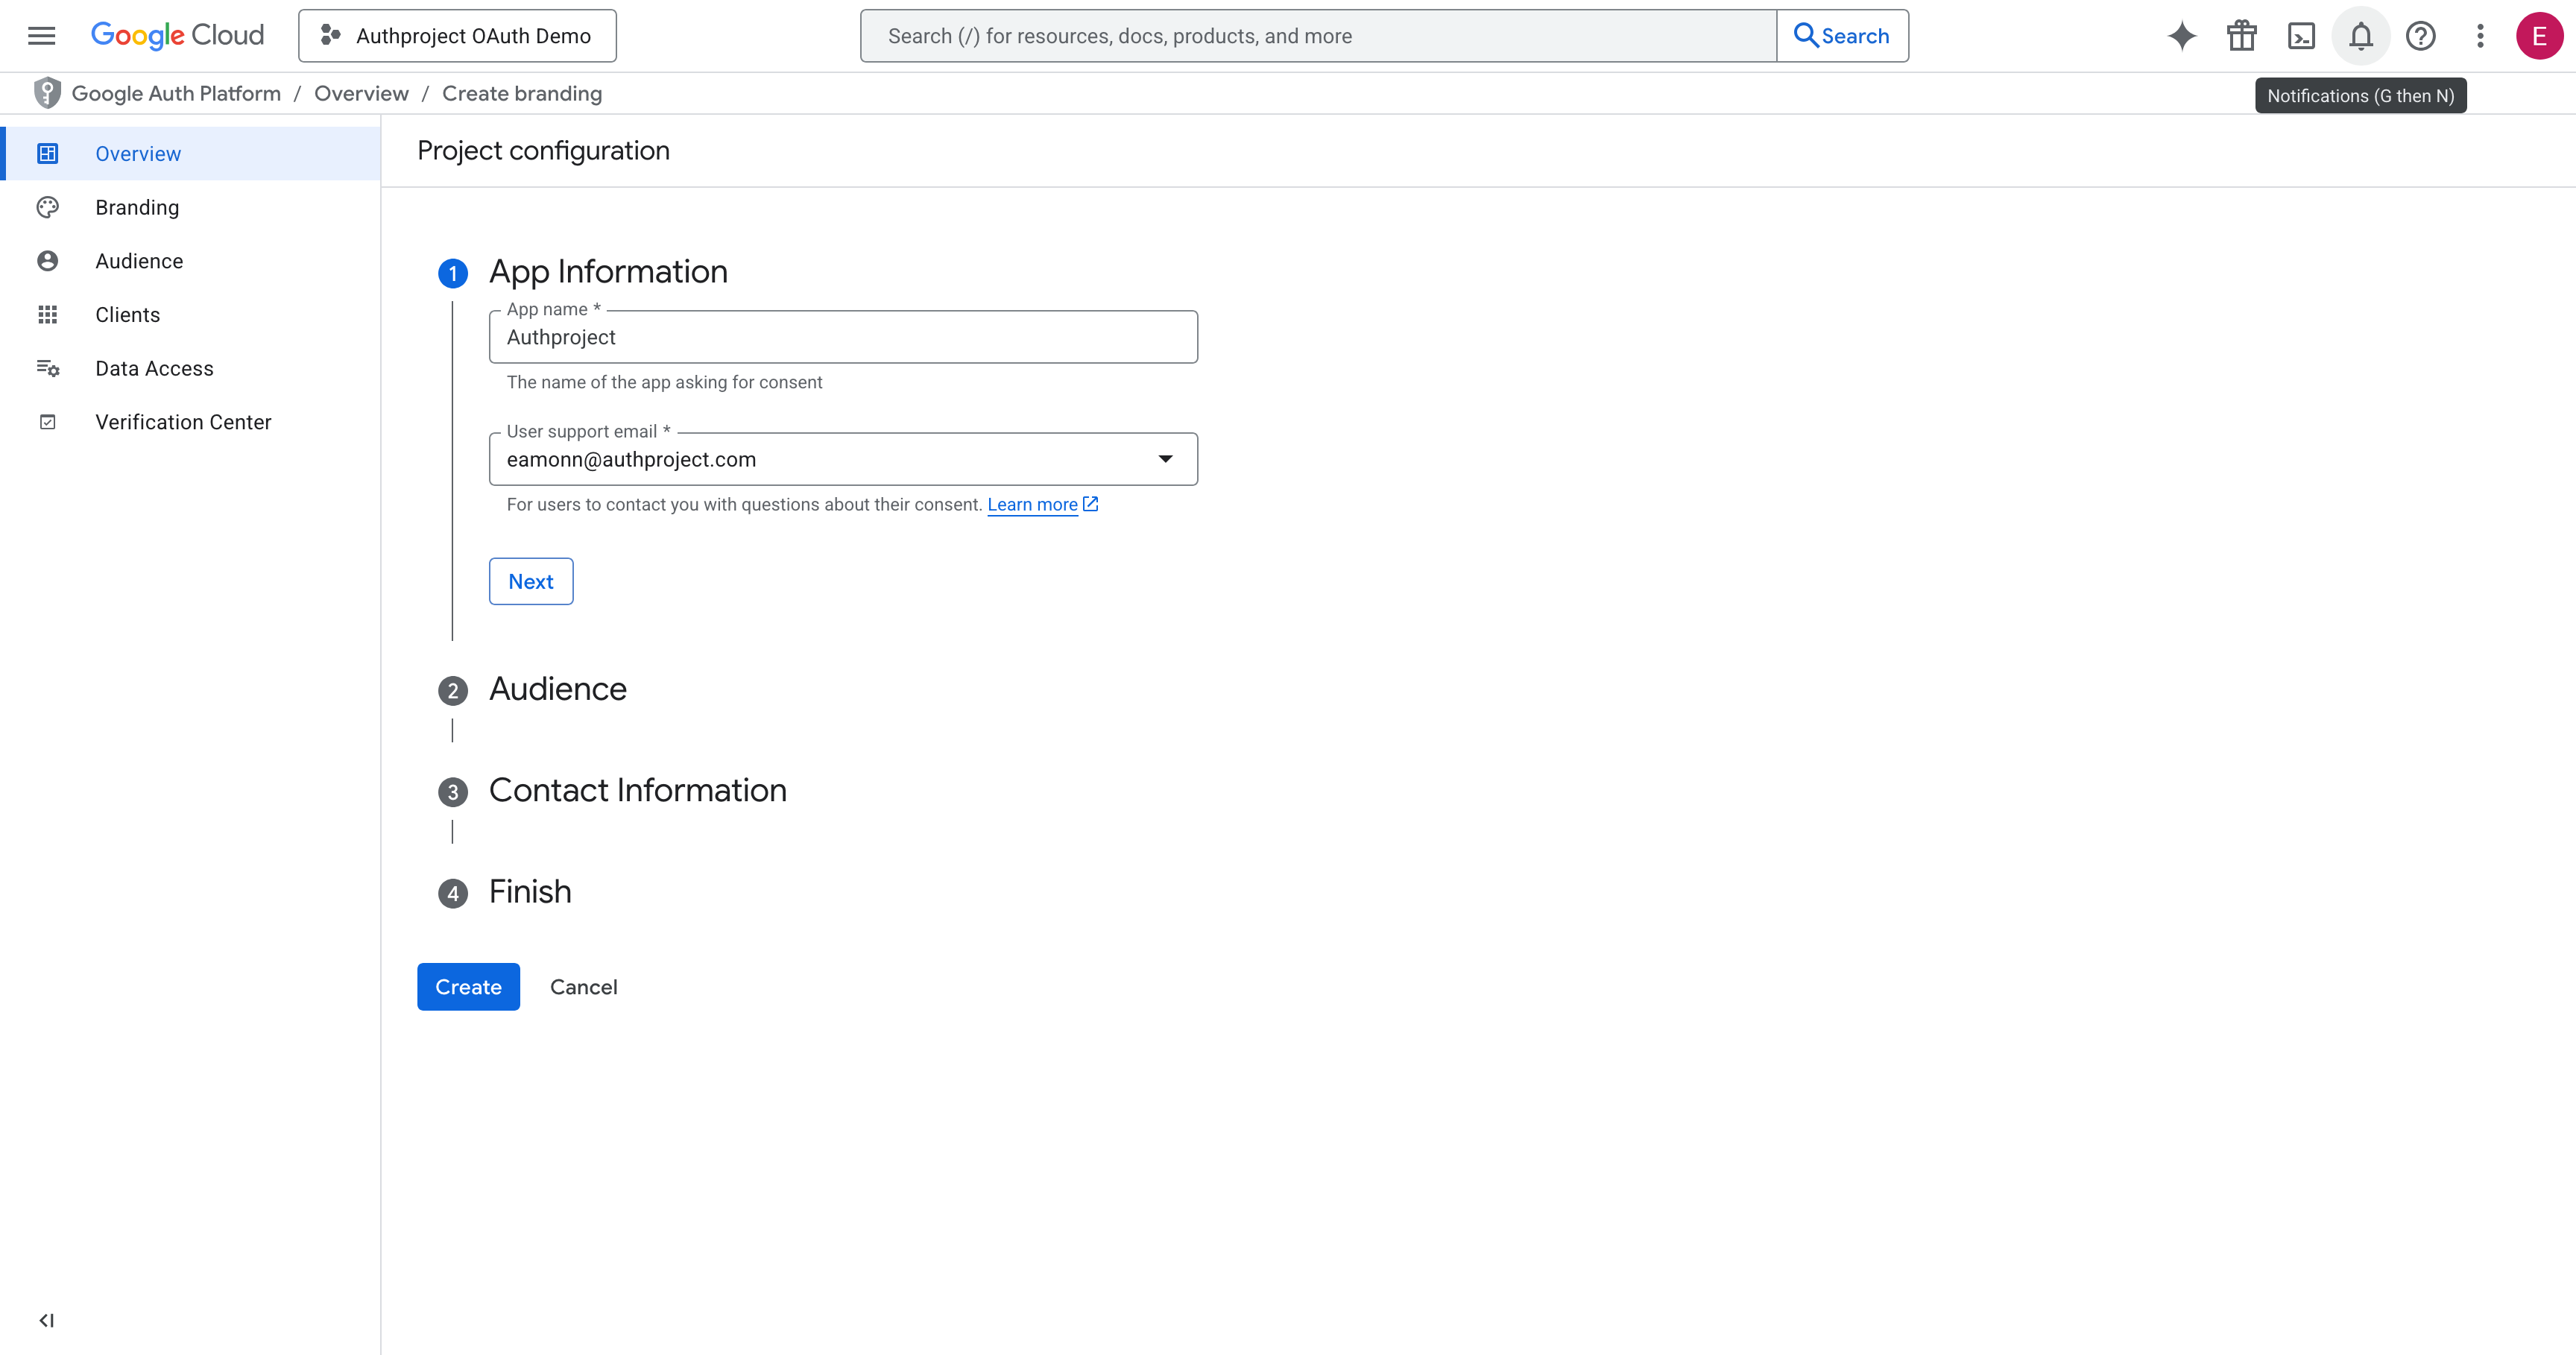
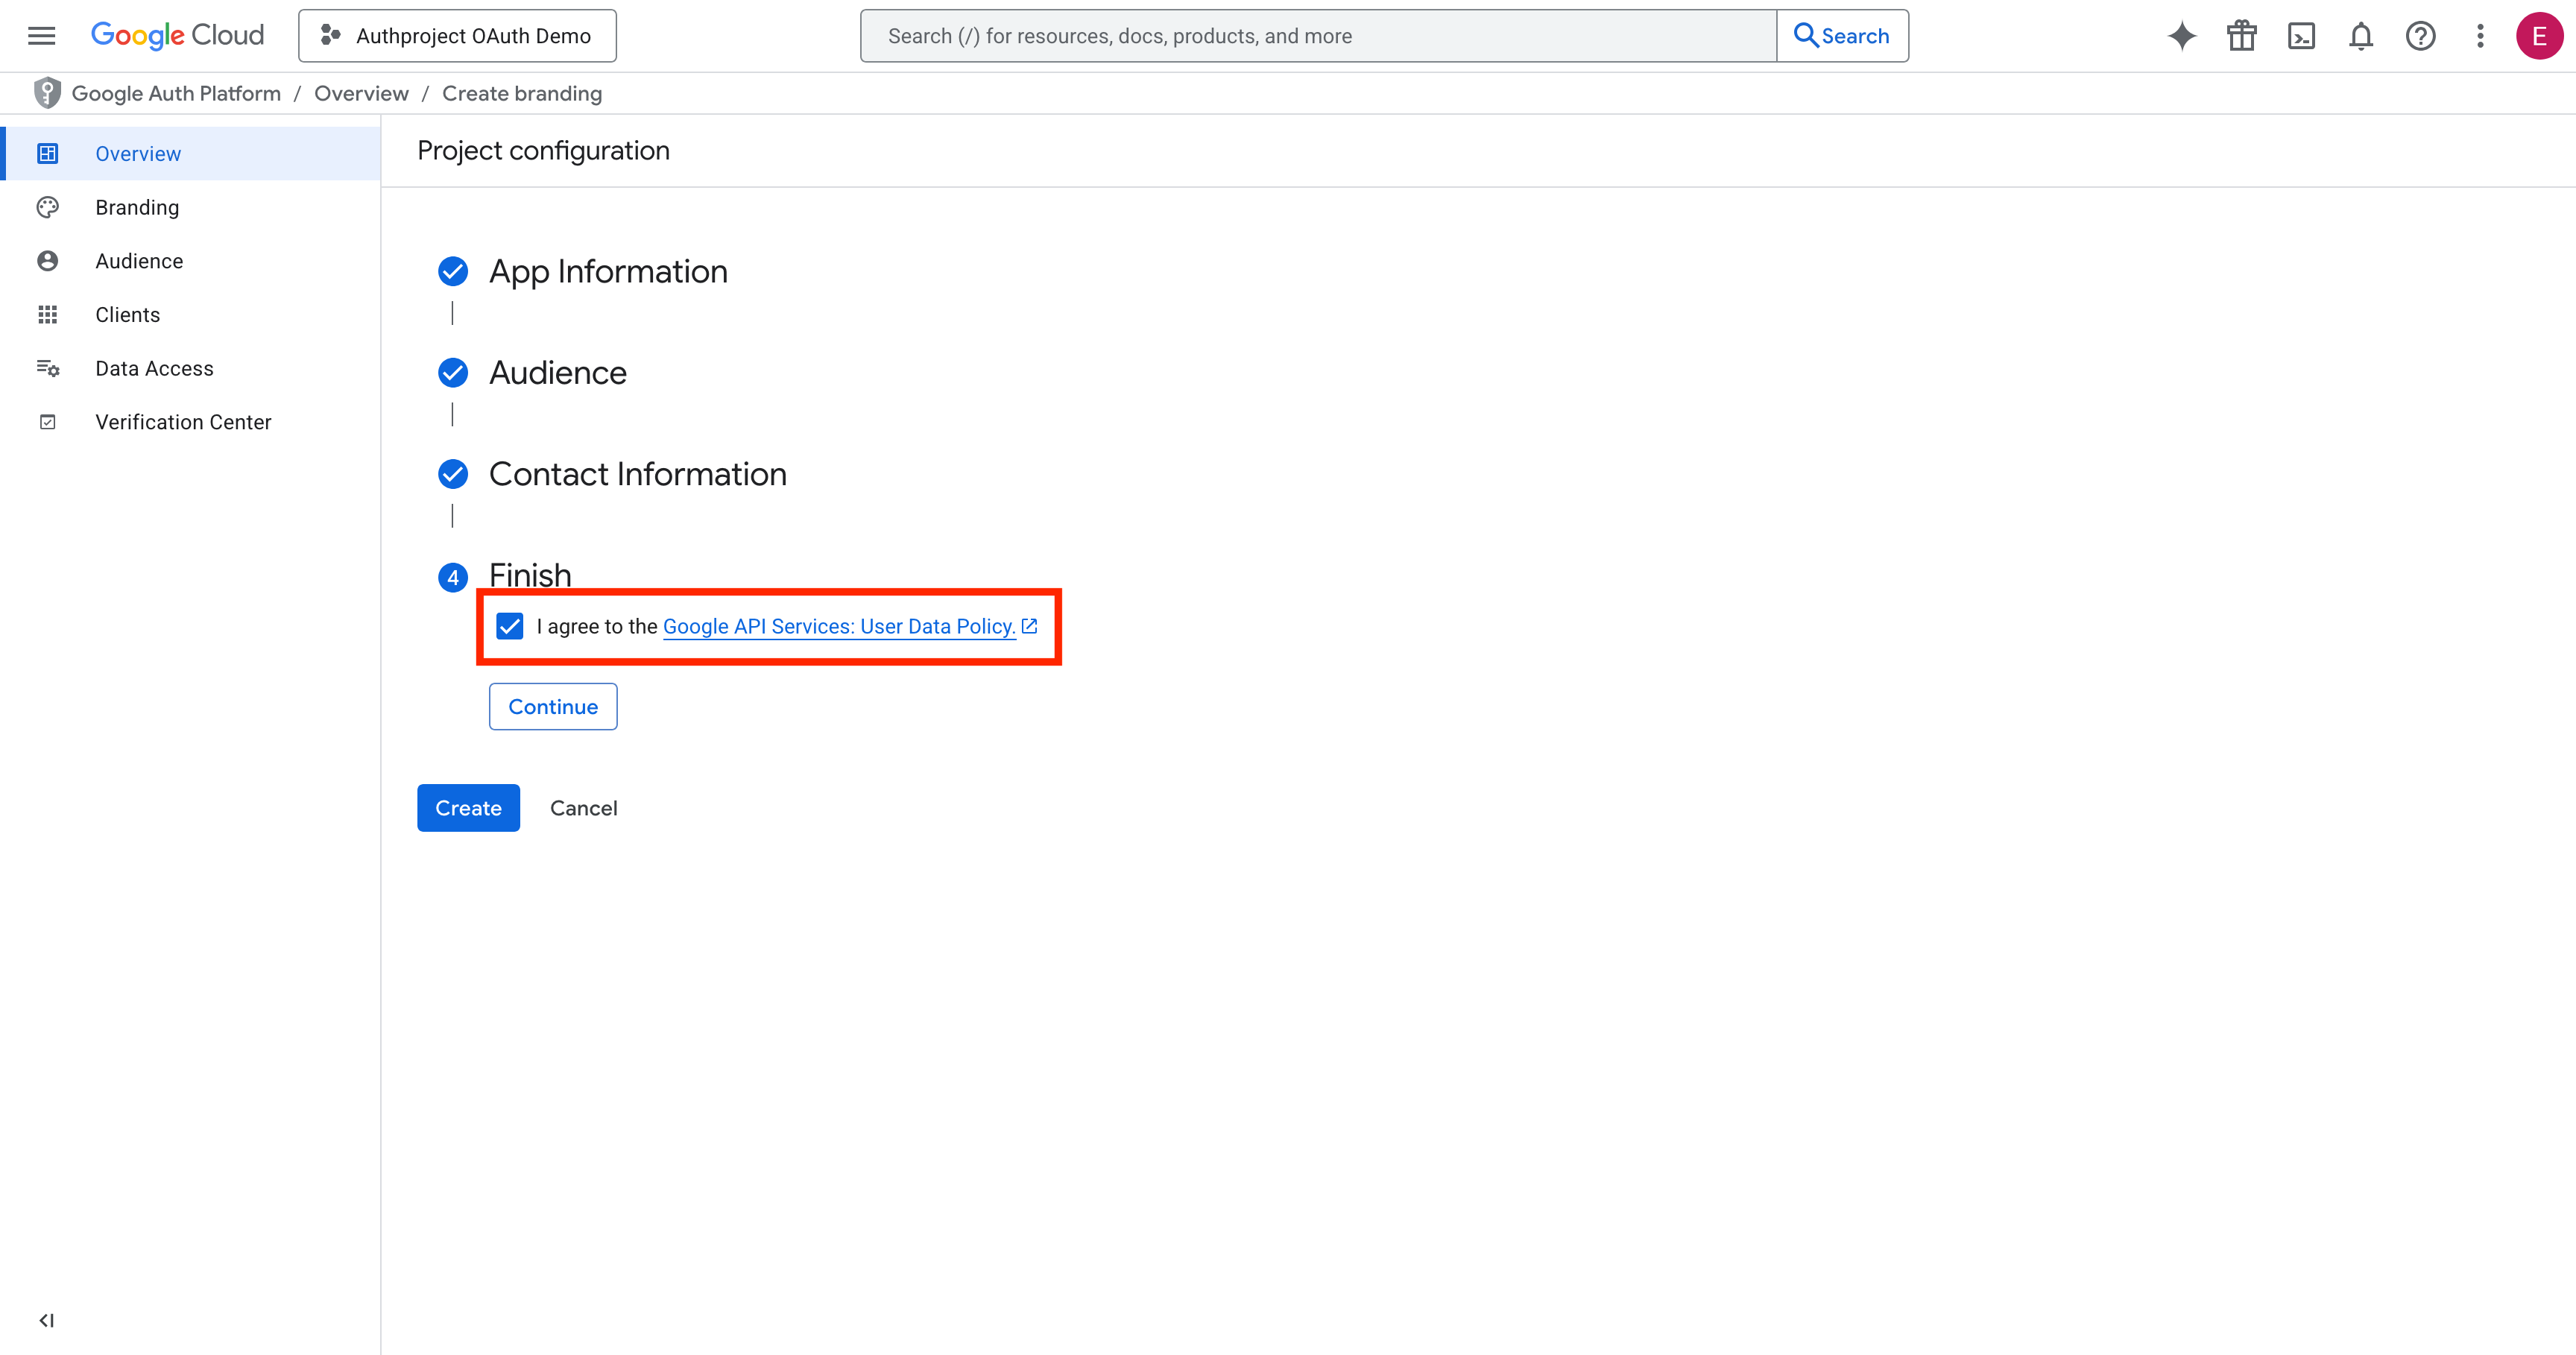
Fill out the relevant fields. The information entered should be specific to your
authentication domain. Replace “Authproject” with the name of your application
or company, and enter your support email in the box.
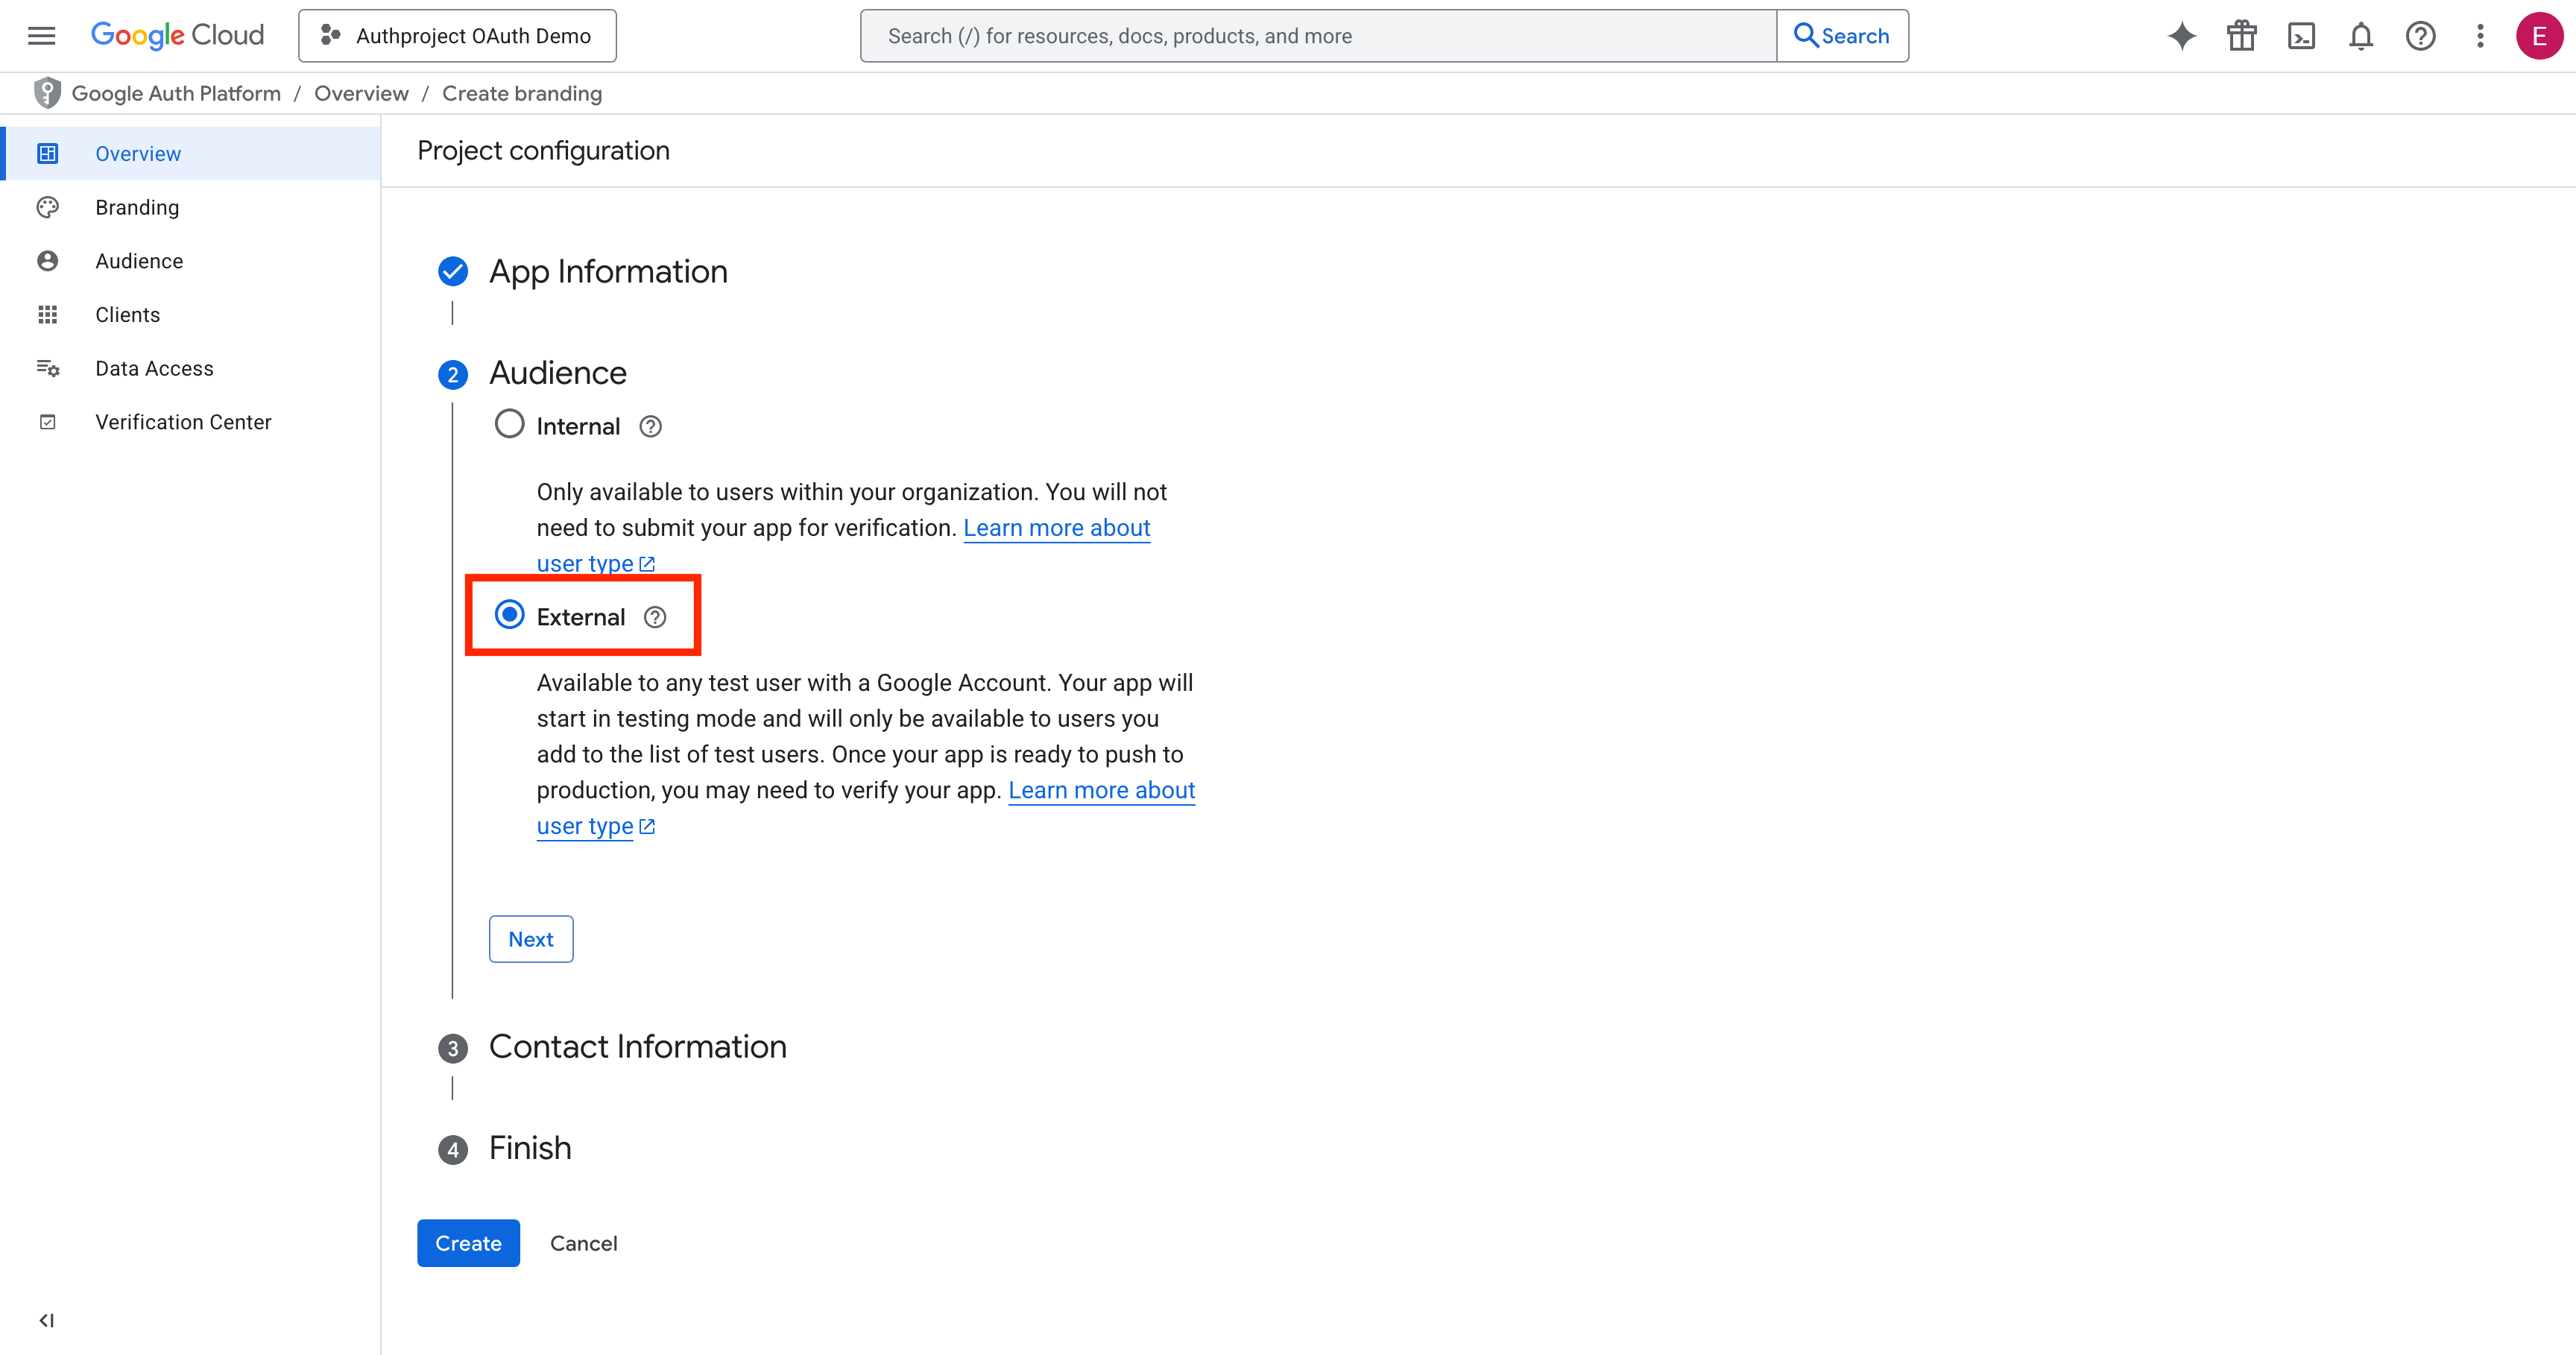
Select “External.”
Enter the email address to which you would like updates delivered, for when
Google sends notifications about this OAuth consent screen.
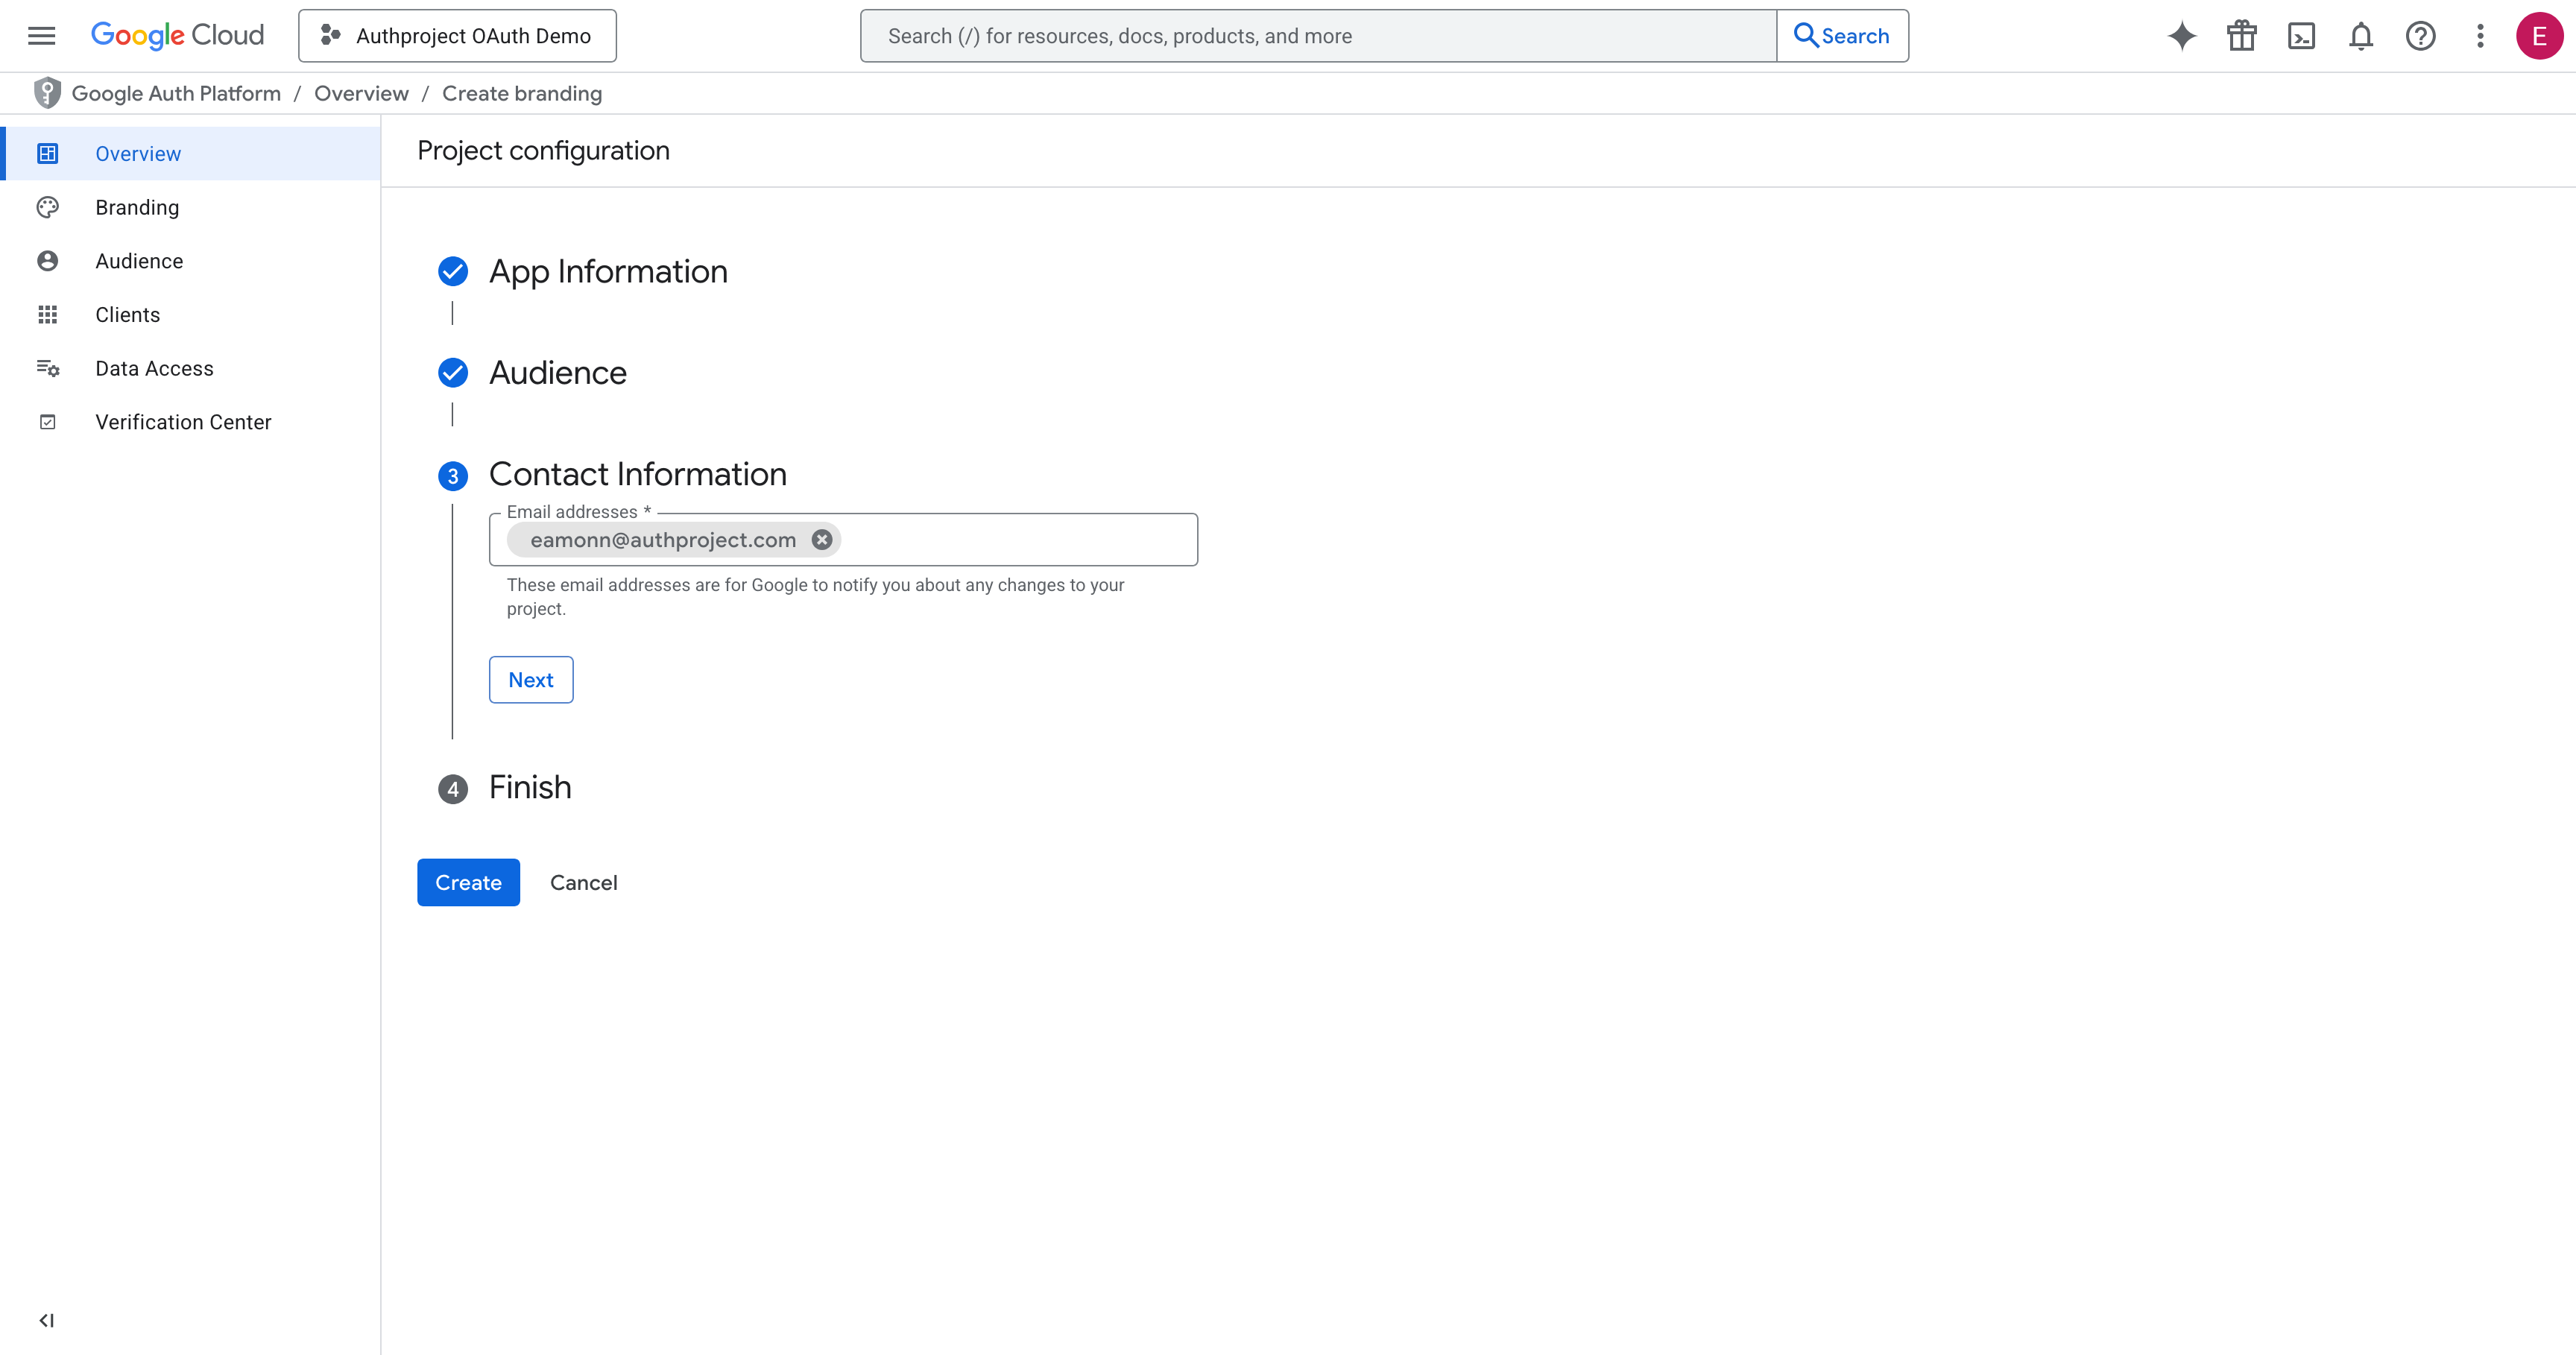
Agree to the terms and hit “Continue” and “Create.”
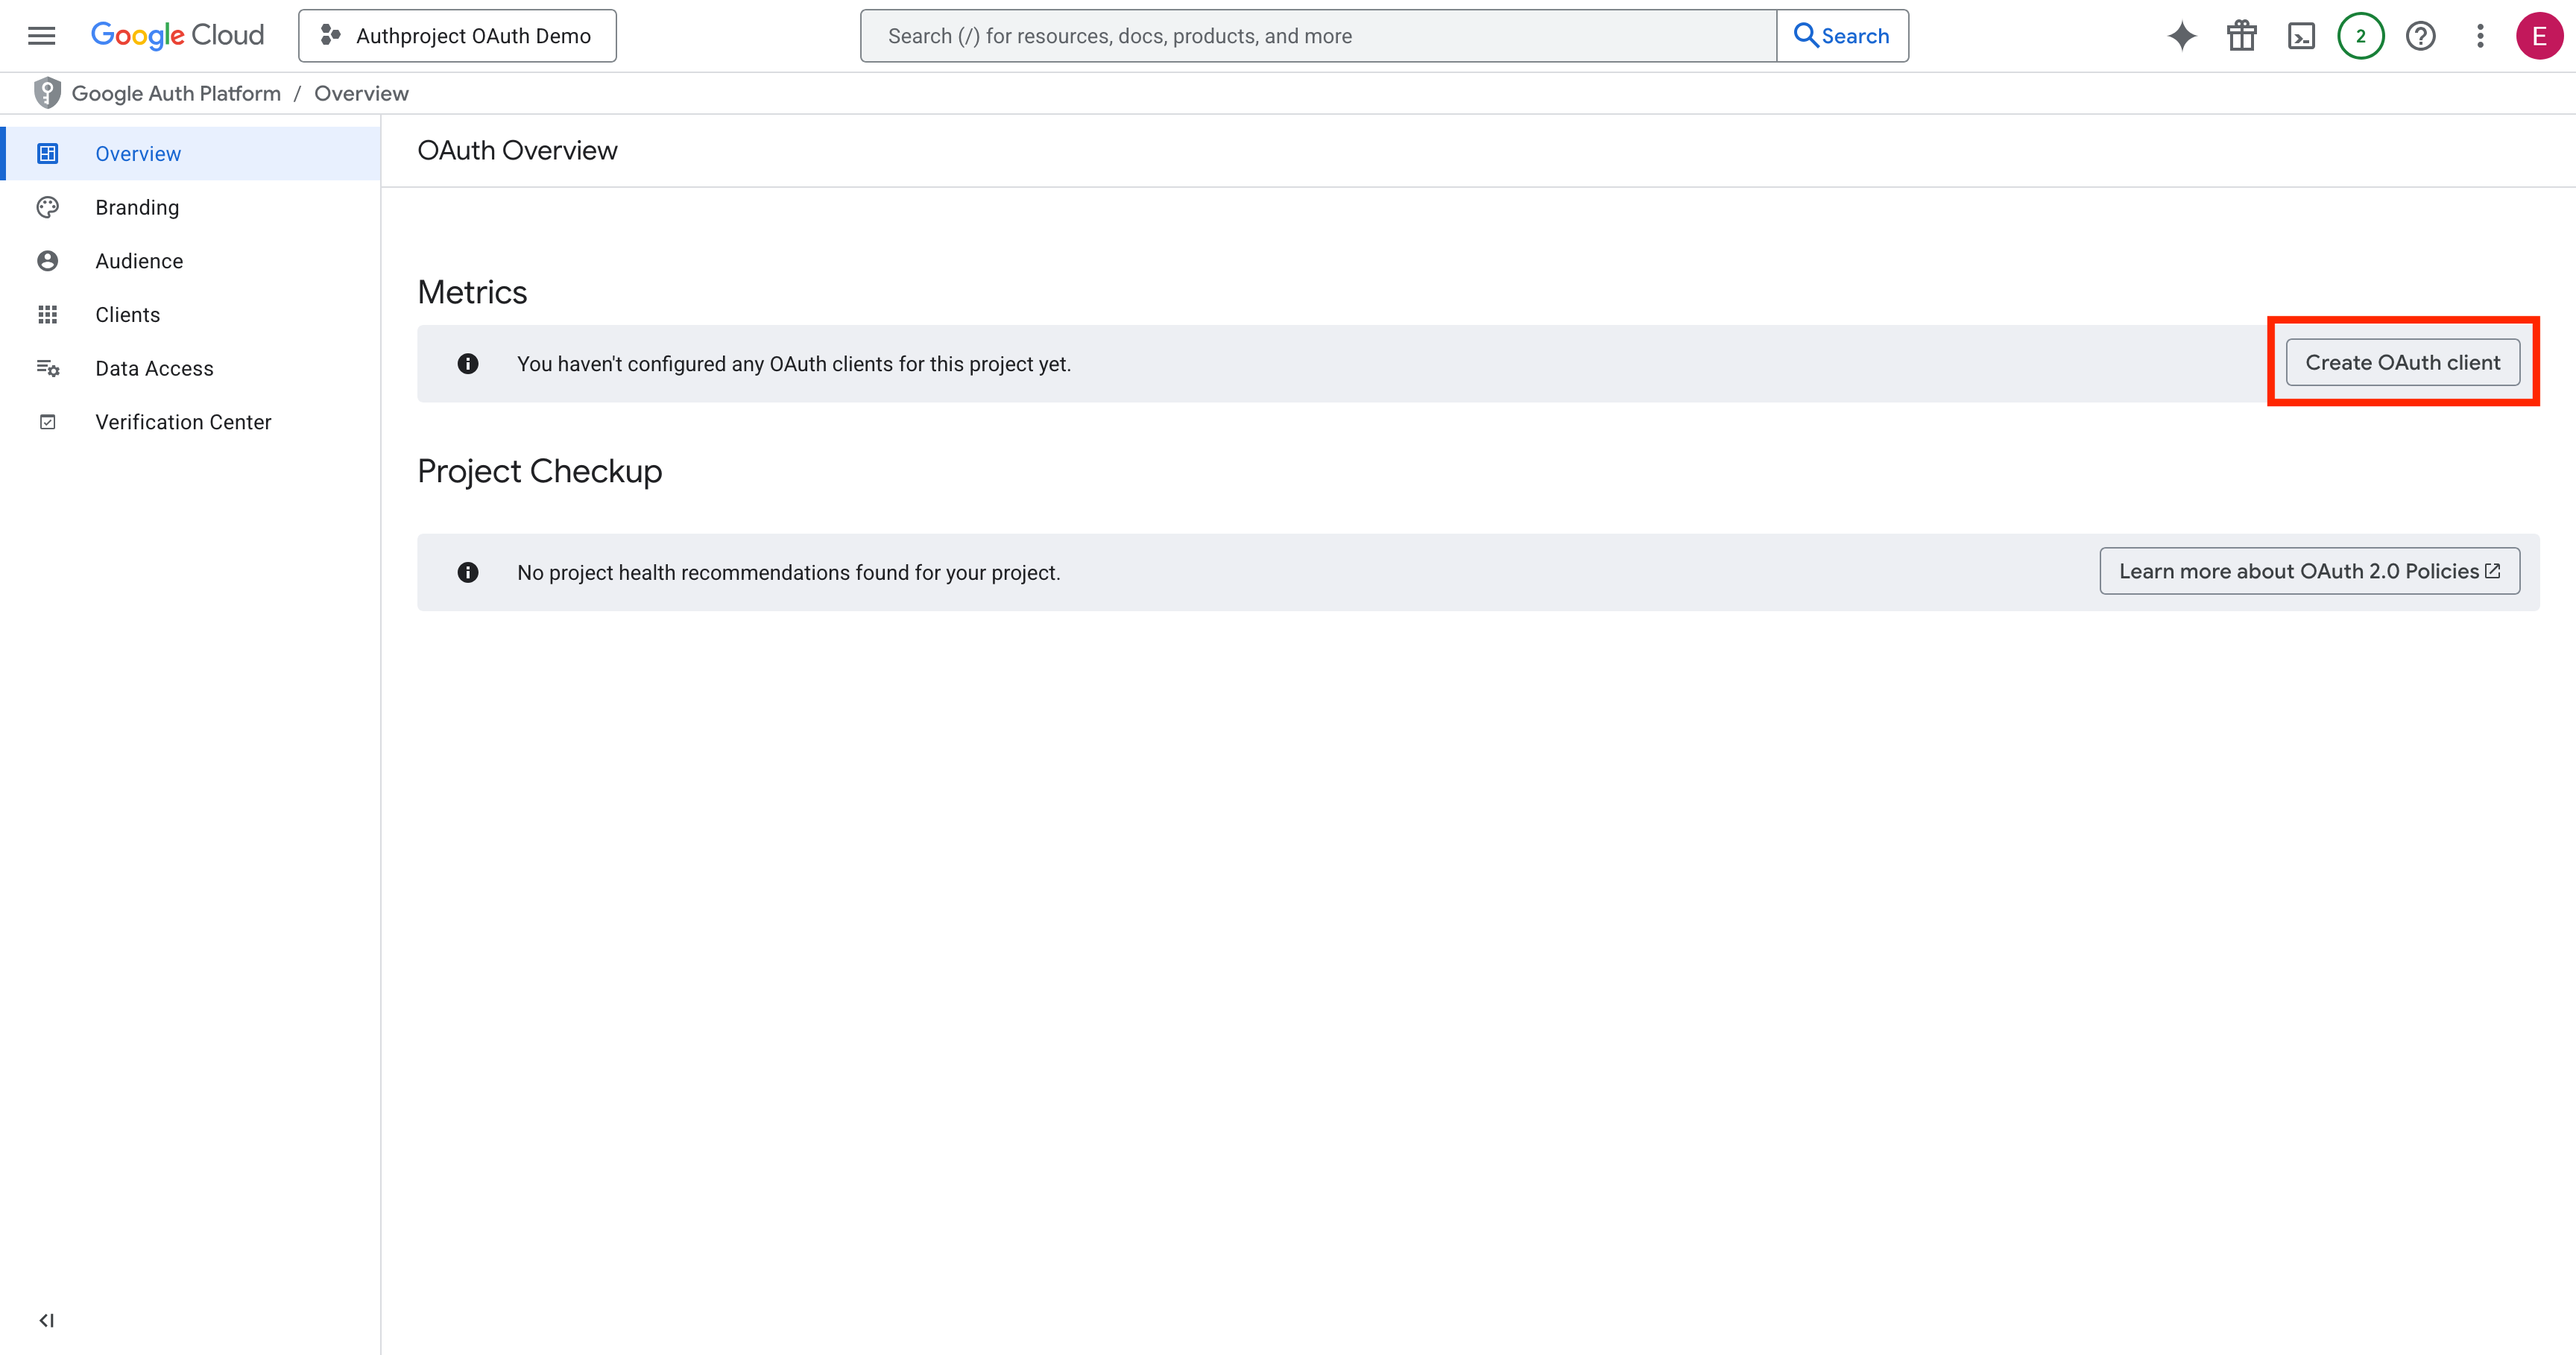
Create the OAuth Client
On the OAuth Overview page, click on “Create OAuth Client.”
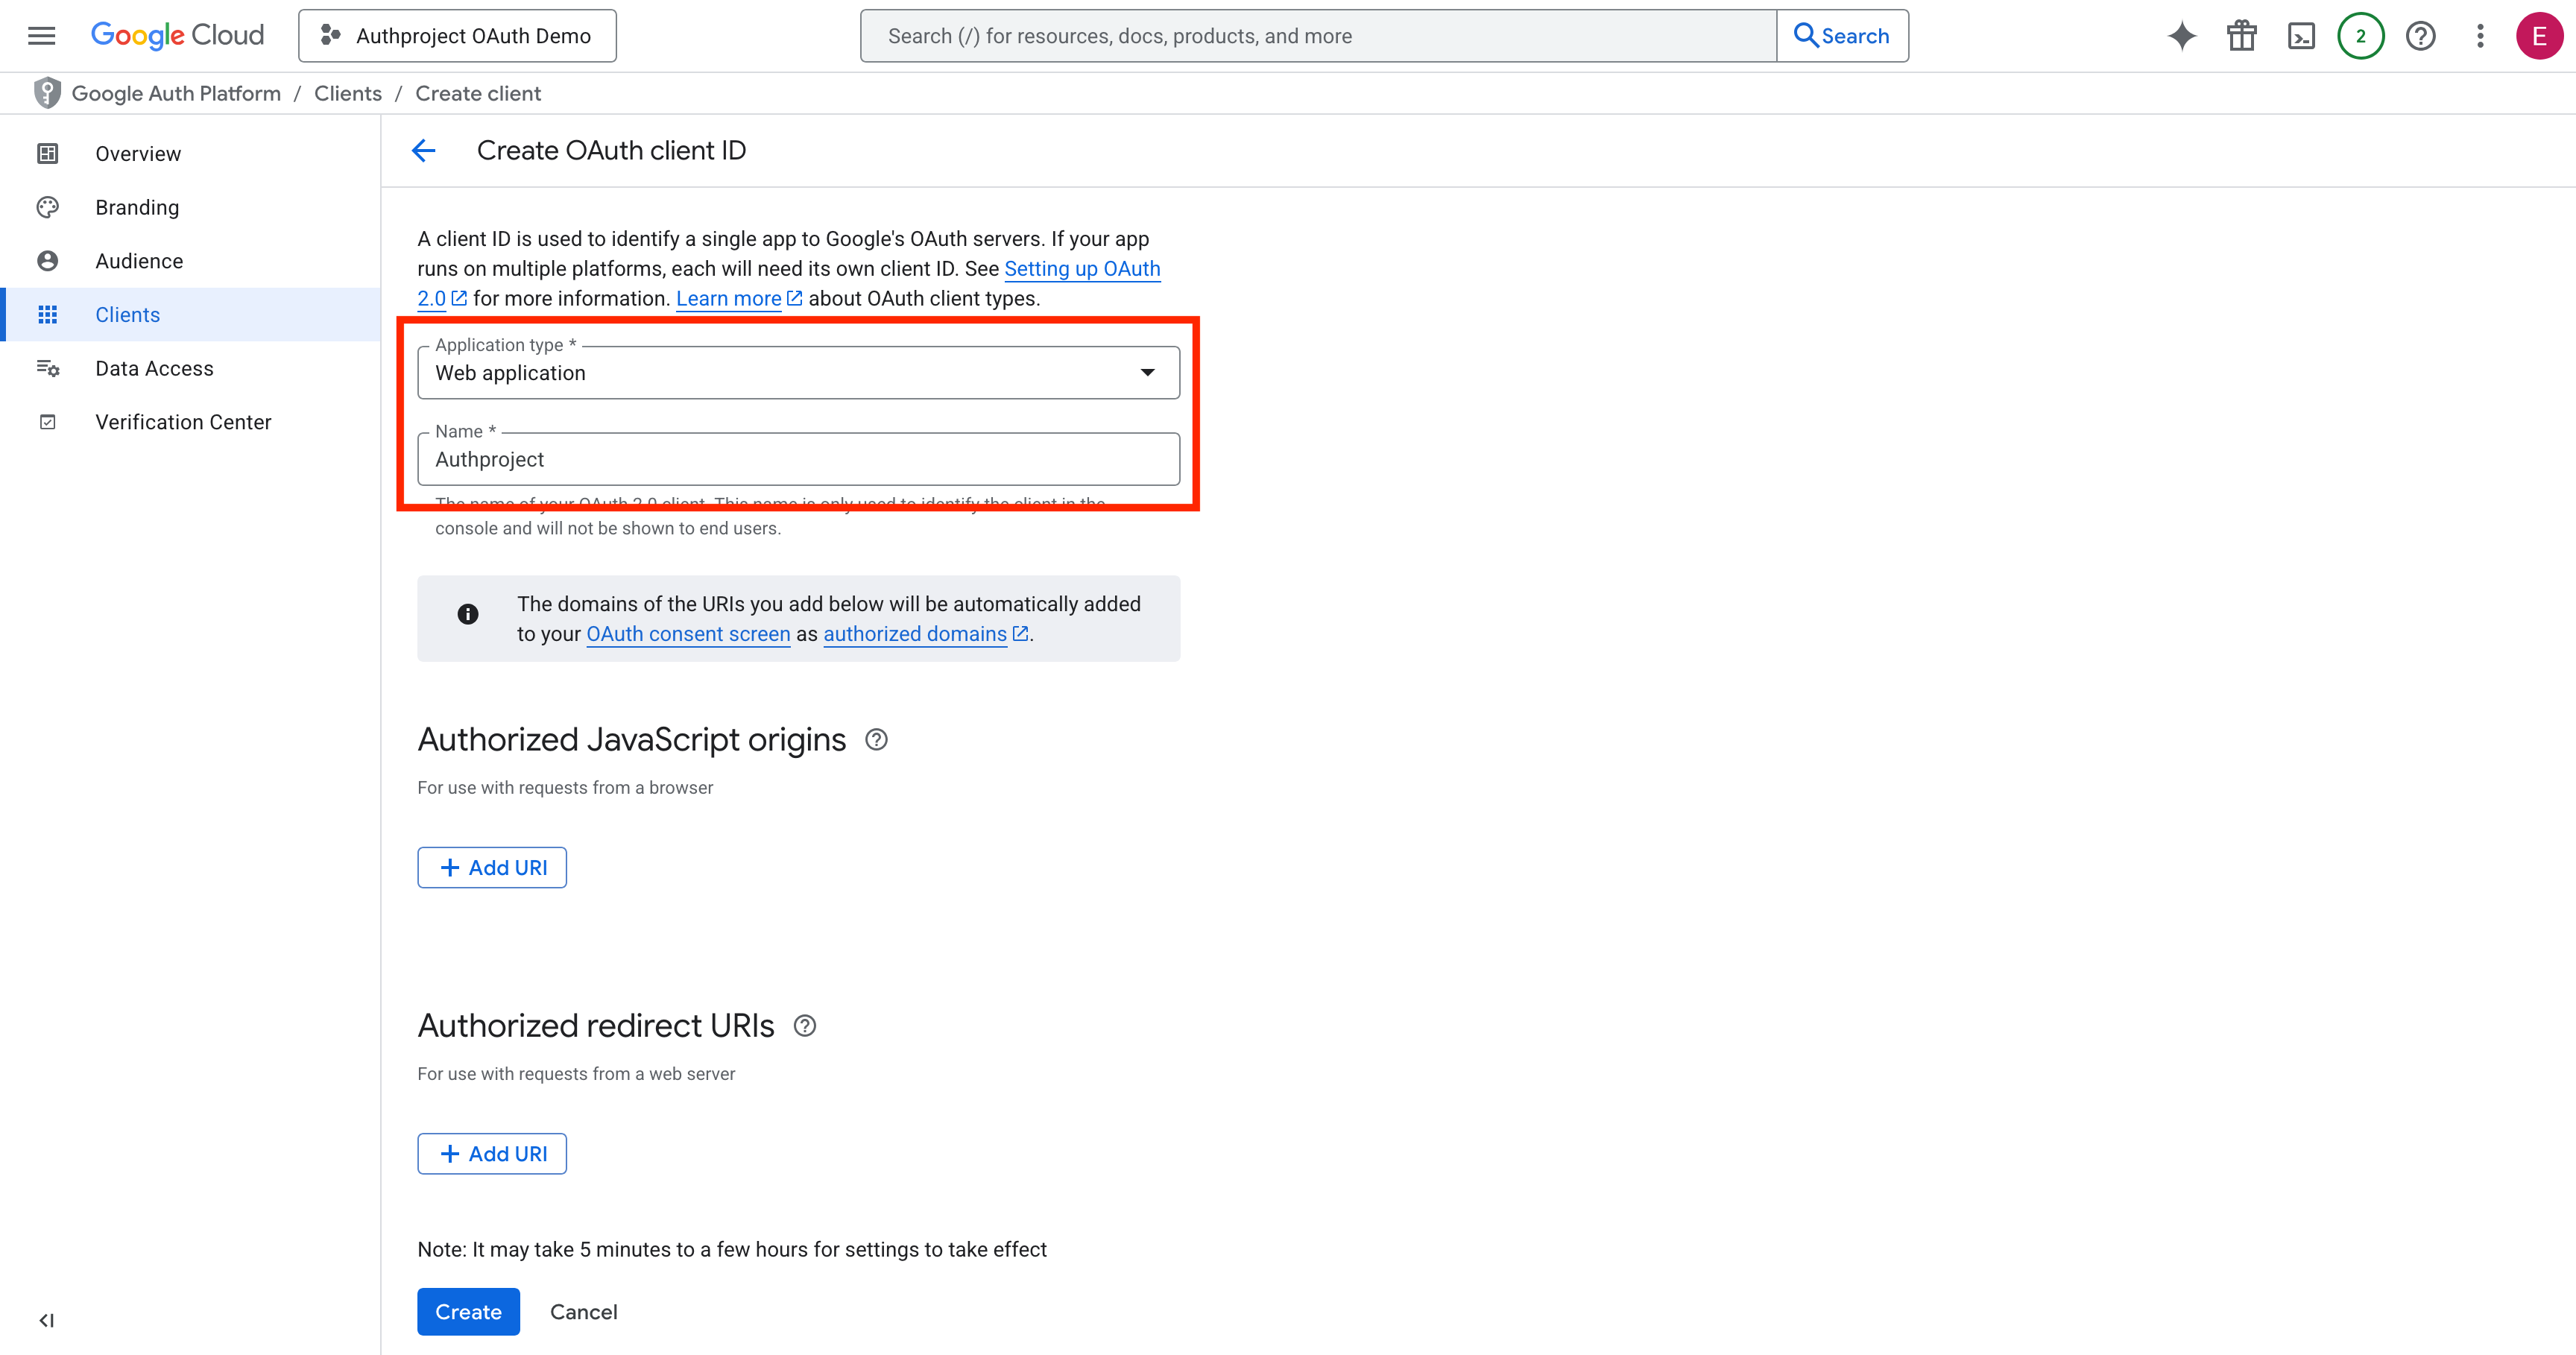
Select “Web Application,” enter a name, and hit Create at the bottom.
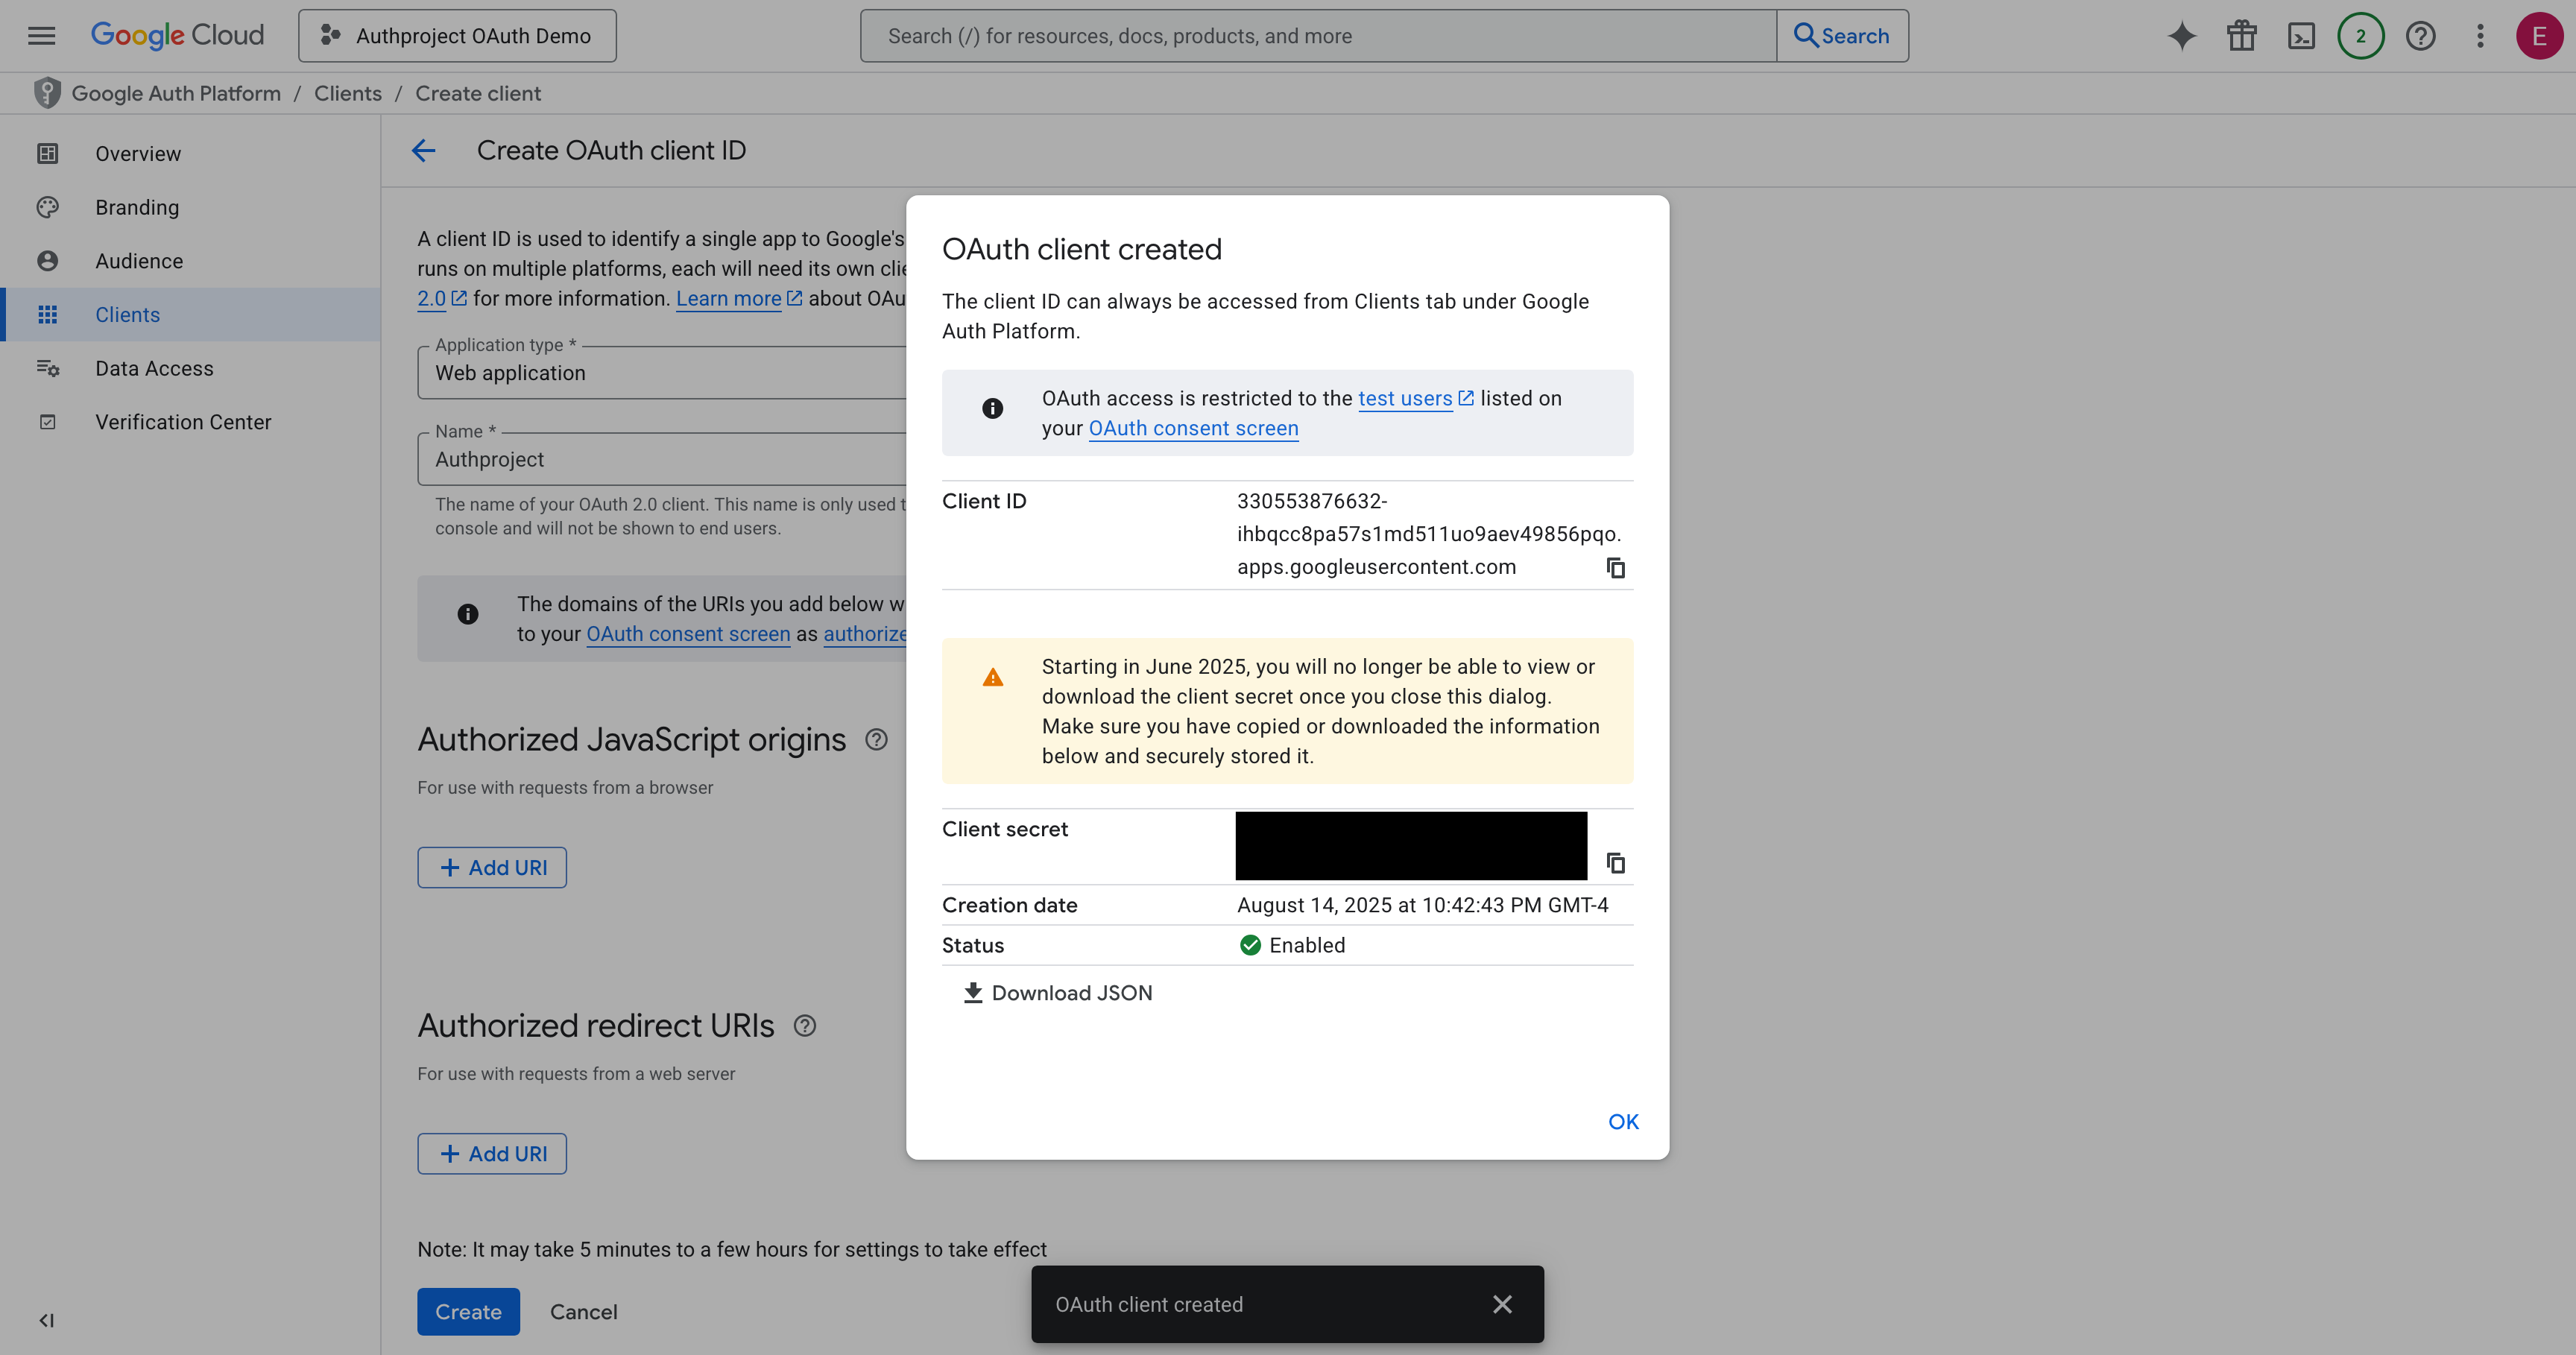
Copy the Client ID and Client Secret, and save them somewhere safe. Optionally,
download them as JSON and save it for later.
Create the resources in Authproject
Create the OAuth Provider
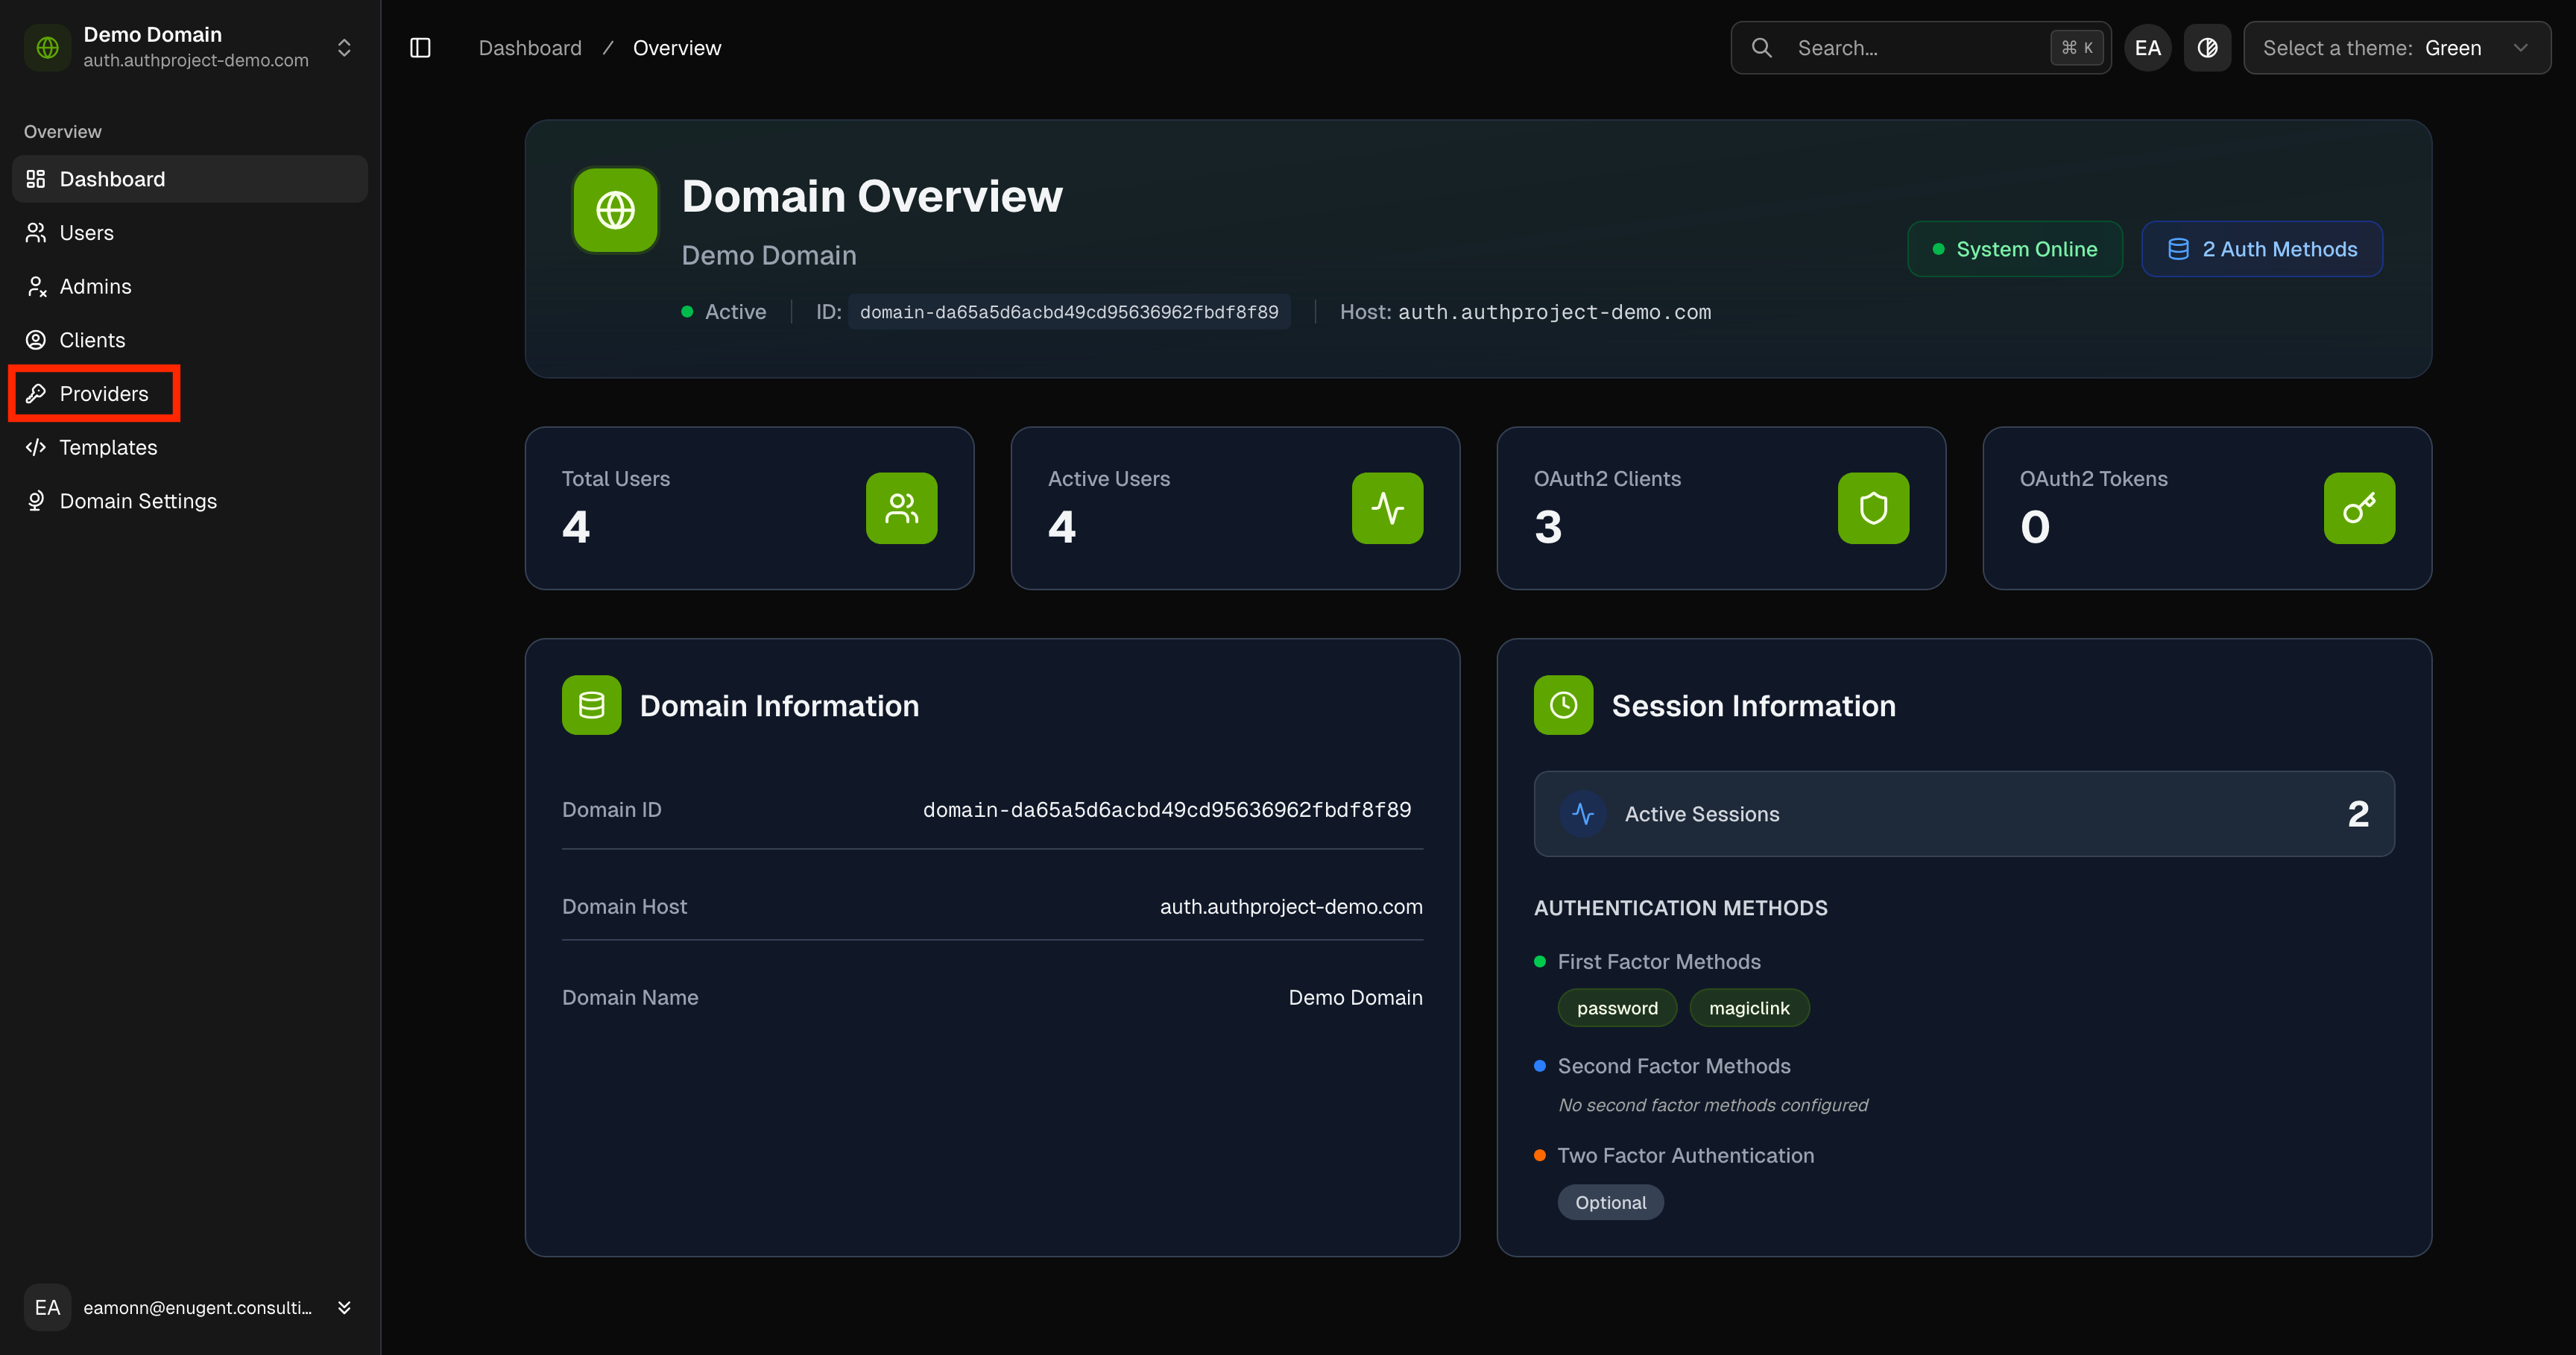
Navigate to the Authproject dashboard, and
select “Providers.”
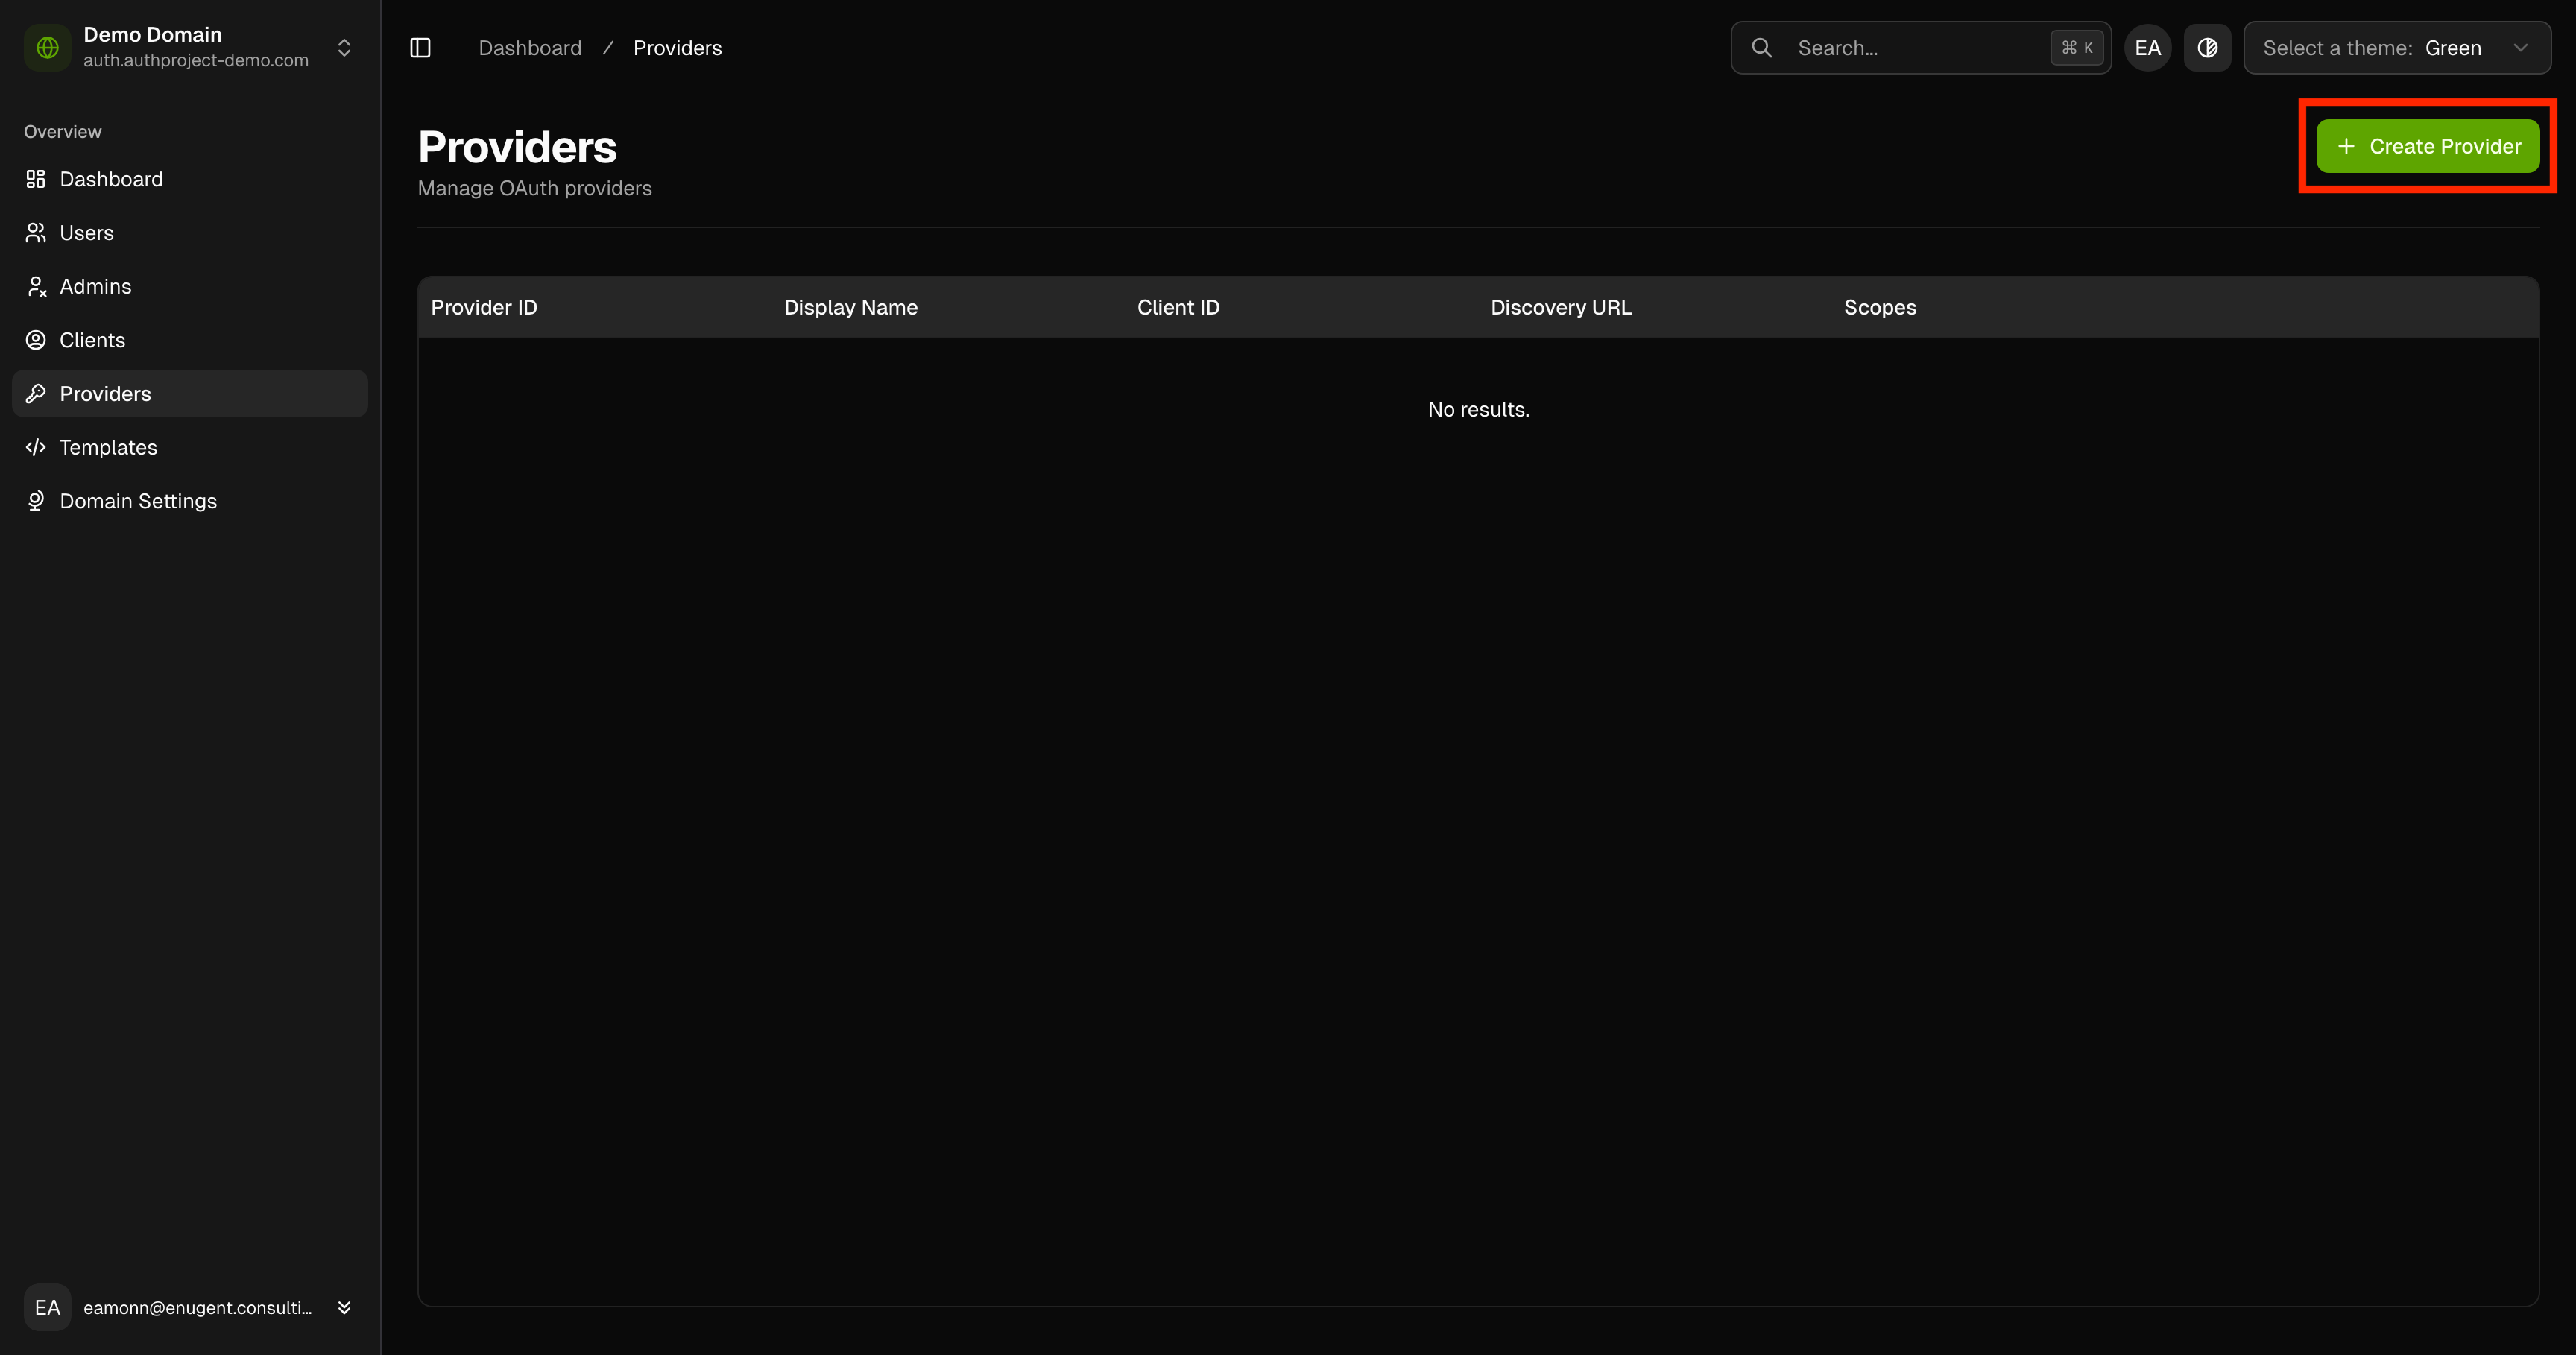
Click on “Create Provider” in the top right.
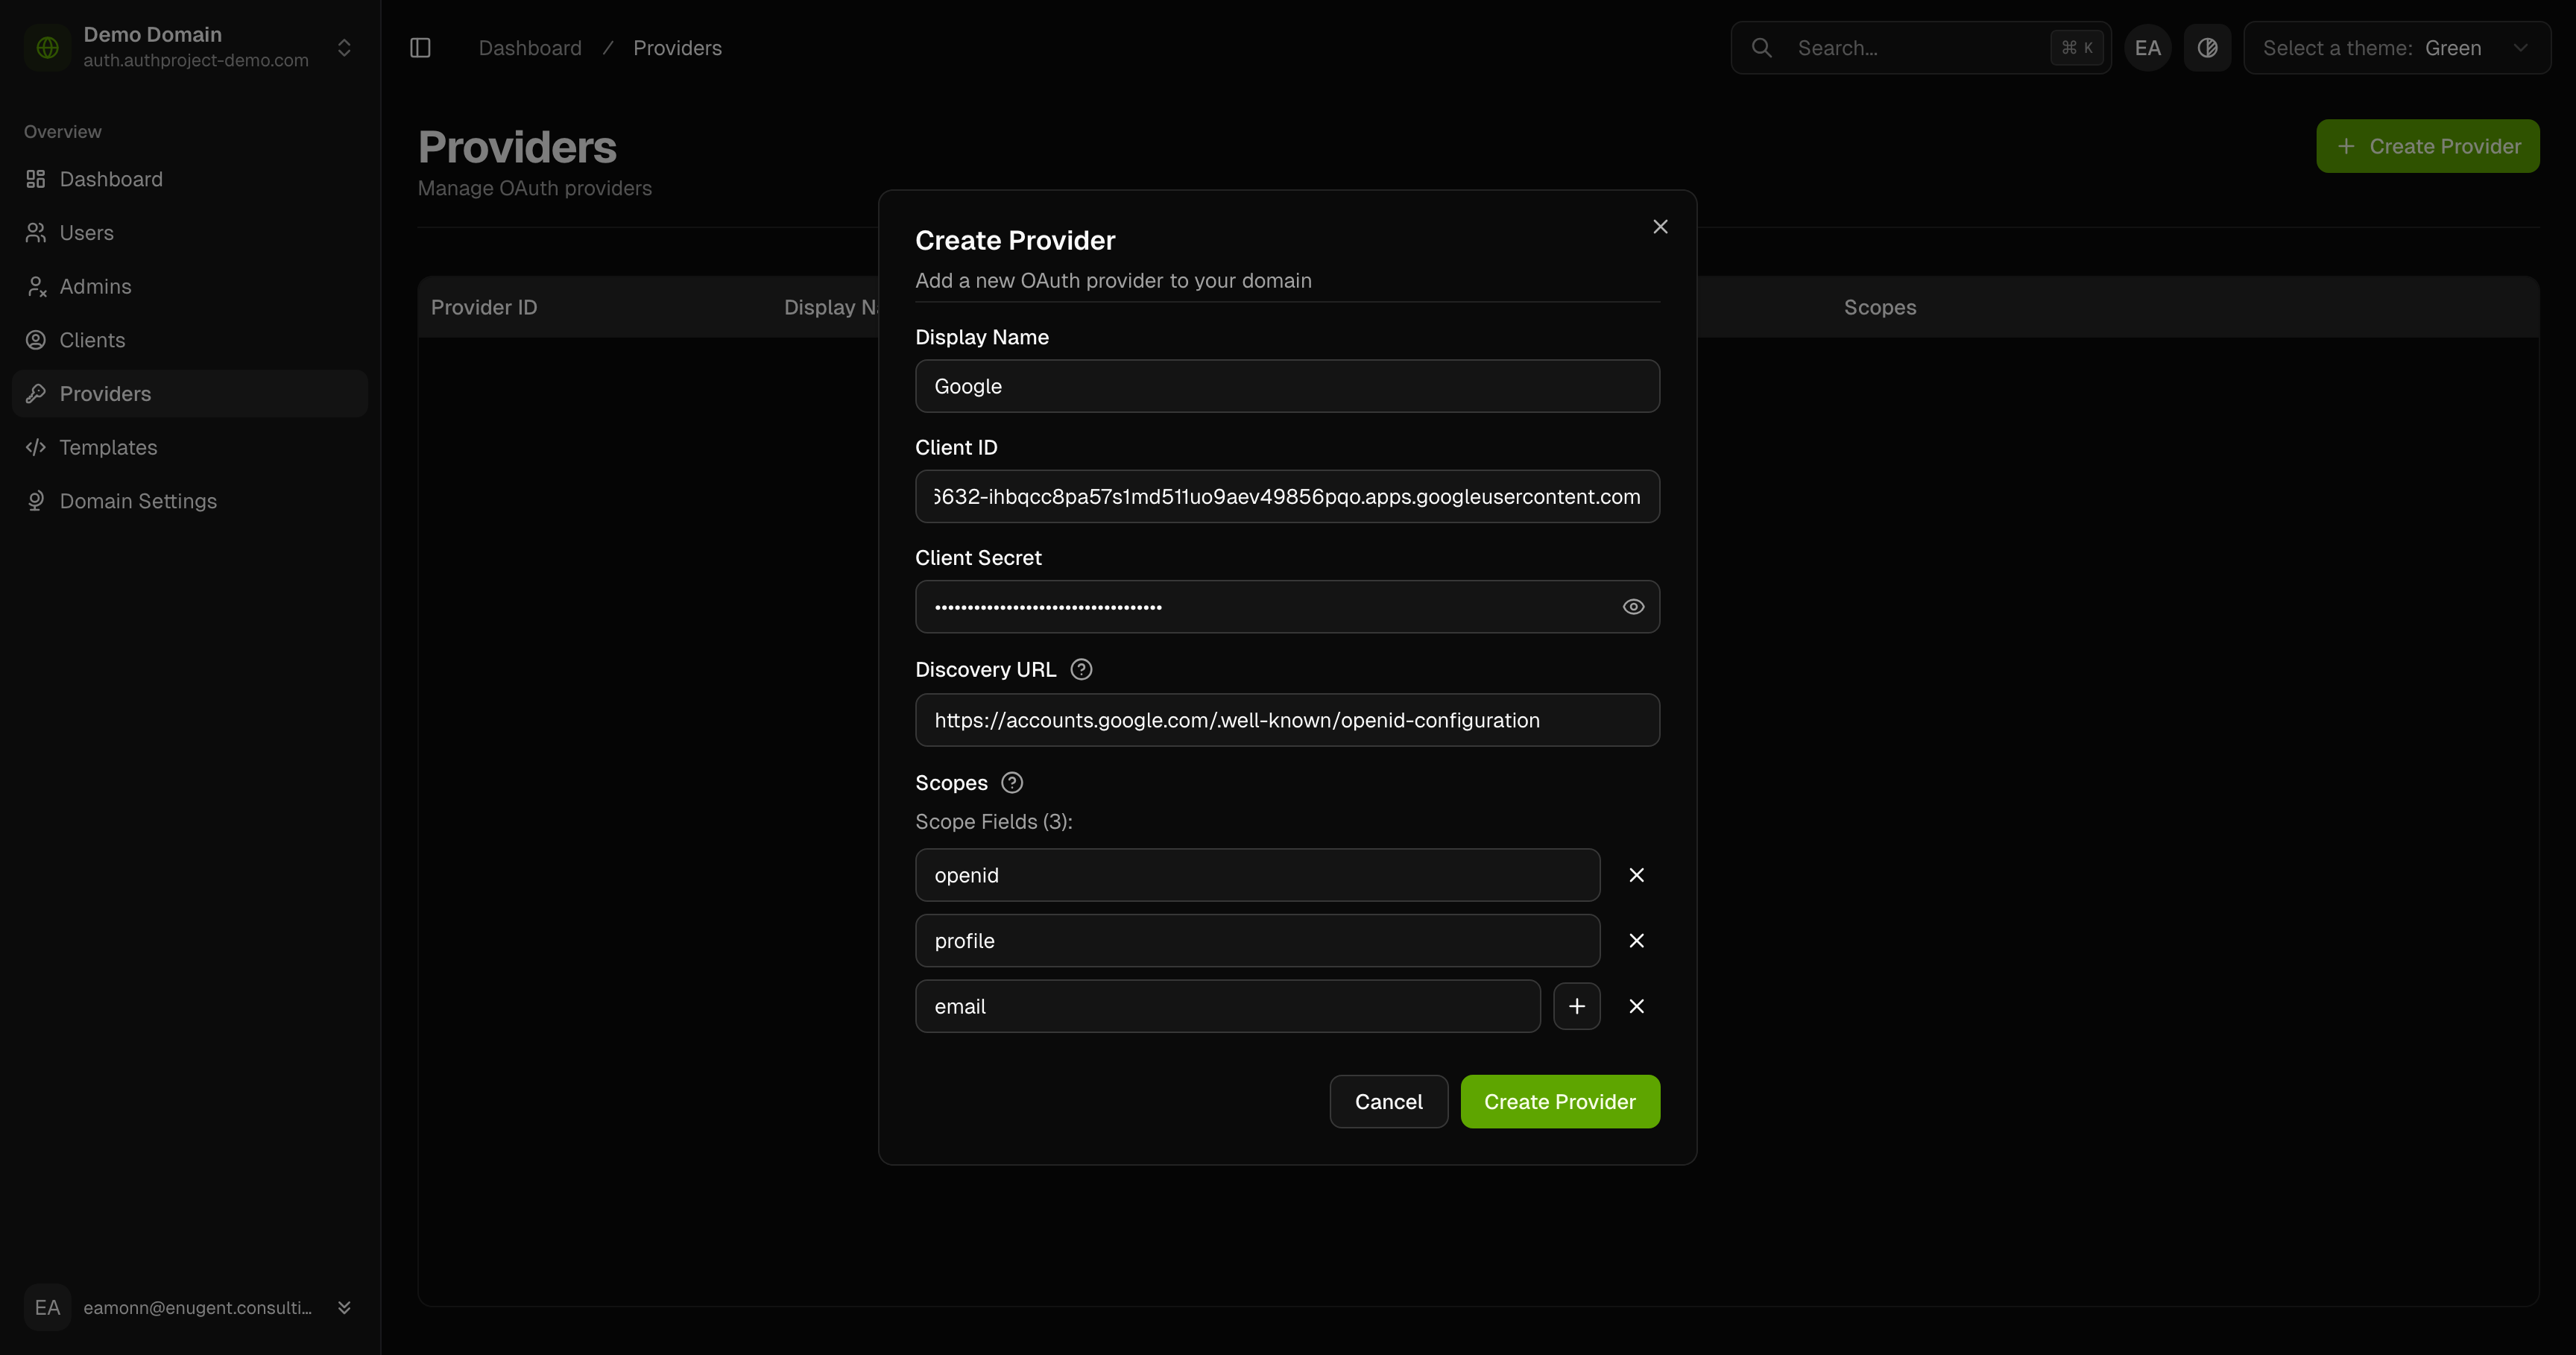
Enter the details for the provider as you saved from Google before. Name the
provider “Google,” and set the Discovery URL to
https://accounts.google.com/.well-known/openid-configuration.
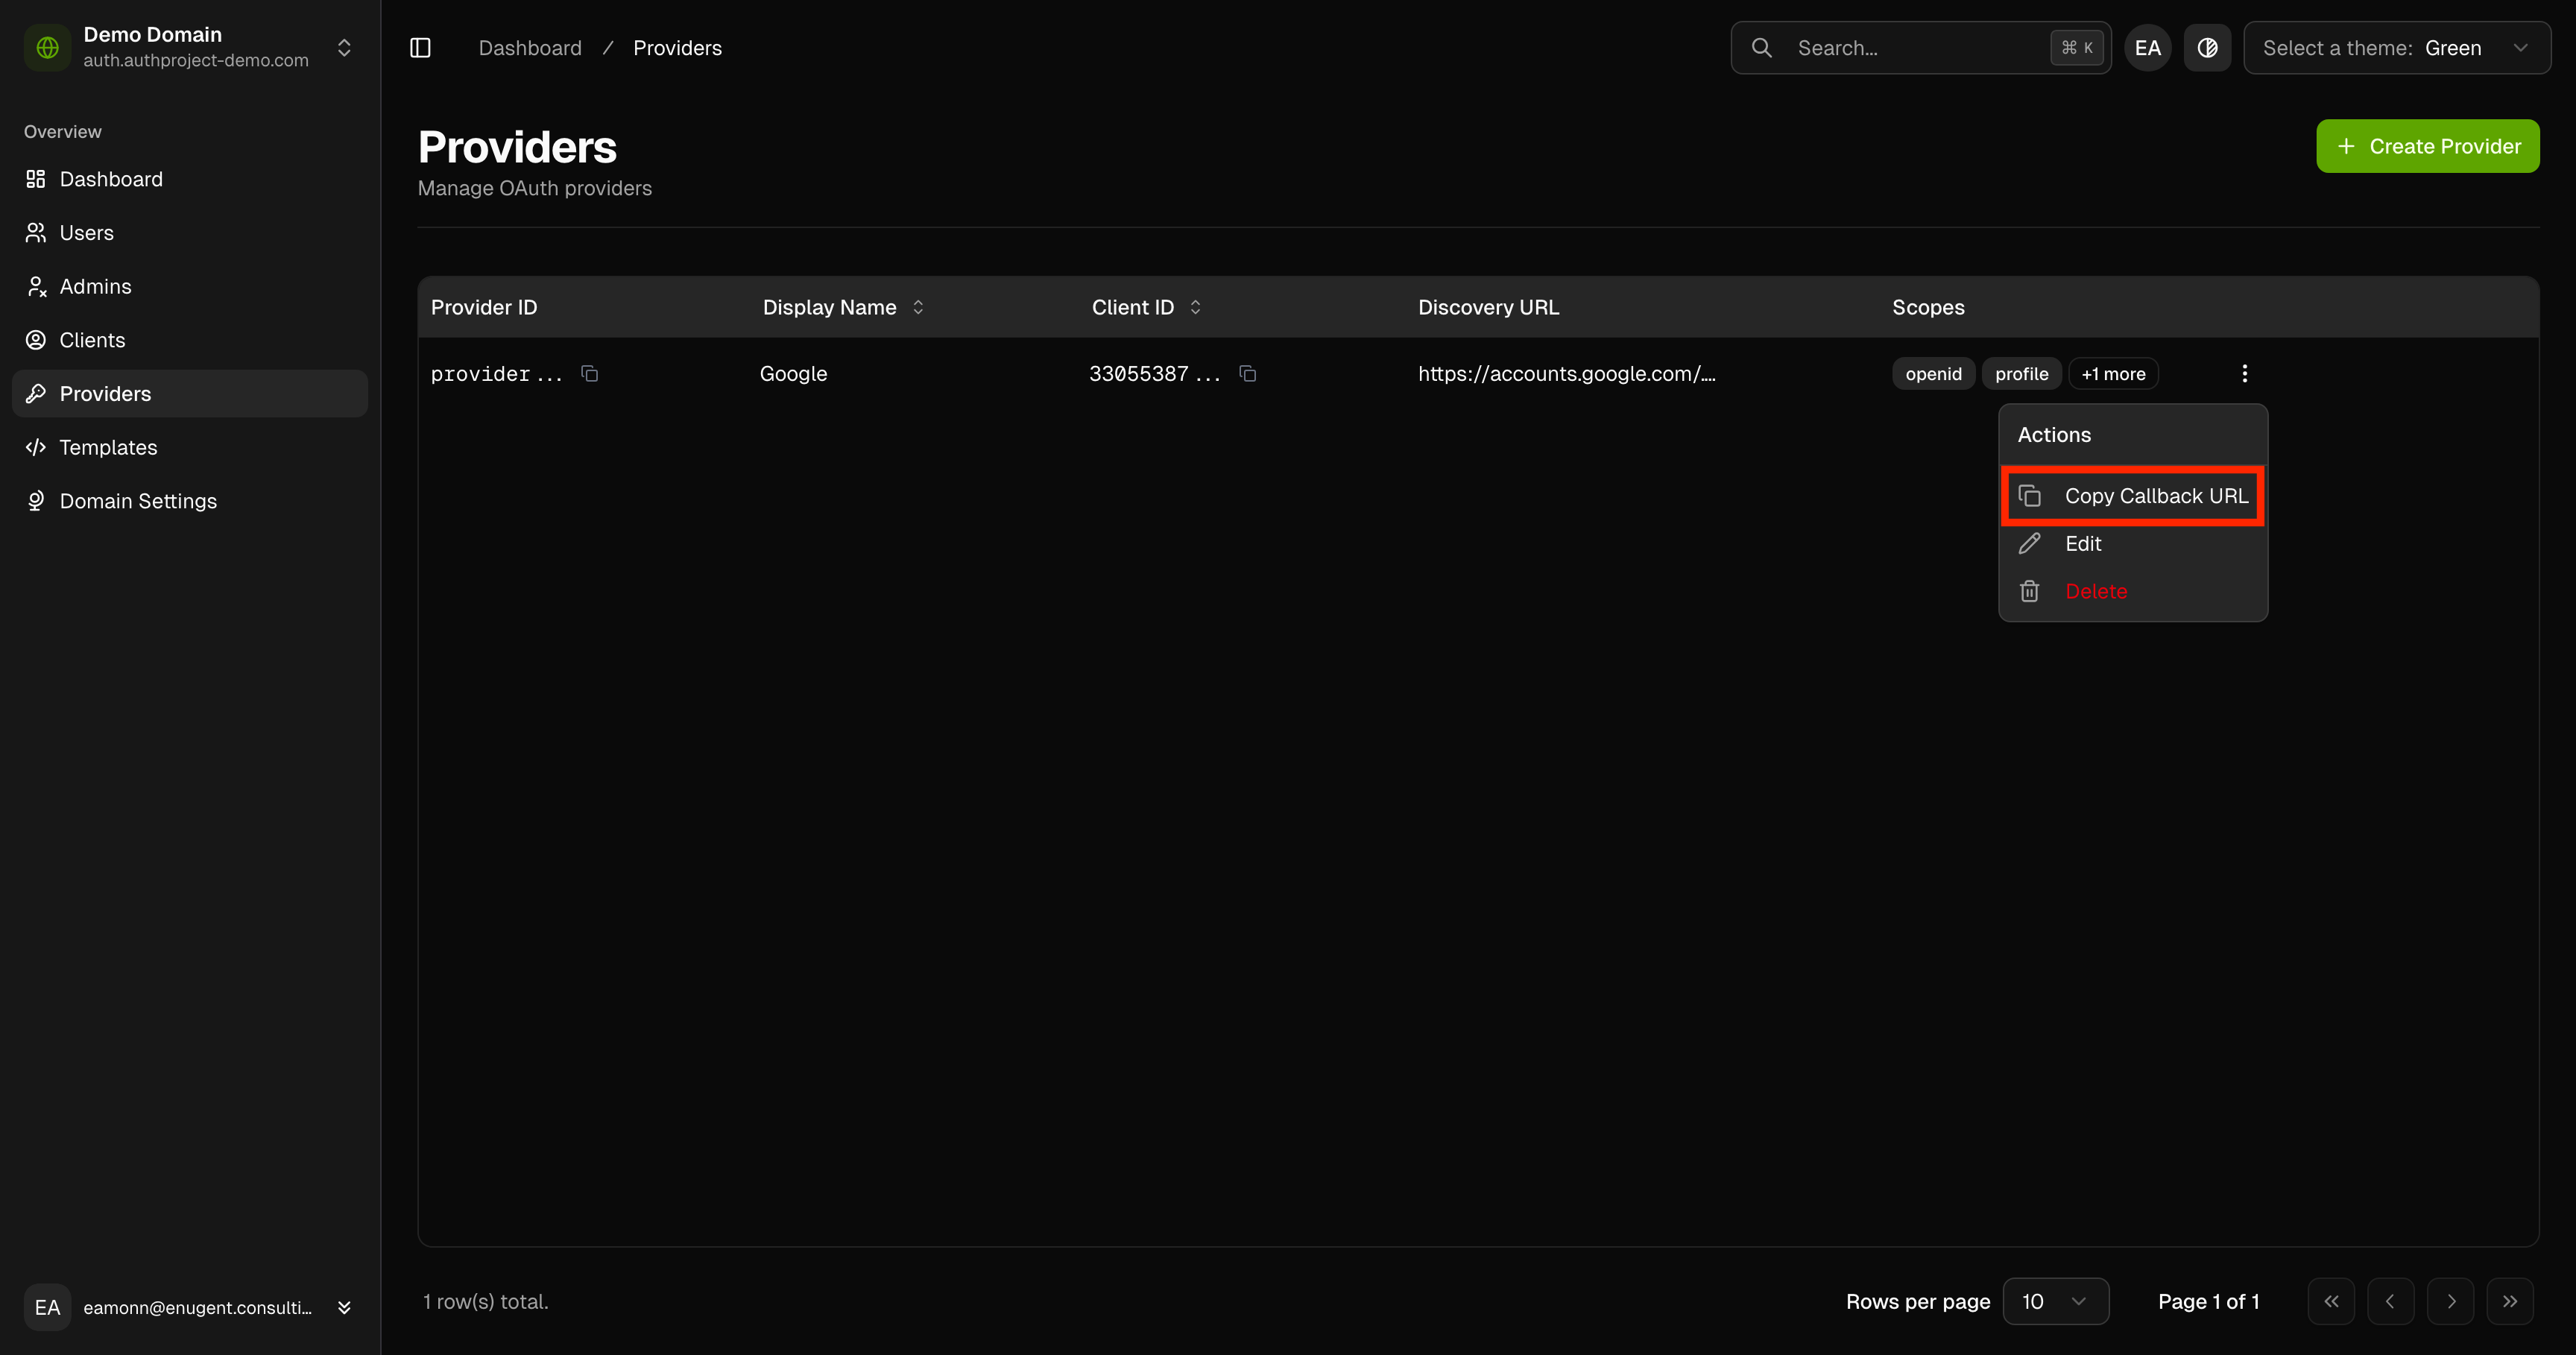
Click on the 3-dot menu to the right of the provider, then click on “Copy
Callback URL.”
Tie it all together
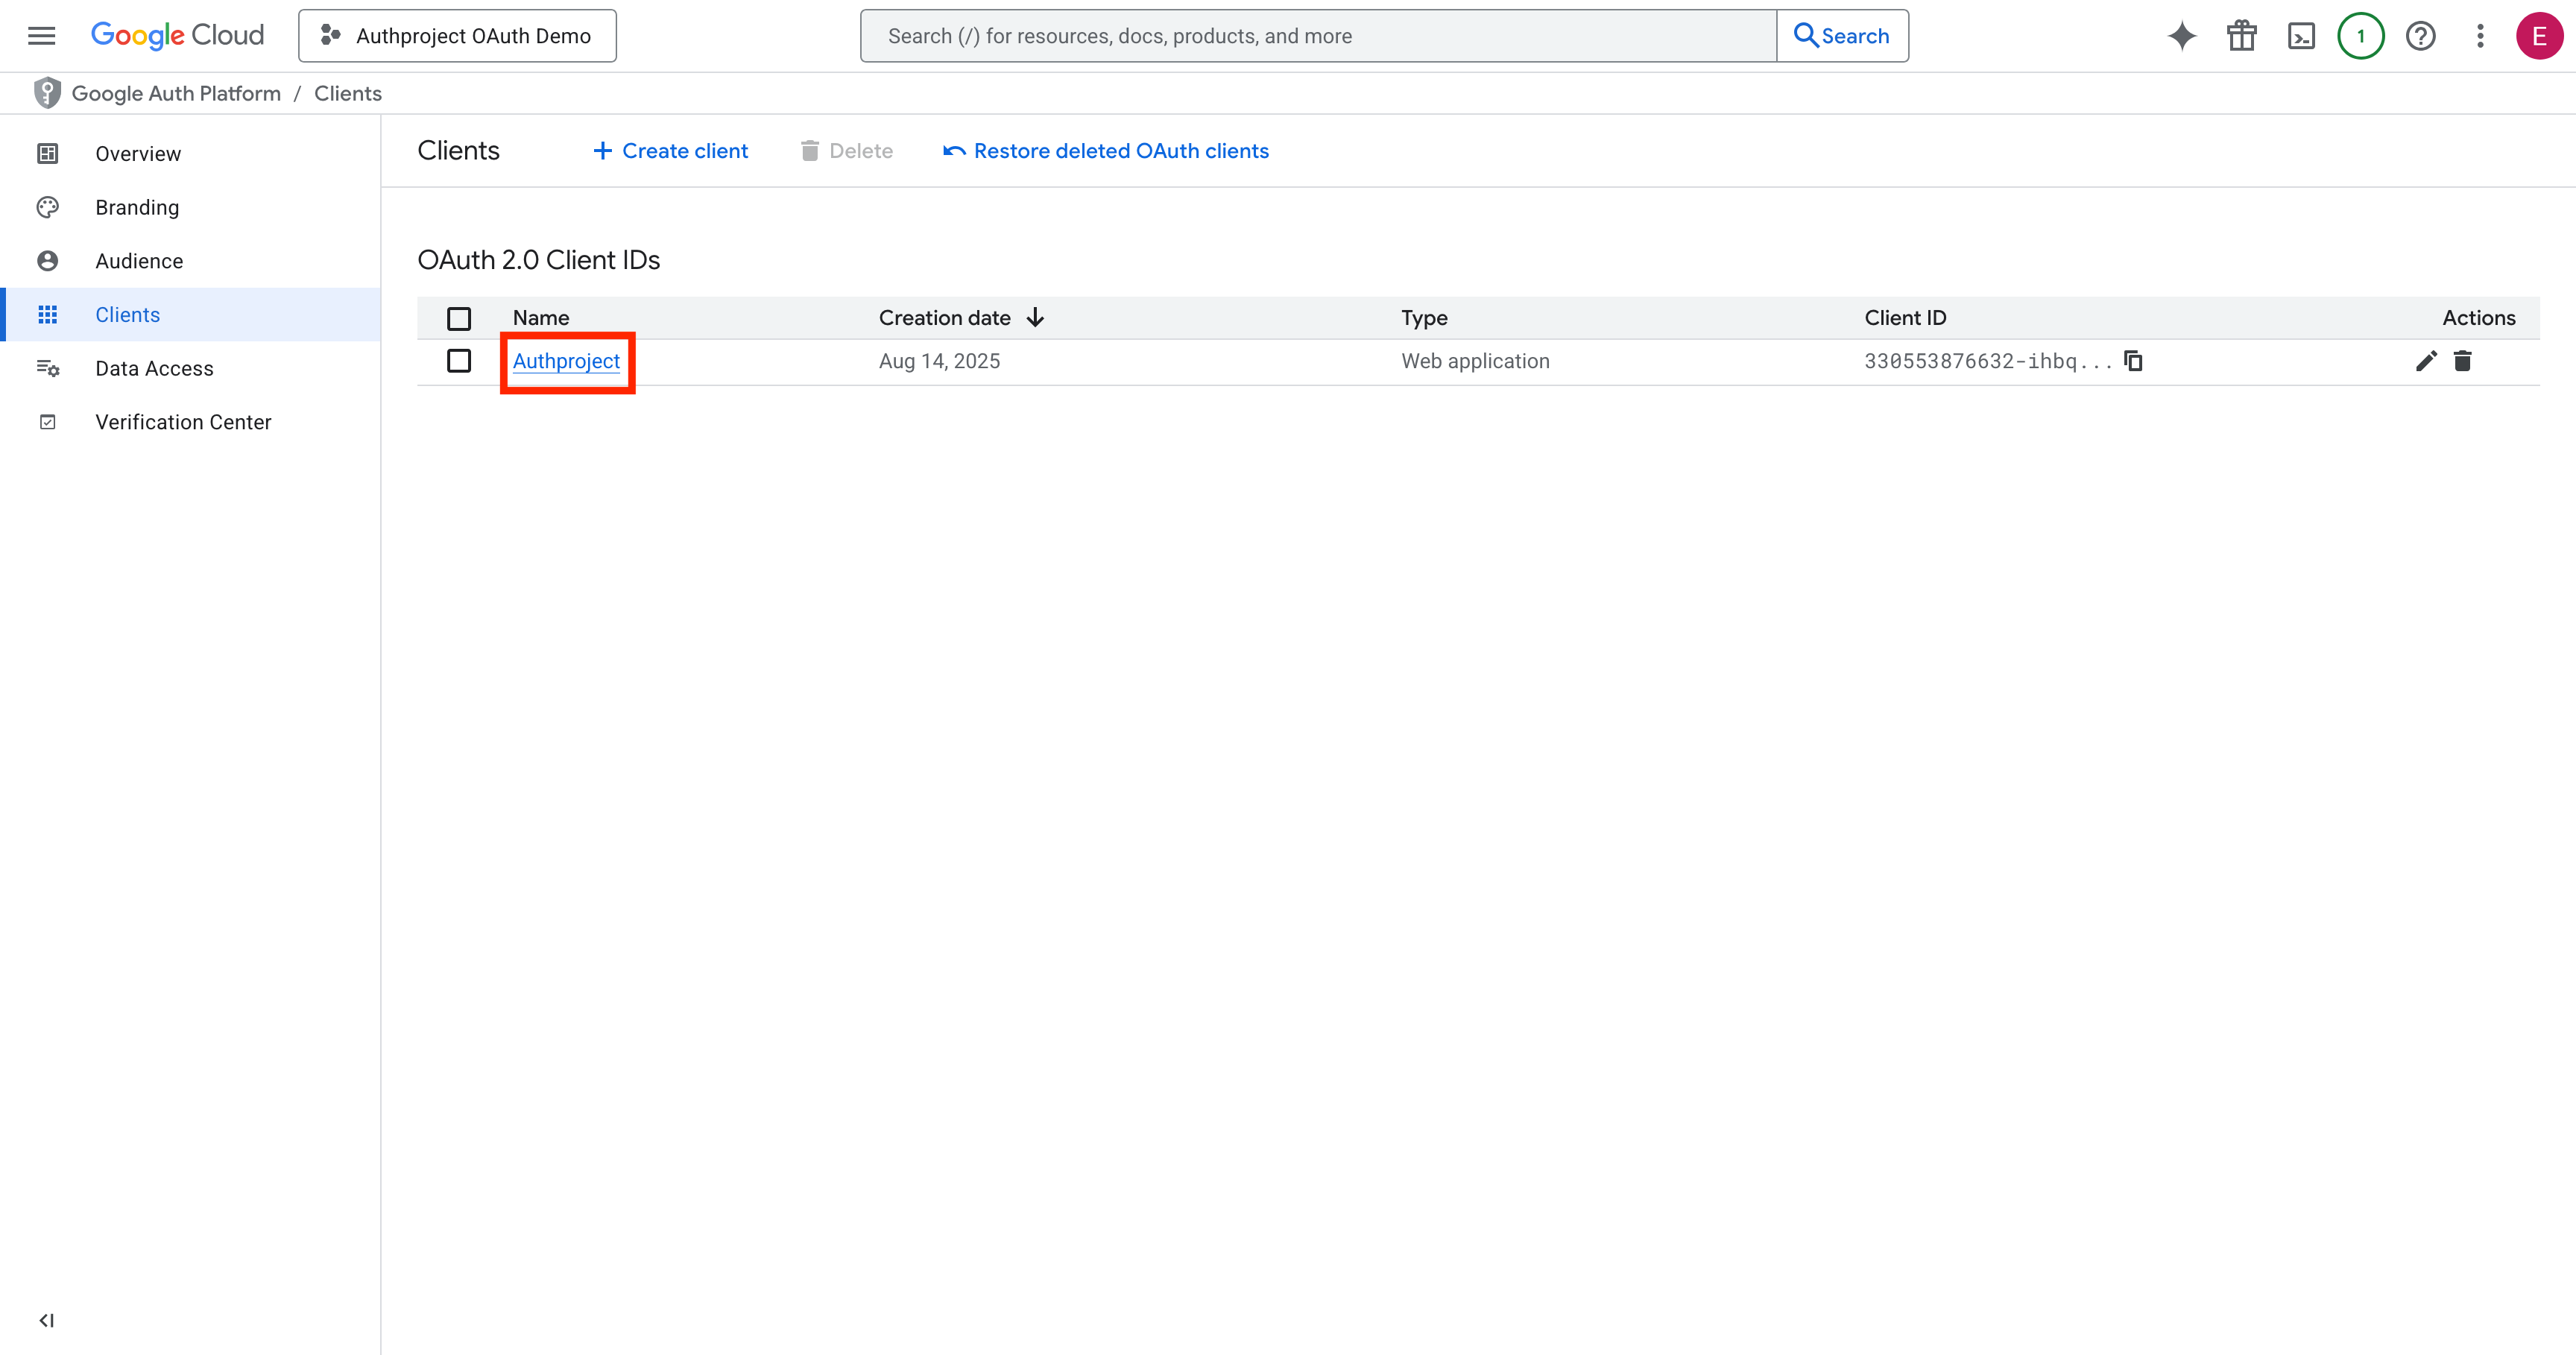
Go back to the Google Cloud Console, and select the OAuth client (if you are not
already in its details page).
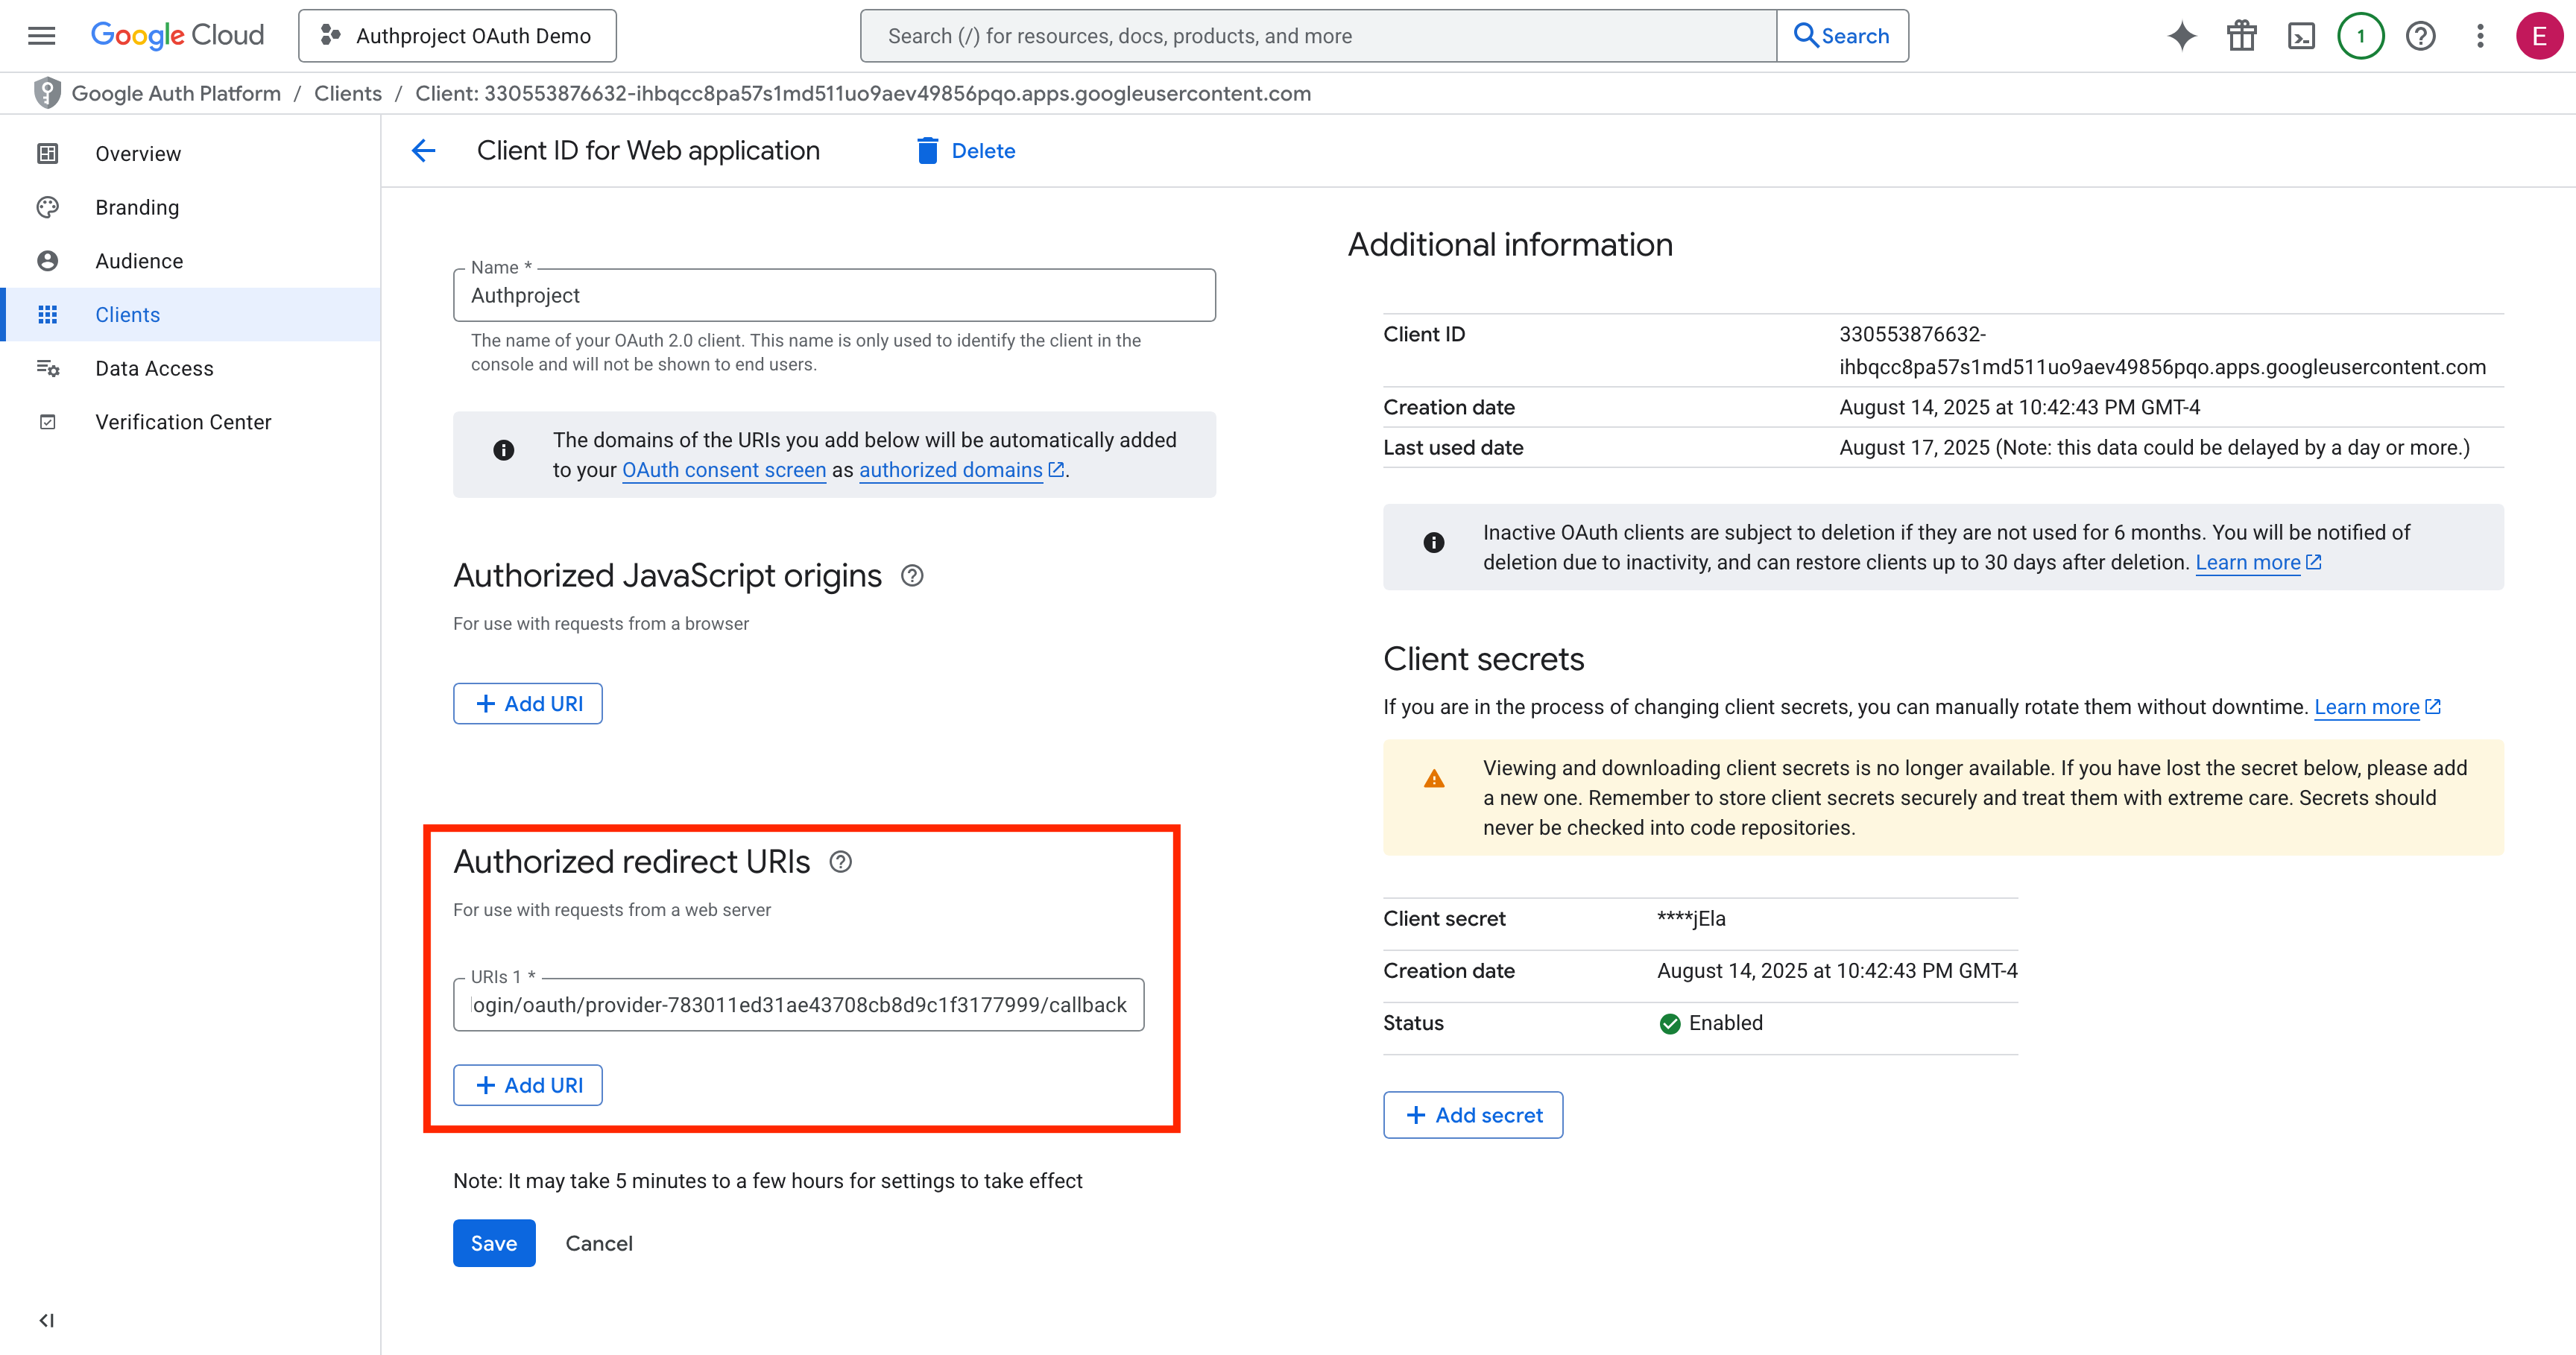
Enter the copied OAuth Callback URL into the “Authorized Redirect URIs” list.
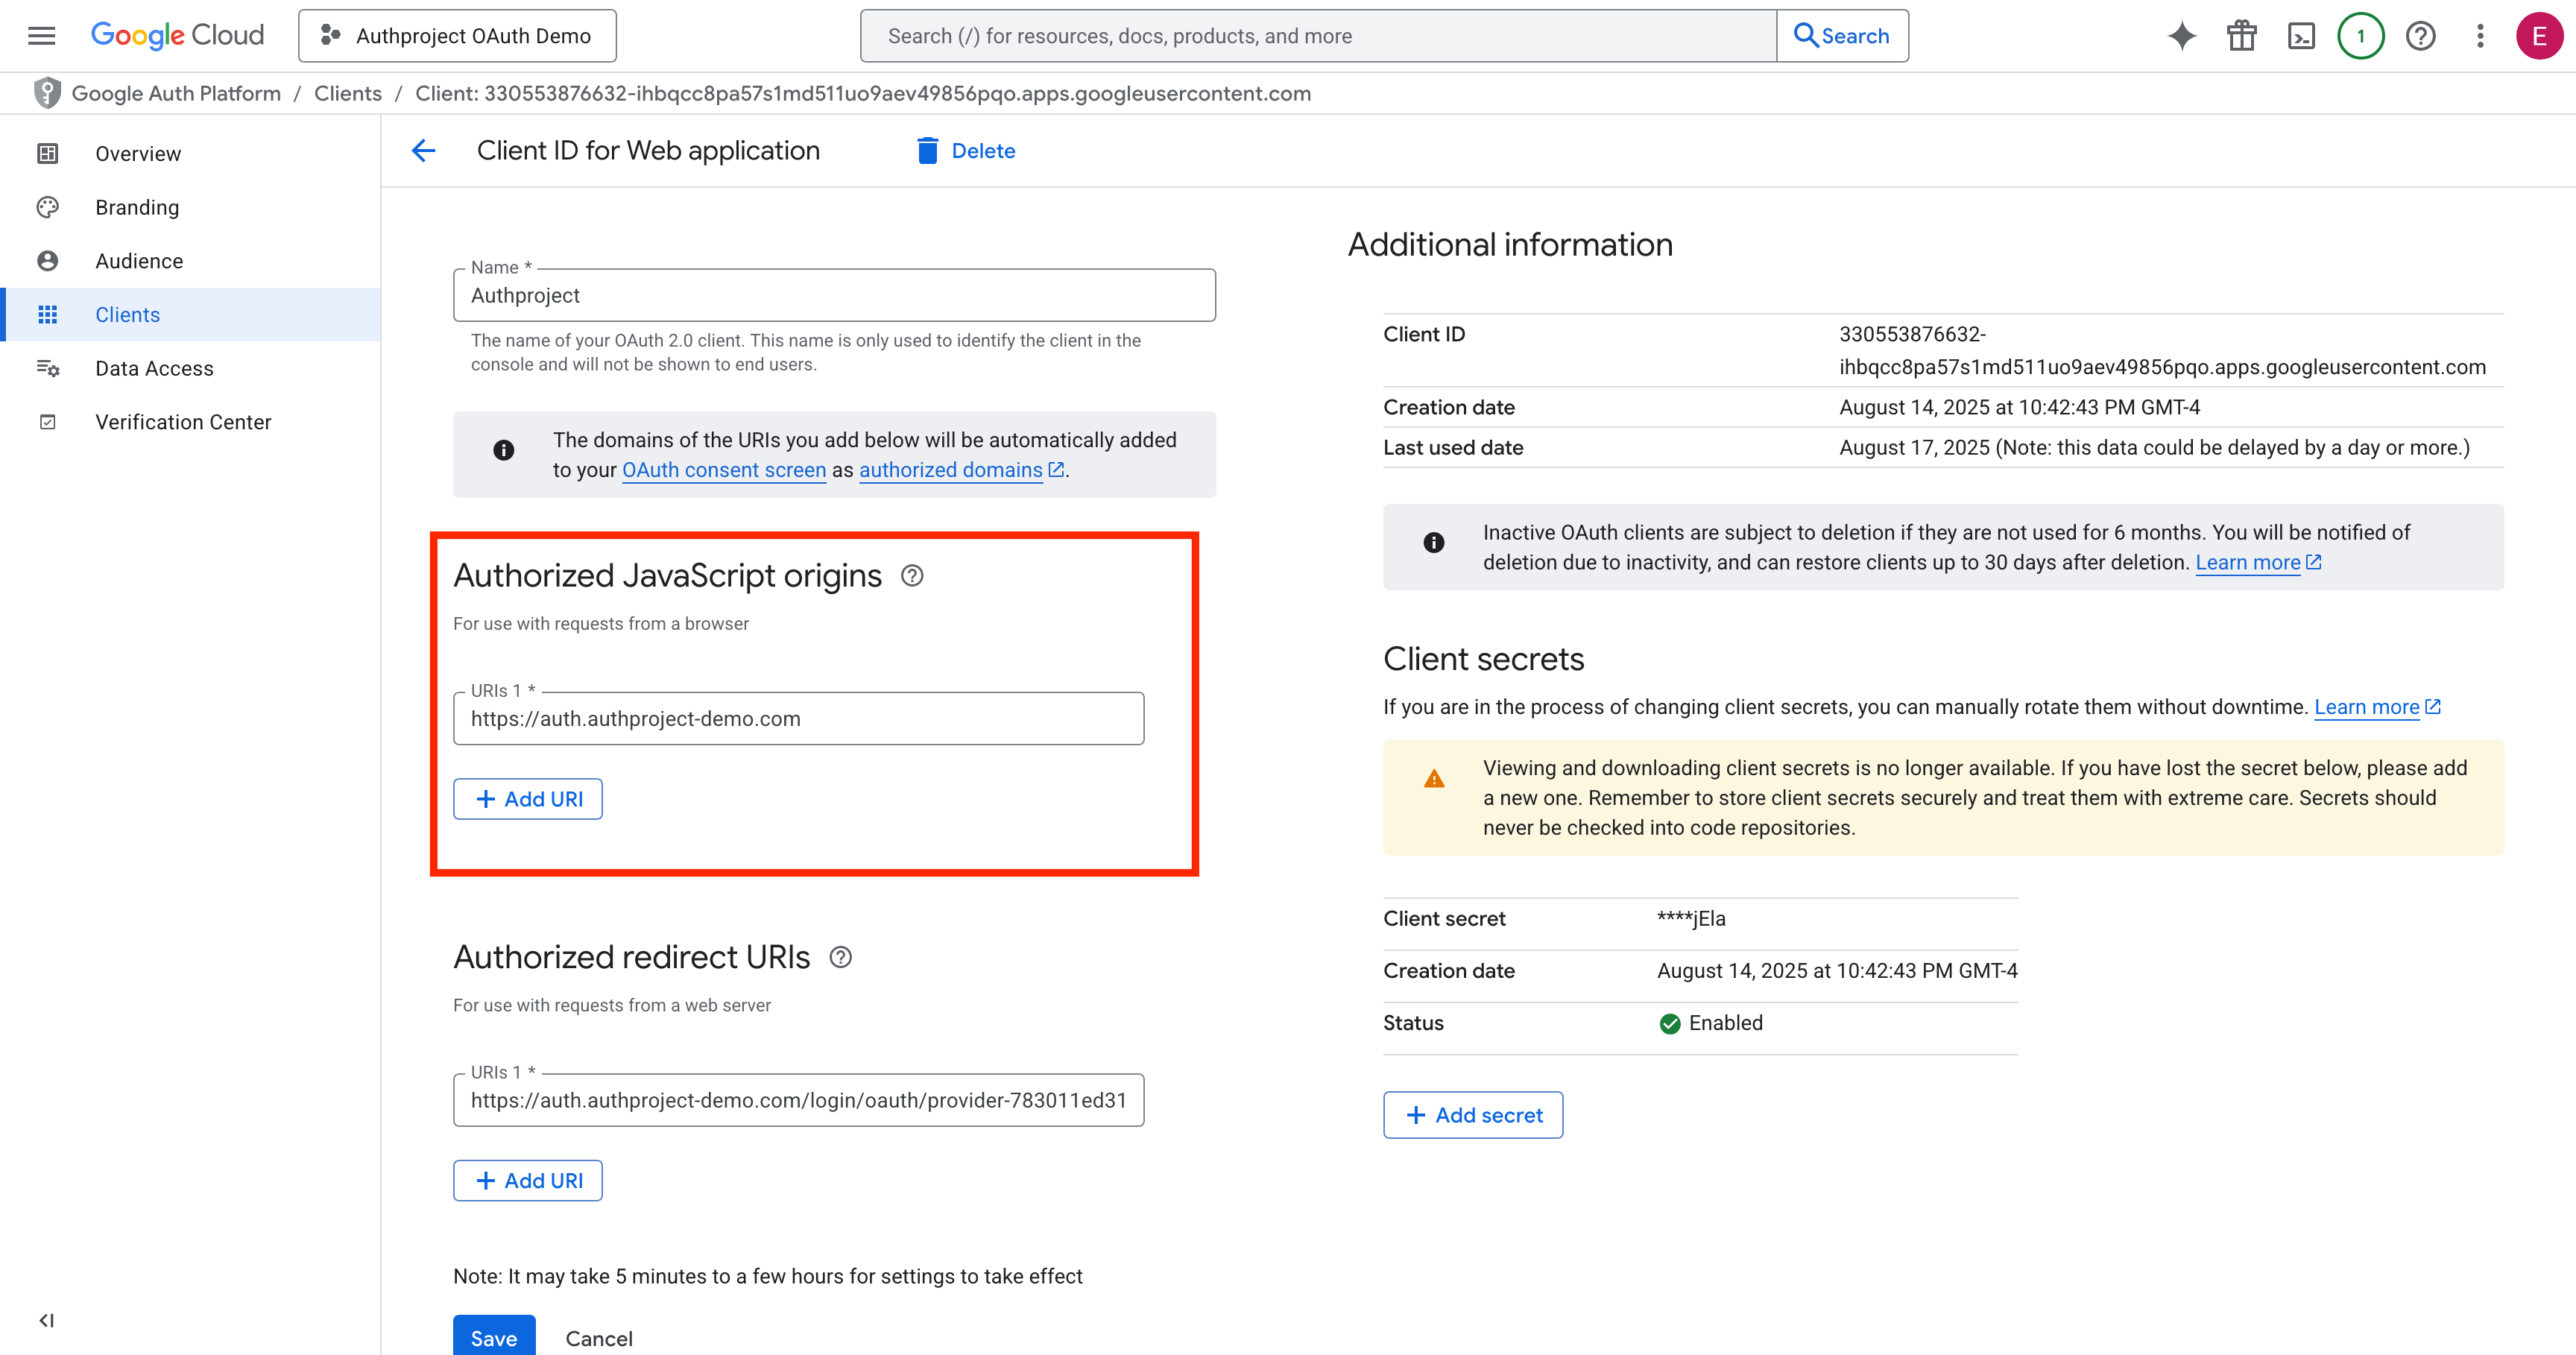
Enter your authentication domain into the “Authorized JavaScript Origins” list.
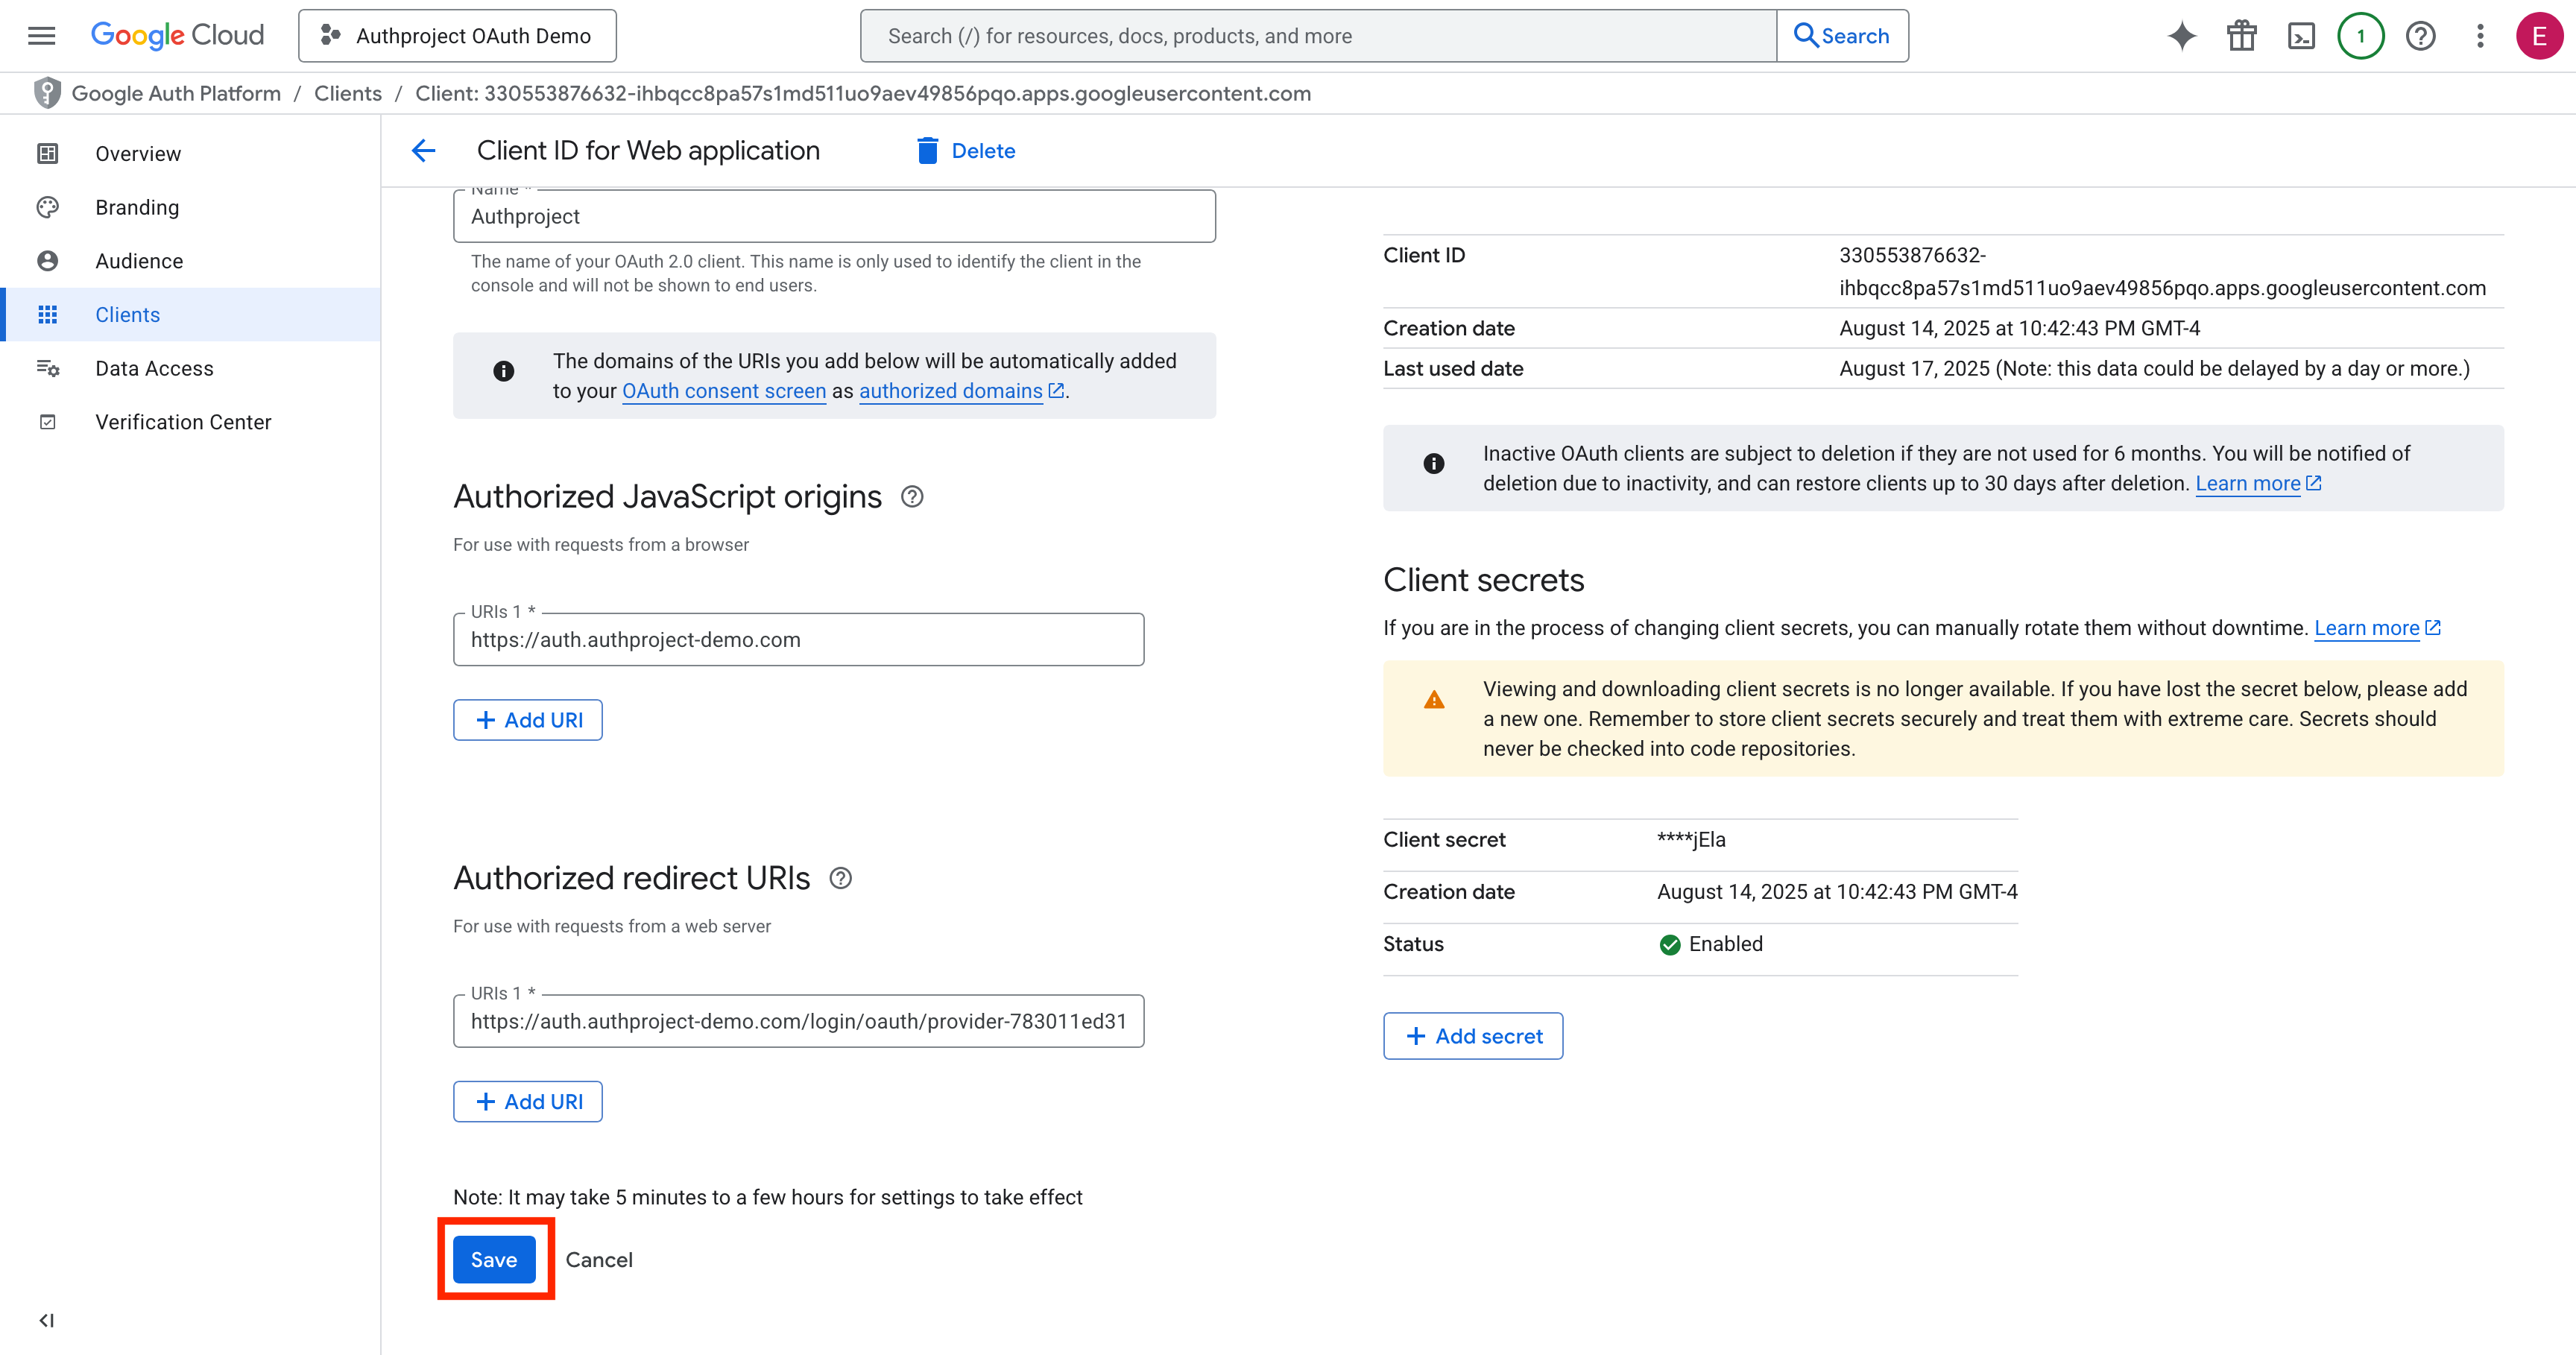
Click “Save” at the bottom.
Test the Provider
Once the provider has been saved in Google, you can now test it in Authproject.
Navigate to your authentication domain, enter your email, and click “Log In with
Google.”
Need help? Feel free to contact us, and we can get you onboarded.
2 - OpenID Connect
What is OIDC?
Learn how OIDC works, and how you can use it.
OIDC is a web standard used for generating access tokens and ID tokens, and
specifying how to communicate with an OIDC-compliant Identity Provider
(Authproject).
OIDC
OIDC is built on top of the OAuth2 protocol, and standardizes the endpoints and
formats used for exchanging authentication information.
OpenID Configuration
In order to be OIDC compliant, we expose an endpoint called “OpenID
Configuration,” where a compatible client can query us and retrieve information
about how to talk to our authentication systems.
$ curl https://auth.authproject-demo.com/.well-known/openid-configuration
{
  "authorization_endpoint": "https://auth.authproject-demo.com/oauth2/authorize",
  "issuer": "https://auth.authproject-demo.com",
  "jwks_uri": "https://auth.authproject-demo.com/.well-known/jwks.json",
  "response_types_supported": [
    "code"
  ],
  "subject_types_supported": [
    "public"
  ],
  "token_endpoint": "https://auth.authproject-demo.com/oauth2/token",
  "userinfo_endpoint": "https://auth.authproject-demo.com/oauth2/userinfo"
}
The above endpoint is used by our demo application to learn how to access our
authentication systems.
NOTE
The URL you use for your application will be different! It is of the form
<authentication-domain>.<your-domain>.<tld>/.well-known/openid-configuration.
The demo URL used above is just an example.
3 - User Info
What is user info, and how do I use it?
Learn how user info is used to store data about a user
User info is a blob of data that is made available to
service providers. This blob can be changed
via the dashboard, or via our API. Simply POST to us new JSON data to store, and
we’ll update it in our systems.
Example User Info Query
Once a service provider has an access token, they can query an endpoint to get
the user info of a given user.
$ curl https://auth.authproject-demo.com/oauth2/userinfo
{
    "fname": "Alan",
    "lname": "Turing",
    "sub": "user-75f3ef985d544ed0a6995523cf21660d"
}
Example User Info Update
To update the stored user info, you can send a POST request to the same
endpoint, with the entire blob you wish to store. We do not currently support
inserts to existing user info, we only support replacement of what is there.
$ curl -X POST https://auth.authproject-demo.com/oauth2/userinfo
{
    "fname": "Alan",
    "lname": "Turing",
    "age": 41
}
NOTE: Do not send a sub value. This is a value populated by our systems, and cannot be changed.
A subsequent GET to the endpoint will return the updated values.
$ curl https://auth.authproject-demo.com/oauth2/userinfo
{
    "fname": "Alan",
    "lname": "Turing",
    "age": 41,
    "sub": "user-75f3ef985d544ed0a6995523cf21660d"
}